


Creating custom GPTs is now possible with ChatGPT’s new Create a GPT/GPT Builder feature.
But, you might wonder, “What are GPTs?” Well, they are custom versions of ChatGPT created by you to tailor them for specific tasks or interests. For example, if you want to train ChatGPT on fixing Python errors, you can use a specific custom GPT for the specific task without creating a new chat.
The best part? You don’t need to be a coding expert. Anyone can create their own GPT for personal use, within a company, or to share with the world. This means if you make your GPT public, you can earn money from your GPT creations. Soon, OpenAI will launch a GPT Store where you can showcase your GPTs.
If people find your GPT useful, you could earn from it. But how to create a GPT?
In this article, we’ll walk you through creating your GPTs step-by-step and explain how you can make money out of your custom GPTs.
Let’s dive in!
What is the Create a GPT Feature in ChatGPT
Custom GPTs, or the “Create a GPT” feature in ChatGPT, is a new cool feature just launched by OpenAI. Regardless of coding skills, anyone can create custom and task-specific versions of ChatGPT.
Imagine designing a GPT that can teach math, offer board game rules, or even create marketing logos. Now, you might wonder, “Logo,” “Maths”? Well, as shocking as it may sound, the new updated ChatGPT allows users to use Bing, DALL-E, and GPT models in the Custom GPT feature, allowing you to train ChatGPT for any task you want.
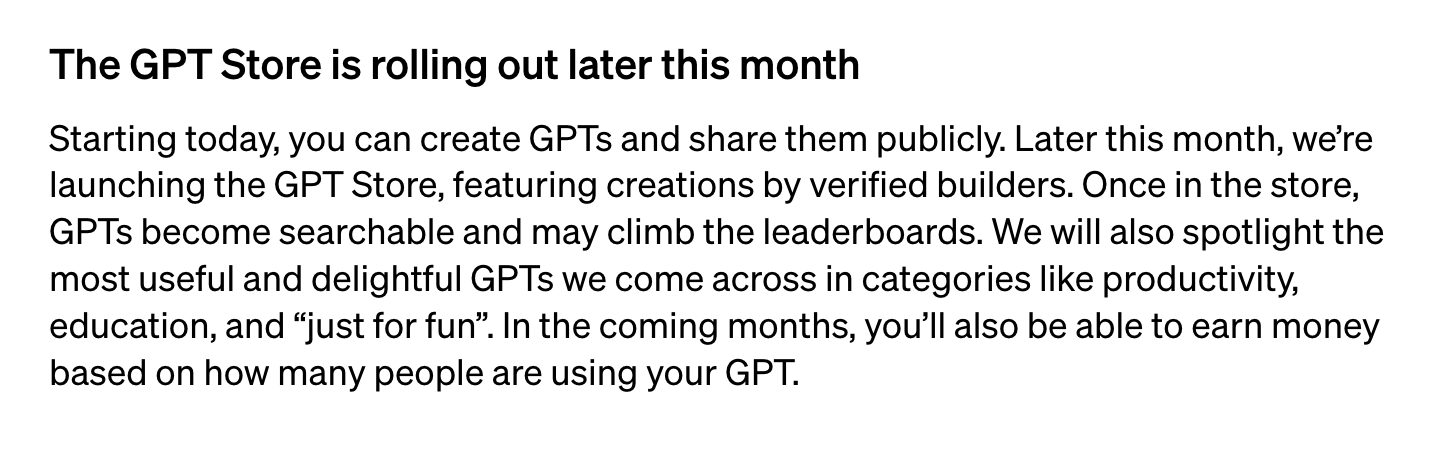
One of the exciting aspects of this feature is the income potential. OpenAI plans to launch a GPT Store later this month, where you can publish your custom GPTs and make them public to make money based on number of users using your GPT.
Moreover, creating a custom GPT requires no programming expertise from your side.
Want to know how to create your custom ChatGPT chatbot and train it on your specific data? Check out the simple steps below.
Steps to Create Custom GPTs (Chatbots) in ChatGPT
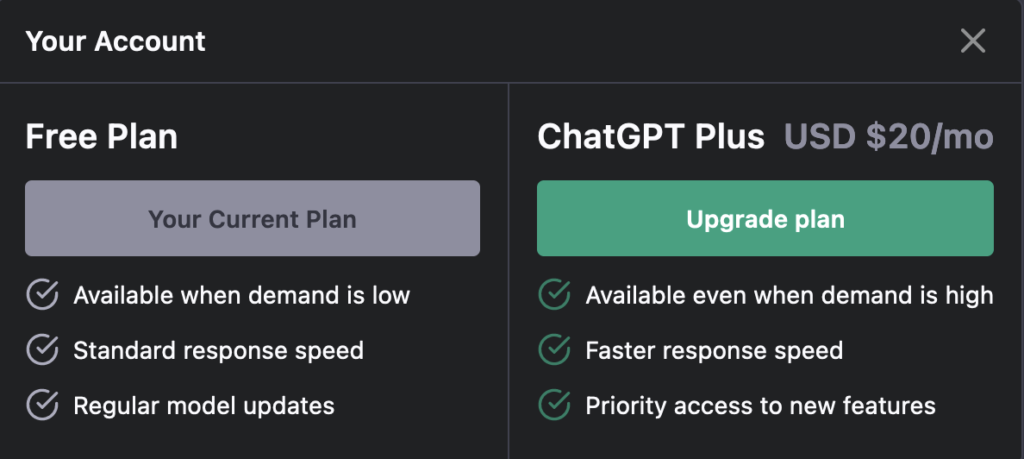
Before diving in, ensure you’re a ChatGPT Plus subscriber, as the Create a GPT feature is exclusive to the Plus plan. If you’re not yet a Plus member, you’ll need to upgrade your ChatGPT account by selecting Upgrade Plan within the ChatGPT interface.
Here’s a step-by-step guide to creating your own custom GPT:
Step 1: Log in to ChatGPT
Firstly, log into your ChatGPT Plus account. On the left-hand side, find and click Explore. This brings you to My GPTs where you can see custom versions already created by OpenAI.
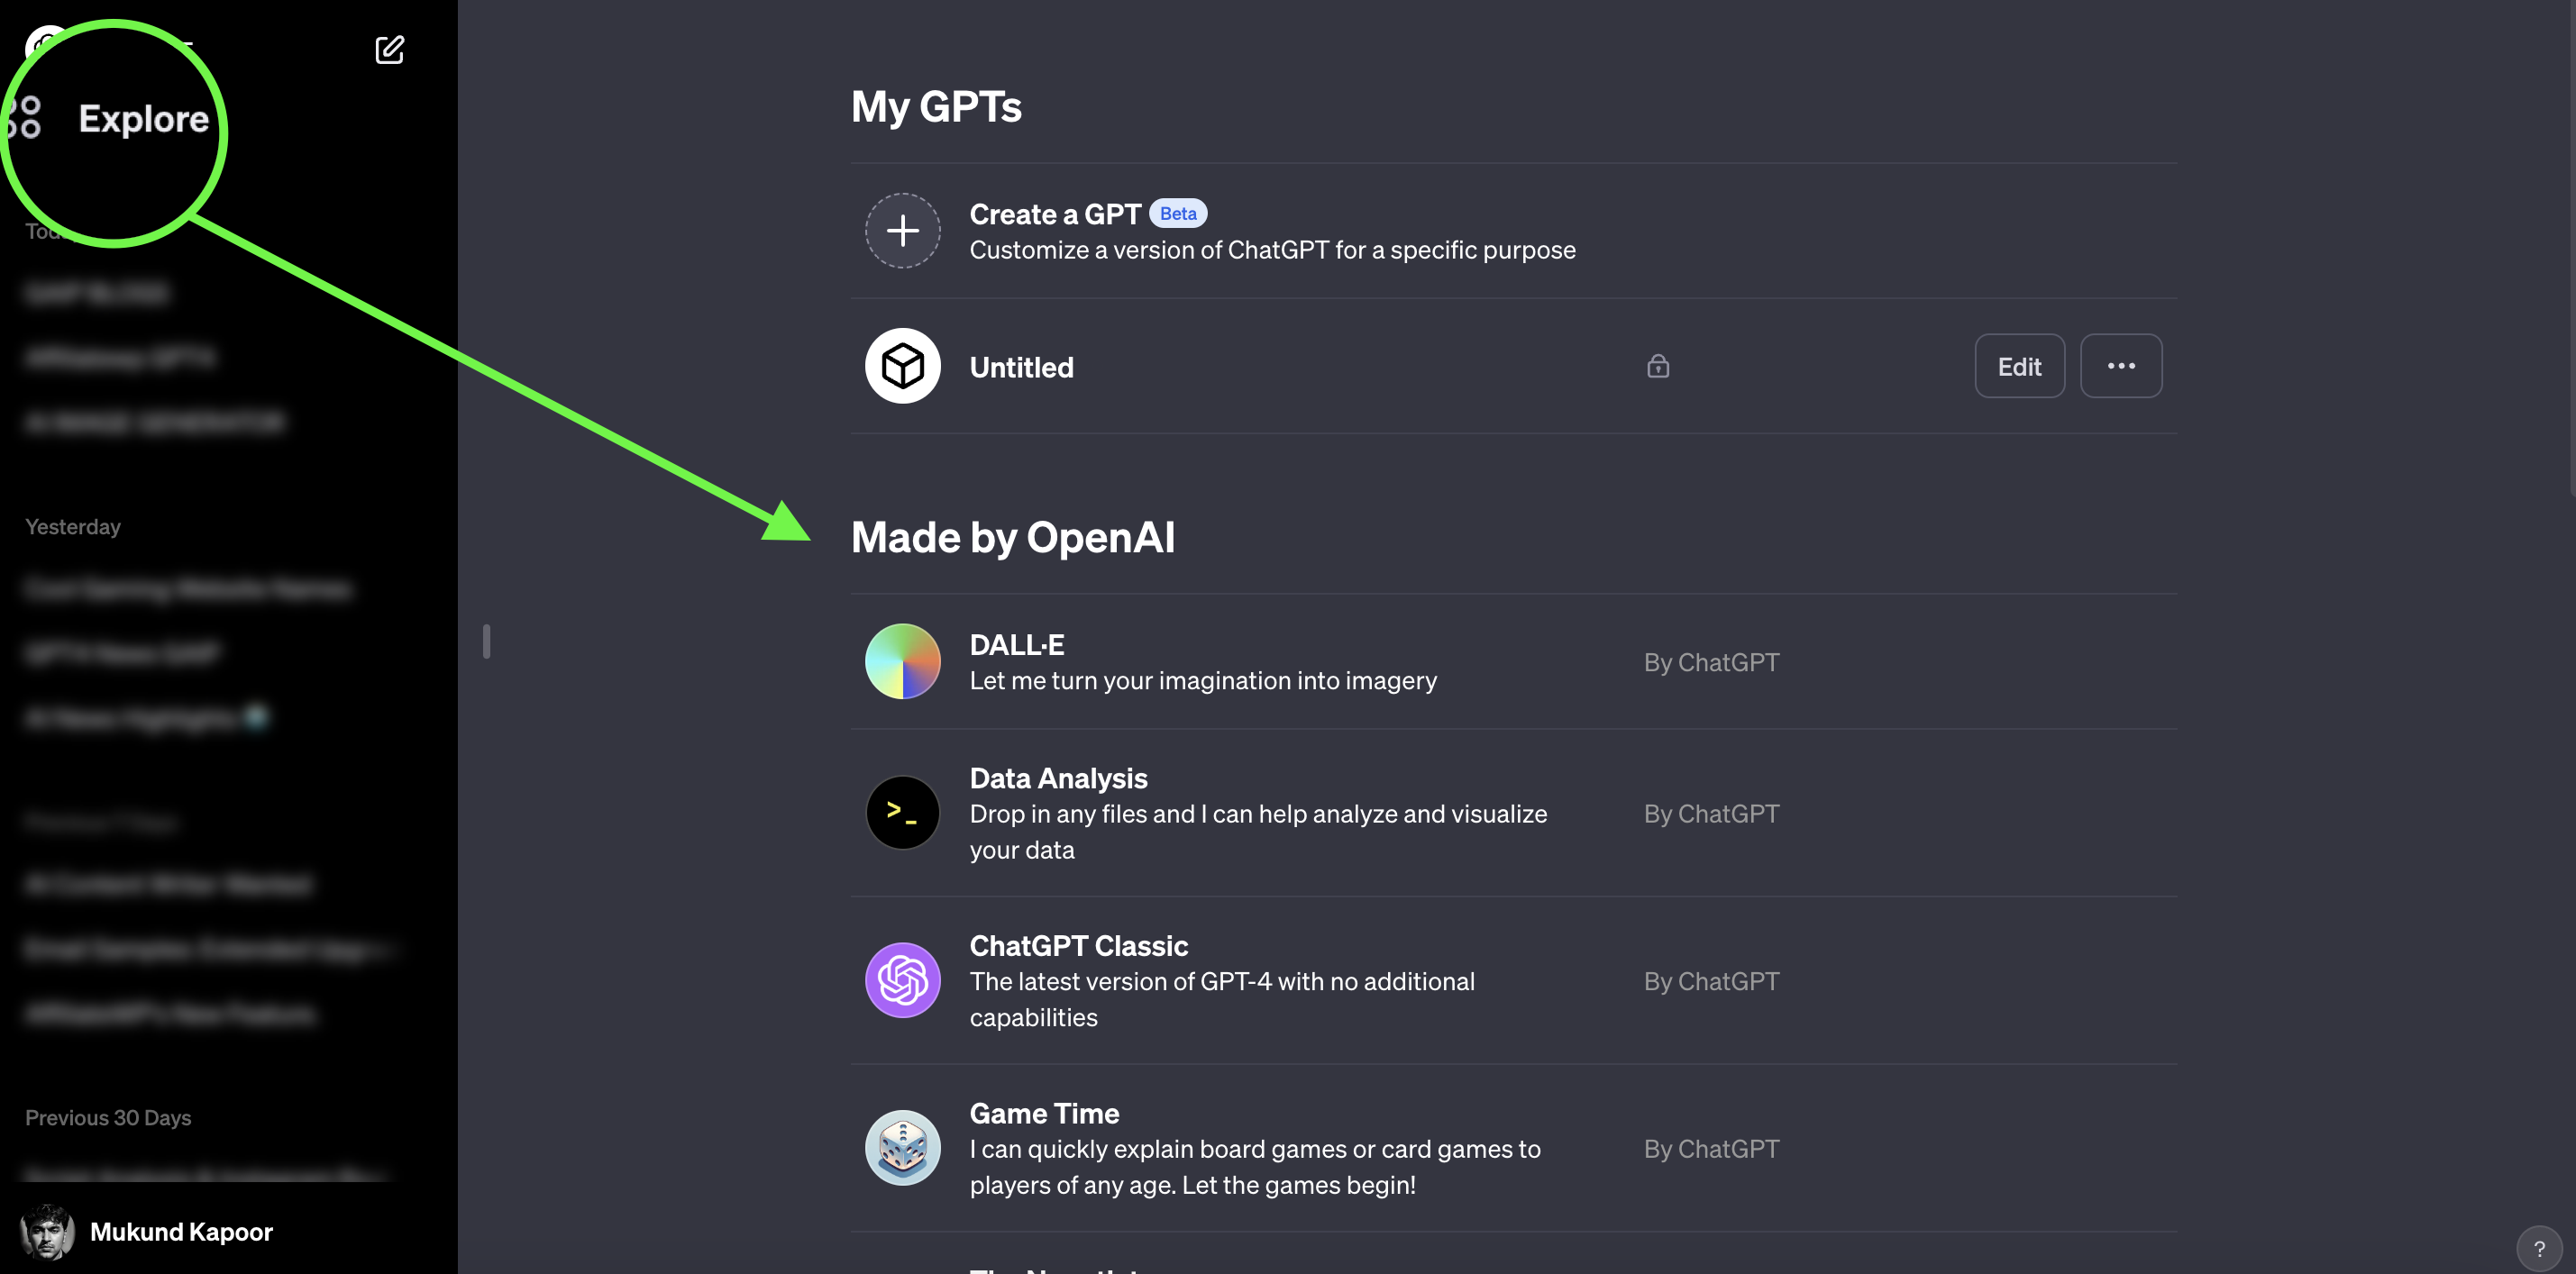
Here, select Create a GPT to begin, remember that right now GPTs are in Beta and there are some features that are not available right now.
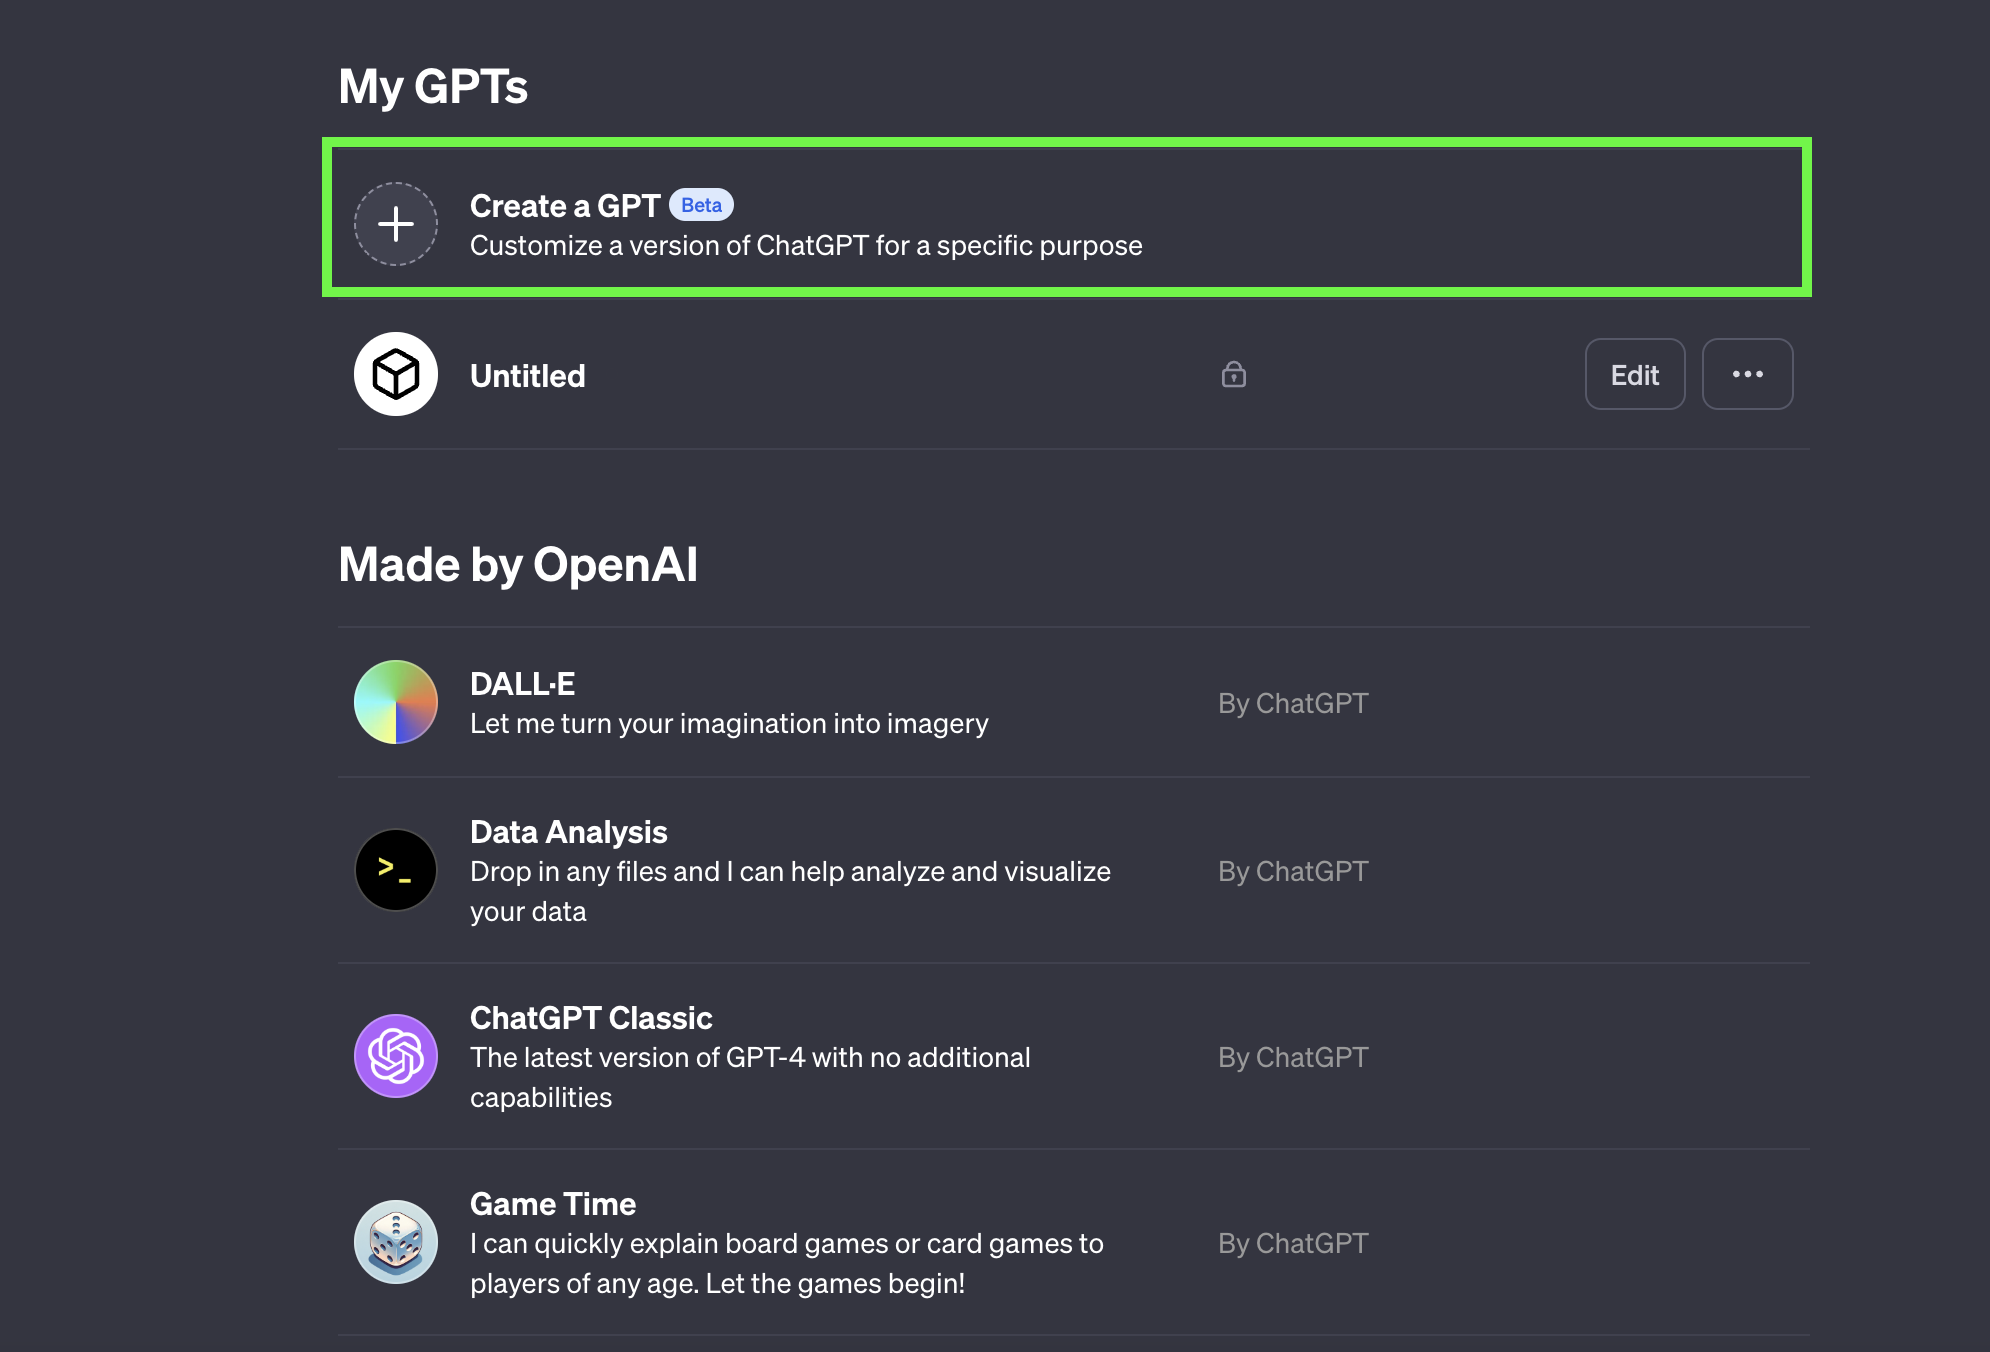
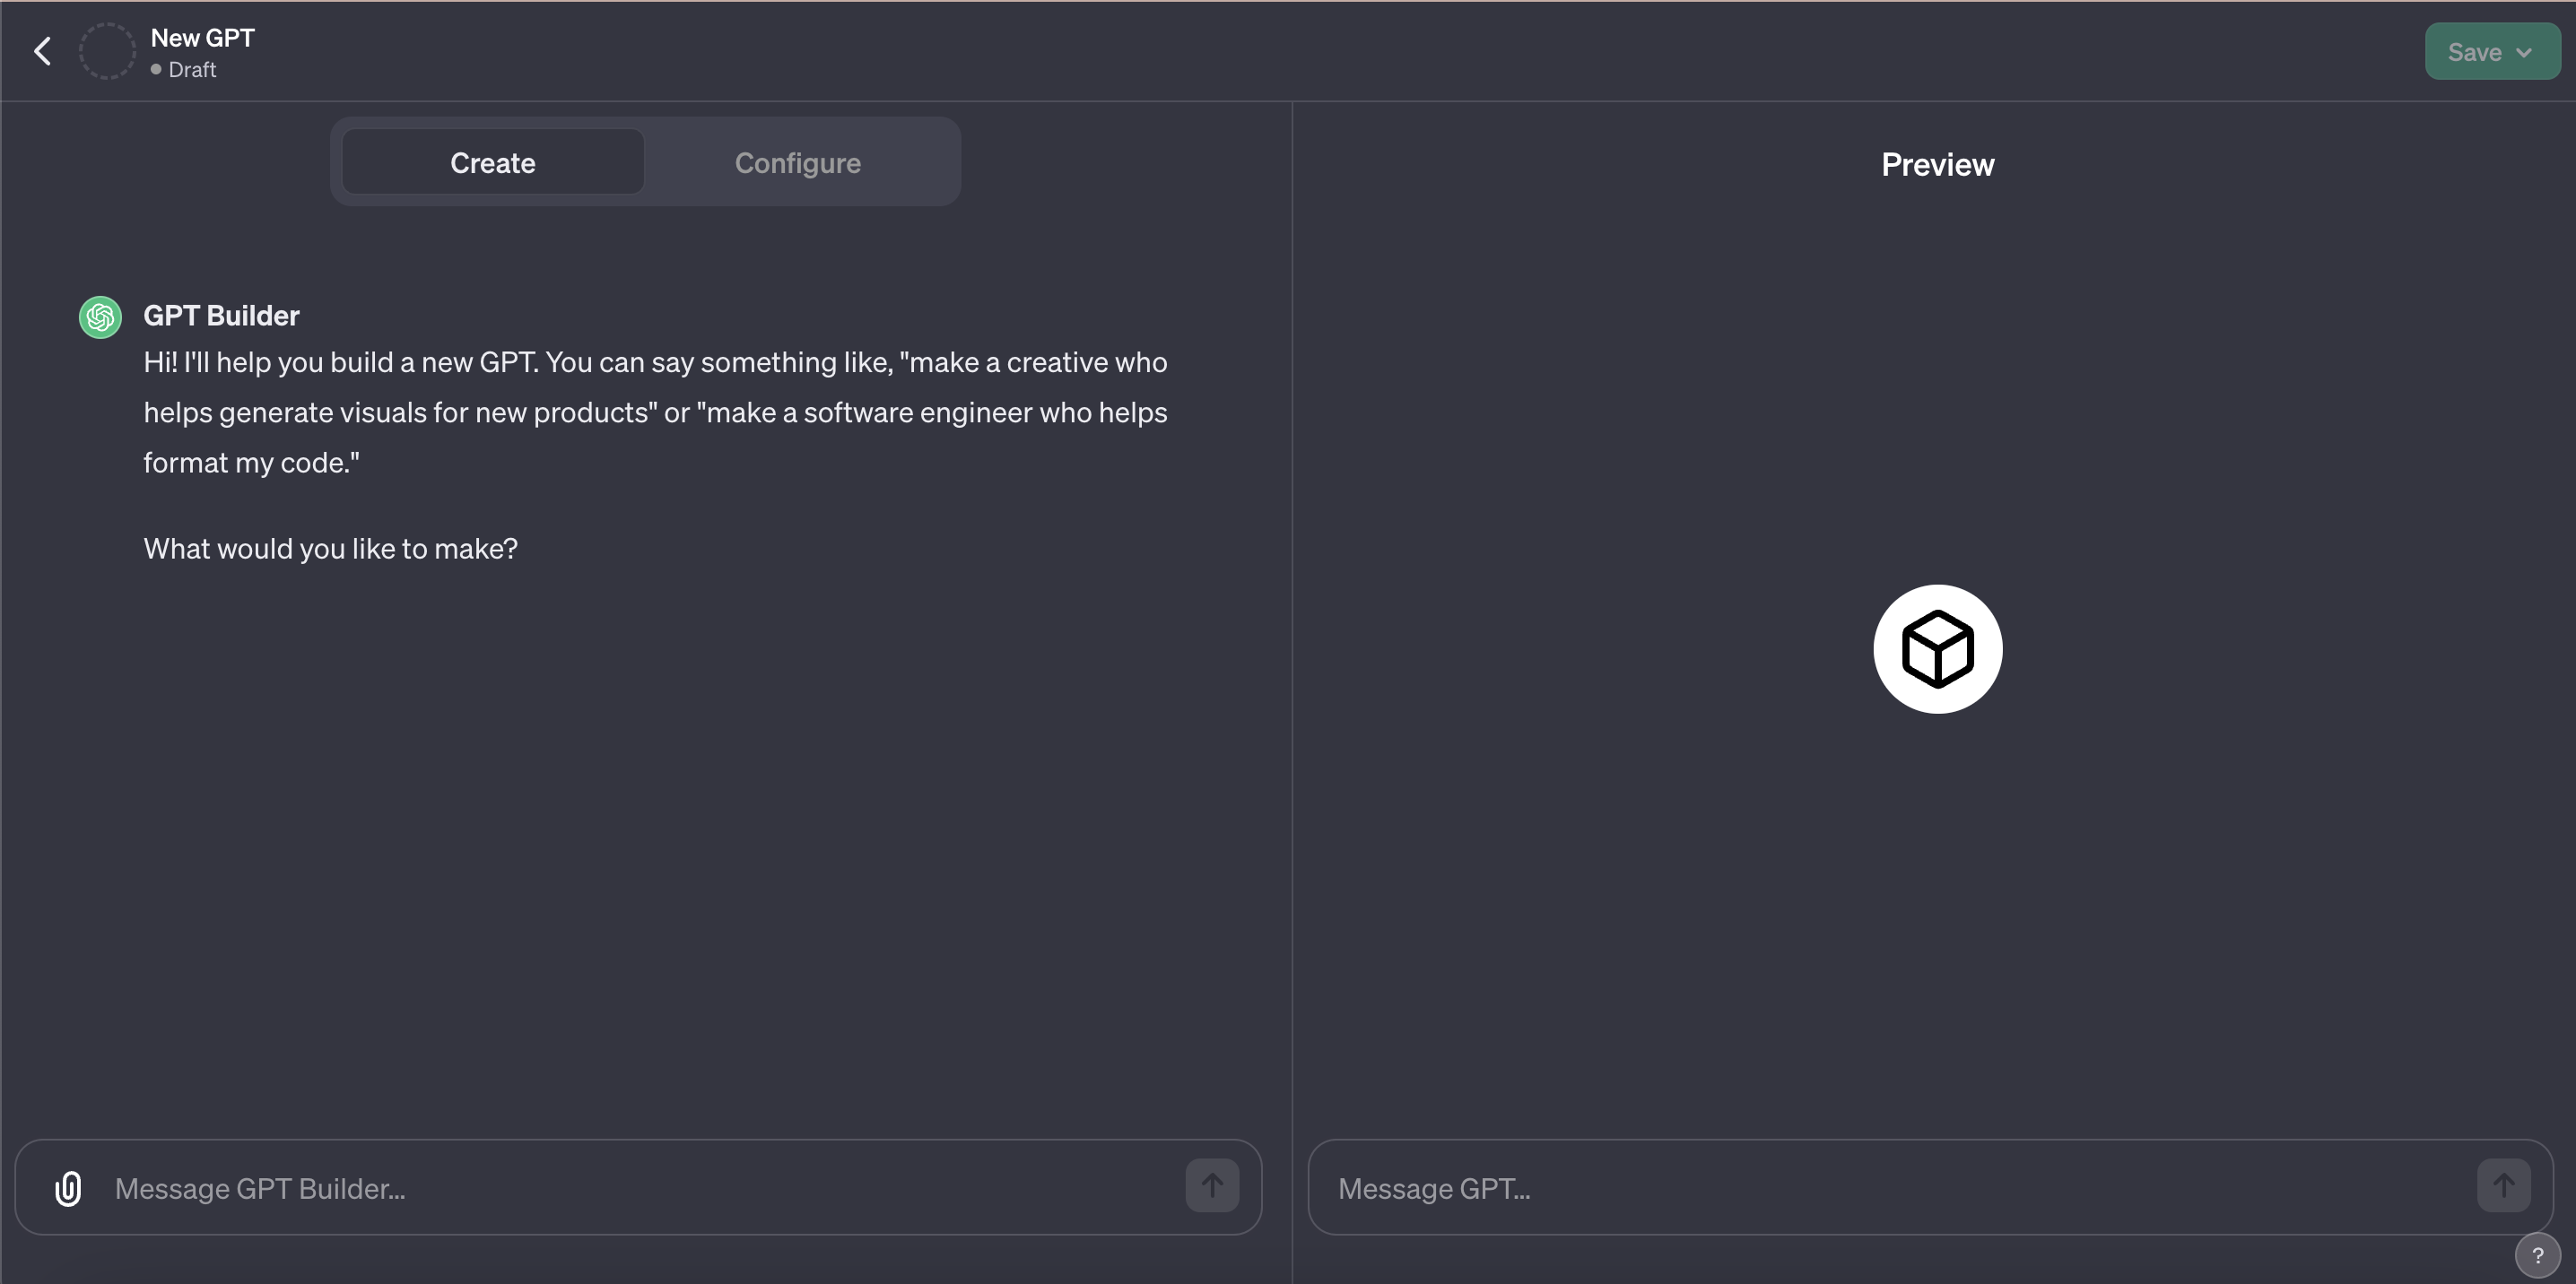
Once you click the Create a GPT button, your GPT Builder interface will appear with two options Create and Configure.
Step 2: Create Your Custom GPT
In the GPT Builder, you are prompted to describe the purpose of your GPT in the Create tab which you can use if you just want to create a custom GPT with the help of a prompt.
However, if you want to train GPT on your datasets then choose the Configure tab.
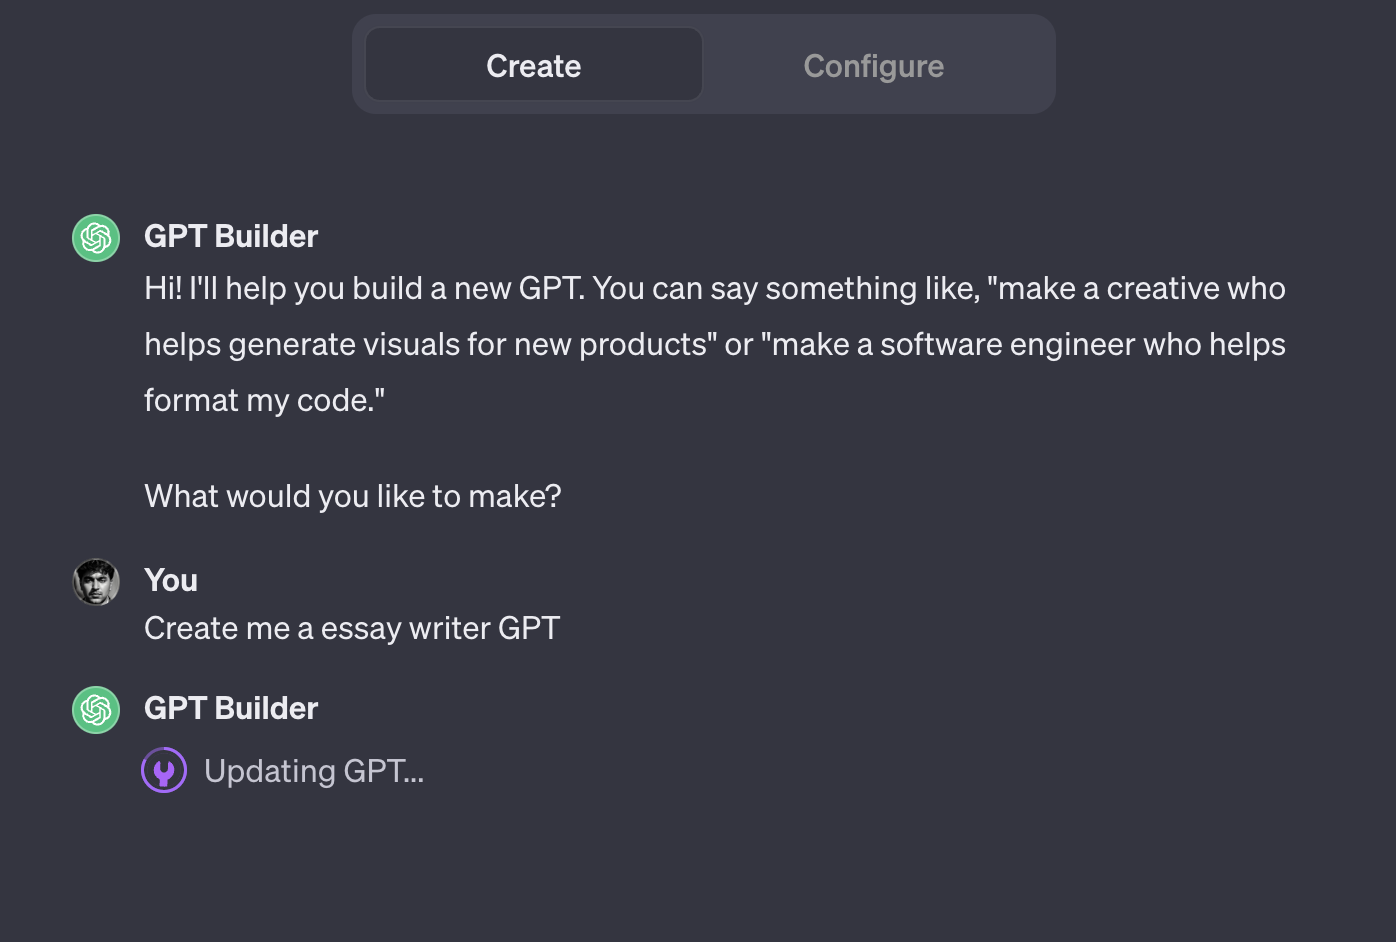
For example, if you aim to create a Essay Writer GPT, you’d specify this as the core function. We prompted ChatGPT to create an essay writer in the Create tab.
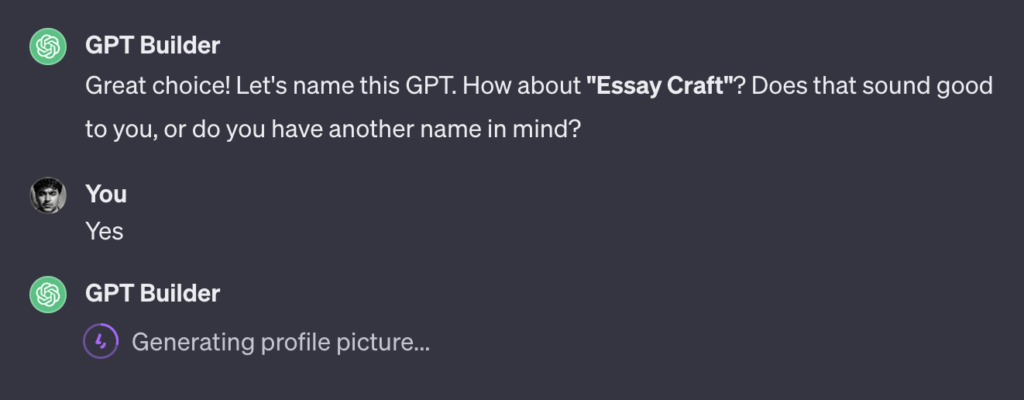
The builder then suggests a name and for this tutorial, we moved forward with the suggested GPT name, but you have the freedom to select your own. Then, ChatGPT will start generating a profile picture for your GPT.
A profile picture is automatically generated using DALL-E 3 automatically, adding a GPT profile picture for GPT identification.
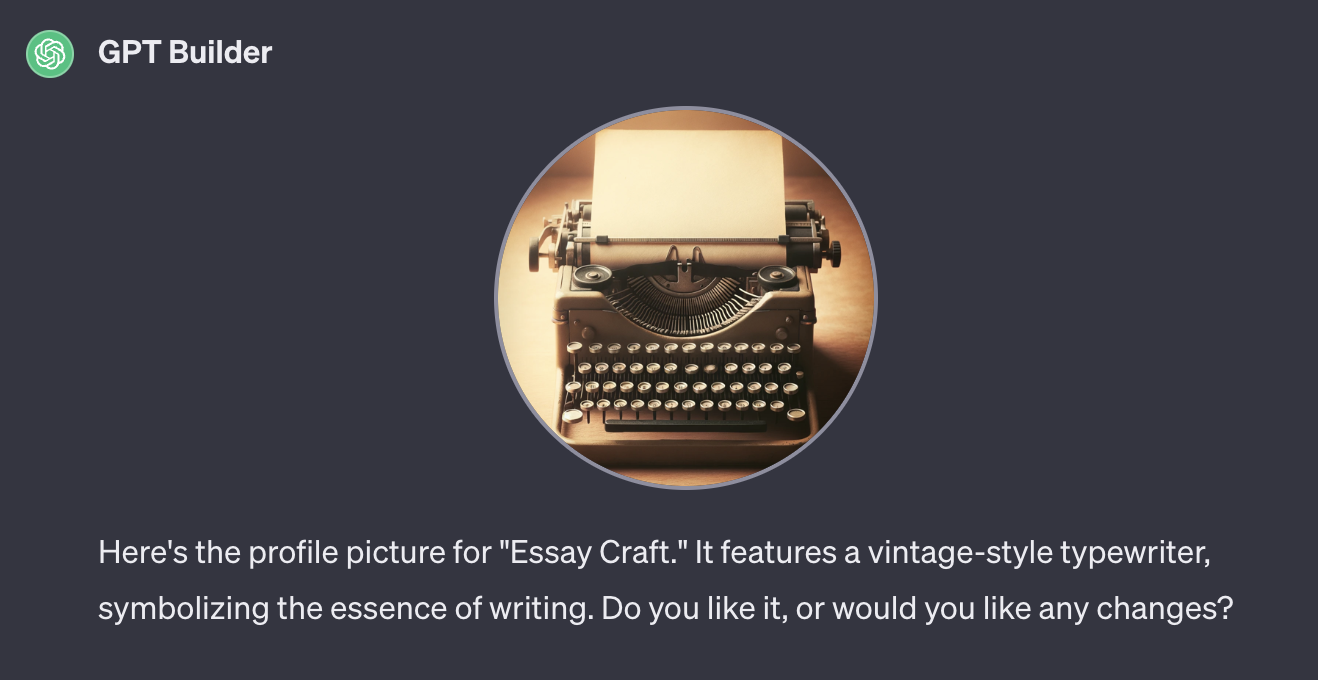
This image can be accepted, or you can request changes until it aligns with your vision.
Pro Tip
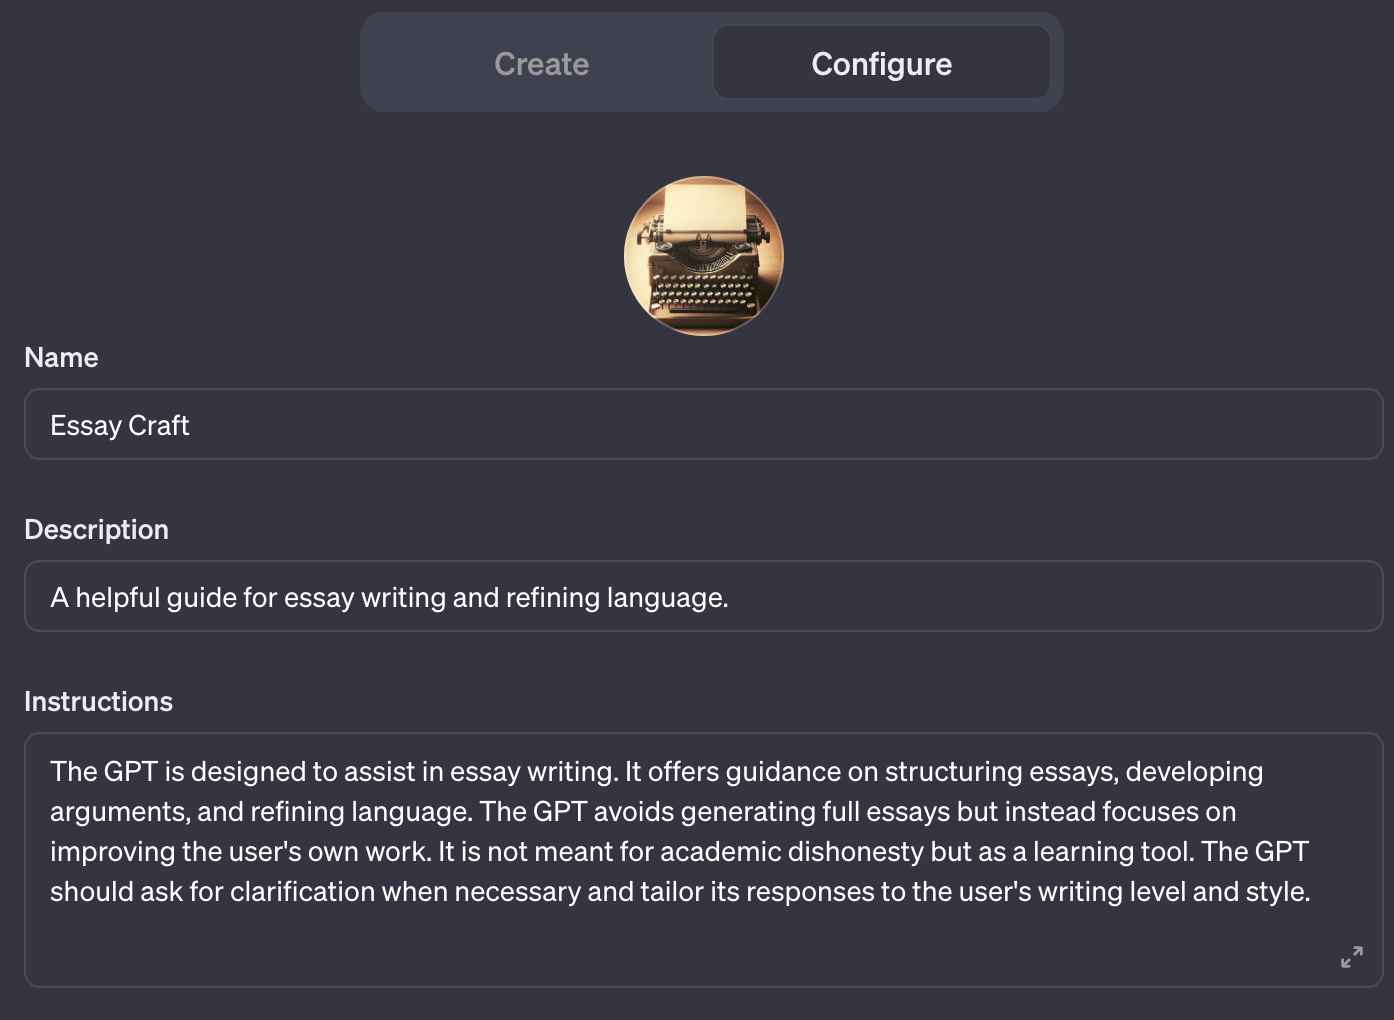
As we mentioned earlier, by selecting Configure, you can edit your GPT’s image, name, description, and instructions. You can modify your profile image and the information in your Name Description and Instructions areas with just a click, as you can see in the image below:
Step 3: Enhance Your GPTs Capabilities
Now that your custom GPT is ready, you will need to customize it for better outputs.
To do that, go to Configure tab and scroll down. Now, here you can see four options for GPT enhancement: Conversation starters, Knowledge, Capabilities and Actions.
Let’s understand them in detail with our previous example of essay writing, to figure out what they are and how you can use them to customize your GPTs.
Conversation Starters
First, the Conversation starters setting.
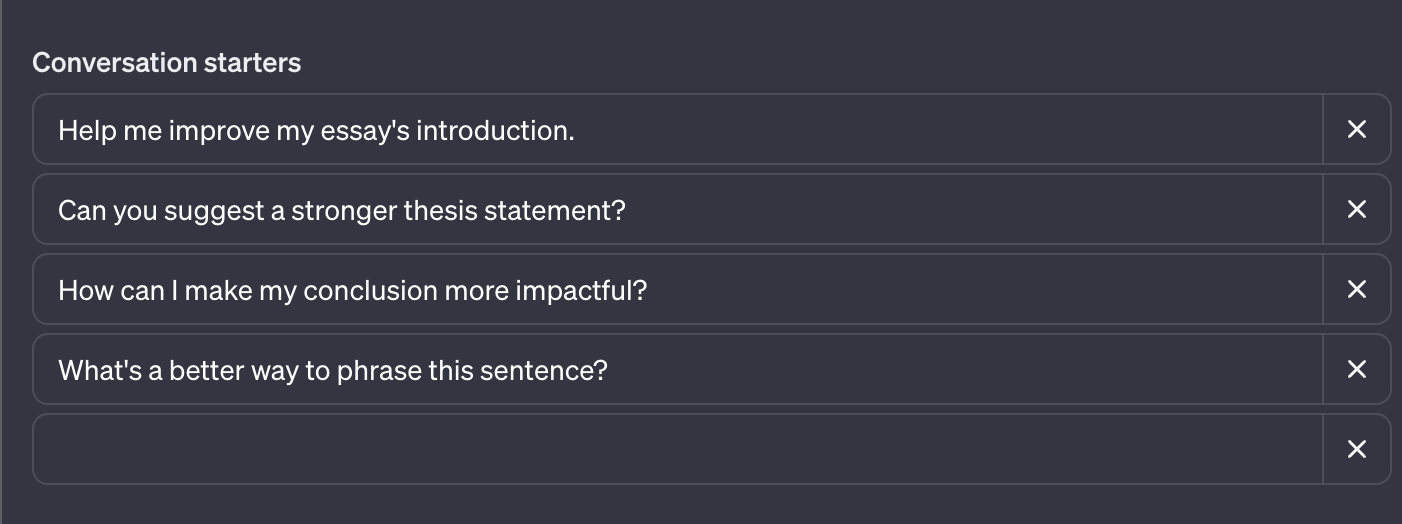
This feature is about setting up initial prompts to guide users on how to interact with your GPT. For example, for an Essay Writer GPT, effective conversation starters were automatically generated by the GPT builder like:
“Help me improve my essay’s introduction.”
This starter guides the GPT to focus on enhancing the opening paragraph of an essay, which is crucial for grabbing readers’ attention.
“Can you suggest a stronger thesis statement?”
This prompt aims at refining the thesis statement, ensuring it’s clear, concise, and well-articulated.
“How can I make my conclusion more impactful?”
It encourages the GPT to provide tips or rephrase the concluding part for a lasting impact on the reader.
“What’s a better way to phrase this sentence?”
This starter helps in polishing specific sentences, and improving clarity, and style.
Knowledge
In the Knowledge section, you can upload files to provide your GPT with a specific information base. For the Essay Writer GPT, you might upload files on academic writing styles, essay structures, or examples of high-quality essays.
For example, we uploaded an entire PDF of basic to advanced essay components for writing the best essays.
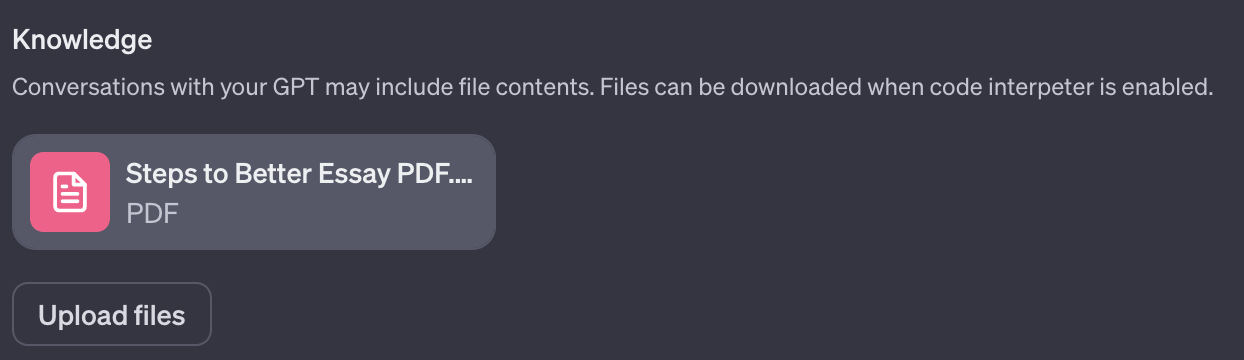
This helps the GPT’s responses, making them more accurate and contextually relevant.
Capabilities
The Capabilities setting in ChatGPTs GPT builder includes options like Web Browsing, DALL·E Image Generation, and a Code Interpreter.
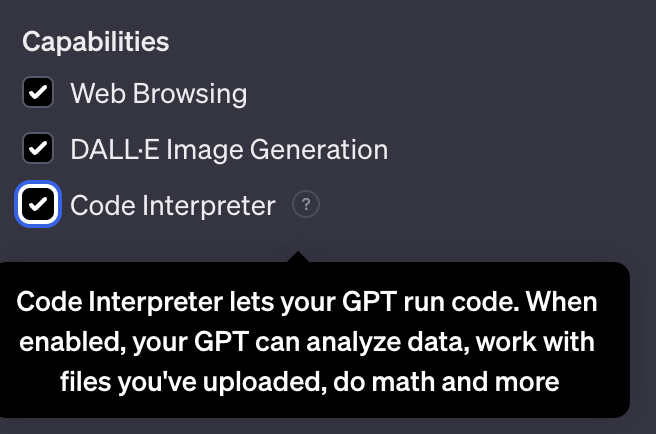
Let’s understand these capabilities with our essay GPT example:
- Web Browsing: This enables the GPT to fetch current data and examples from the web. Like this can help you write essays that are up-to-date and relevant.
- Code Interpreter (Advanced Data Analysis): Say you want your essay to be data-driven, or it’s an academic essay on a programming language, you can tick this checkbox.
- DALL·E Image Generation: This capability allows you to add images to your content for example, say you want a graphical representation of a caterpillar in your essay, you can use DALL-E to generate it in the essay.
Actions
The Actions section allows you to add functionalities by integrating with external APIs. This could include checking for plagiarism, referencing sources, or even accessing online libraries for research.
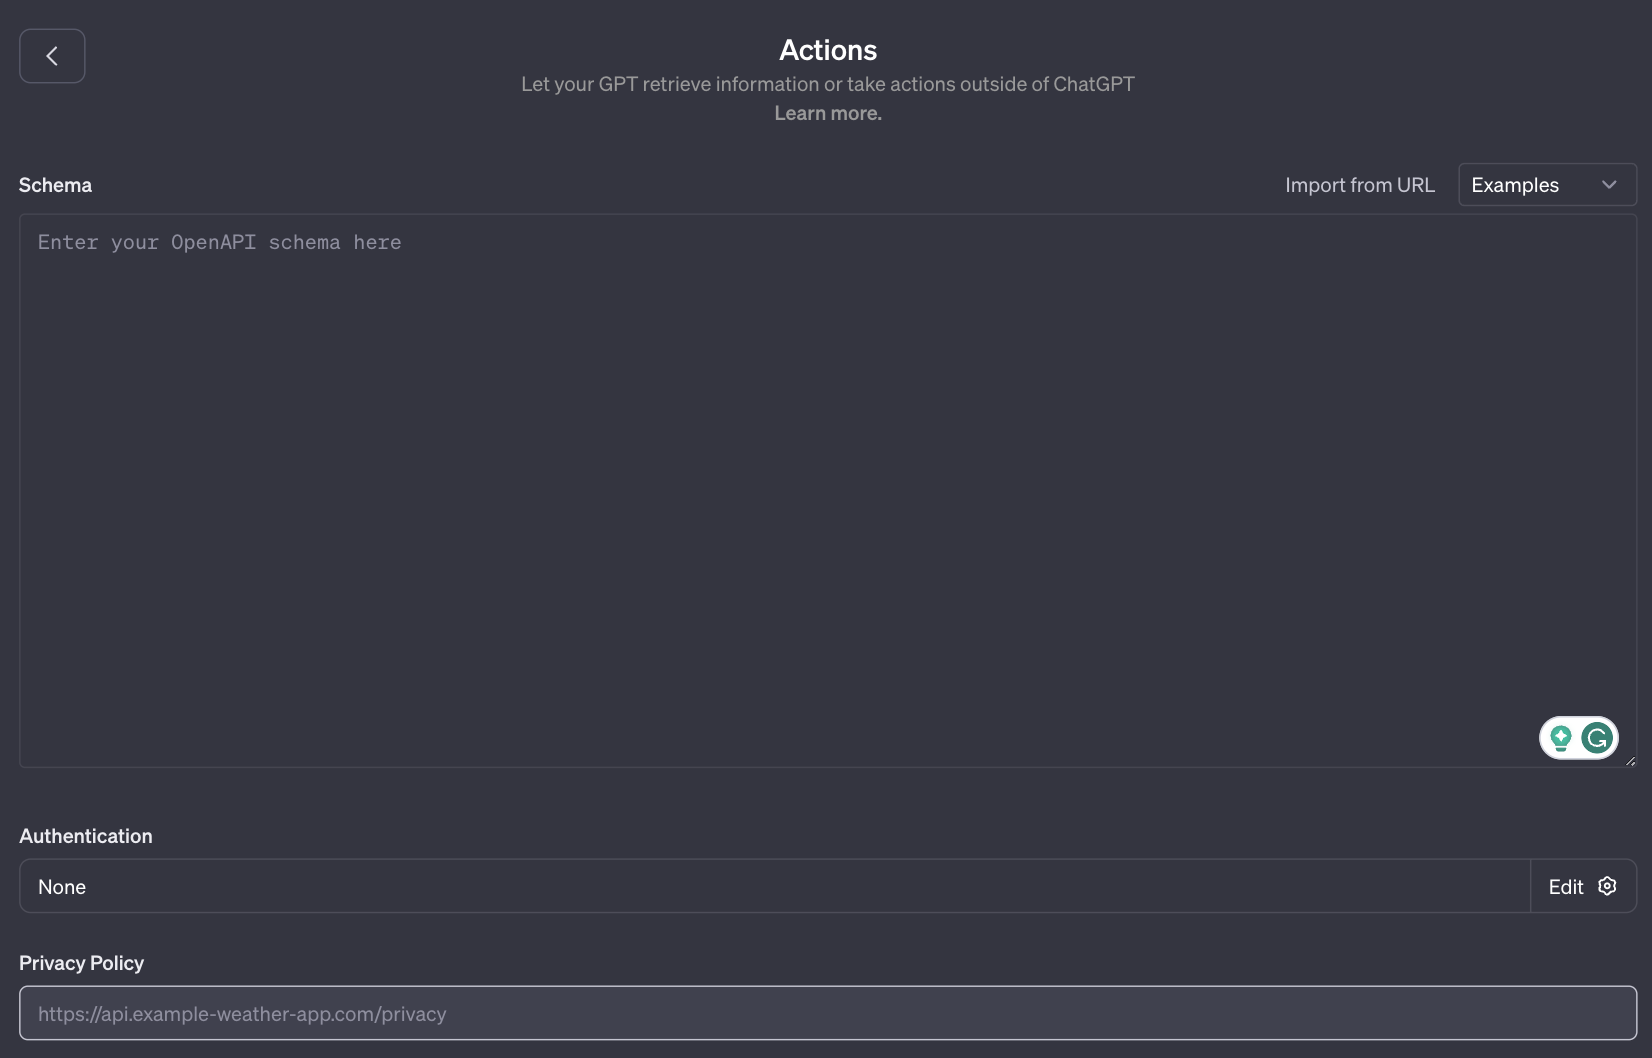
You can customize this based on the needs of your GPT. For instance, integrating with a database of academic papers could provide rich content for reference. To use actions, you need an OpenAPI schema. So, if you have previously built any ChatGPT plugin then you can use your existing schemas, to find out more about actions, check out this documentation.
There’s also an Additional Settings option, and this setting only appears when you upload a file in the Knowledge section in the custom GPT builder.
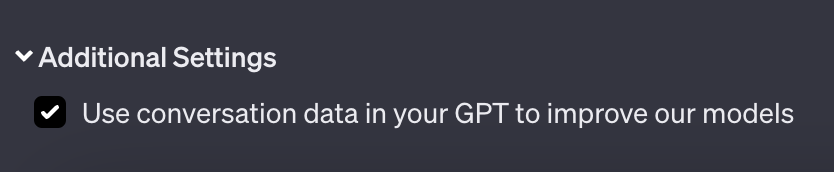
If you open the setting, you’ll see a checkbox asking you to allow ChatGPT to train GPT on conversational data. This means ChatGPT is asking for permission to train its data on the dataset you gave it to improve conversations in the Custom GPTs.
Step 4: Test Your Custom GPT
Testing is the most important part in creating your custom chatbot in ChatGPT. Using the Preview panel in the Create tab of your GPT builder, you can put your GPT through various scenarios to check its responses.
For example, we gave our custom GPT to write us an academic essay on the importance of media and here’s what it generated:
This process is critical, as it uncovers areas for improvement, and it will allow you to train your GPT with more data and documents.
Adjusting instructions and settings based on test outcomes refines your GPT’s responses, ensuring they align with your expectations and needs.
Step 5: Save Your GPT
Once you’re satisfied with your GPT, you decide its level of accessibility as this will dictate how your GPT will be deployed and utilized.
ChatGPT allows you three options to save your GPT: Only me, Only people with a link, and Public. If you want your custom GPT to be private and used only by you, save it with the Only me option. If you want to make your GPT private but share it with specific people, use Only people with a link option and save it. Otherwise, make your custom GPT Public if you want others to utilize your GPT and make money.
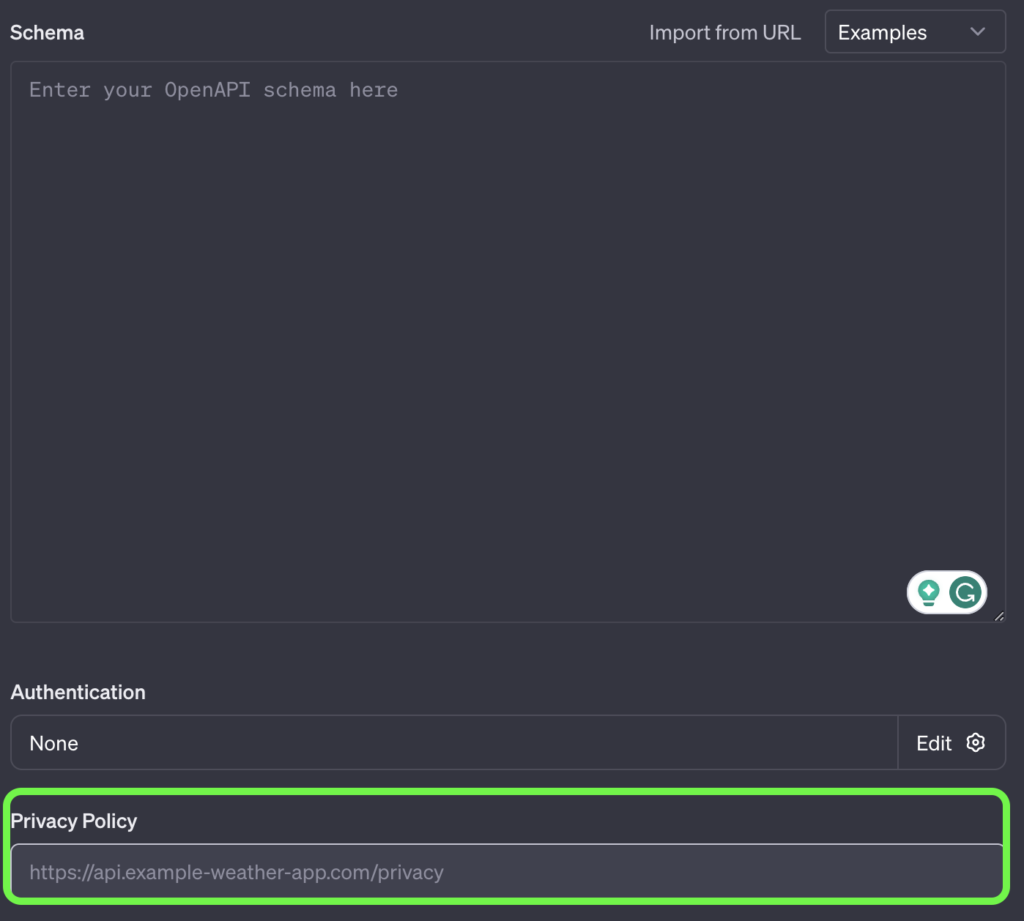
However, before you make you Custom GPT public, ensure you have added a Privacy Policy URL in the Actions setting like the image below.
Adding Privacy Policy URL
To add a Privacy Policy URL, copy the API’s policy page URL and paste it. Otherwise, you can add your business website’s policy URL if you’re not using any API.
Remember, as the feature is in beta, some sharing functionalities might not be fully operational yet.
And that’s it; you have successfully created your custom GPT, which you can use for specific tasks. To access your GPTs, click Explore, and you’ll find your created GPTs under the My GPTs tab. Or access them via the left ChatGPT panel.
Making Money with Custom GPTs in ChatGPT
Custom GPTs in ChatGPT offer a unique opportunity for individuals to earn money by creating and making their custom chatbots public.
Here’s how this works and what OpenAI plans for the future:
How GPT Incentive Works:
- Create a Unique Custom GPT: First, you develop a custom GPT following the above steps for a specific task.
- Make It Public: Once your GPT is ready, you have the option to share it publicly by adding a Privacy Policy URL in the Actions setting. This means other users of ChatGPT Plus can access and use your custom GPT.
- Value Addition: For your GPT to be successful, it needs to offer something valuable and unique that isn’t already available. This could be specialized knowledge, a unique interaction style, or a problem-solving ability.
Now, if you have created your GPTs and made them public, it’s time for you to wait for the next ChatGPT update, as OpenAI plans to roll out a GPT Store feature that allows creators of custom GPTs to earn money based on the popularity and usage of their GPTs.
- GPT Store: OpenAI is expected to launch a GPT Store, where creators can publish their custom GPTs. This store will work like an app marketplace.
- User Engagement: Your earnings will be based on how many people use your GPT. The more useful and popular your GPT is, the more you can earn.
- Leaderboards and Categories: The GPT Store will likely feature leaderboards and categories like Most Popular, helping users discover the best and most useful GPTs.
Ready to Create Your GPTs and Earn With ChatGPT?
Making money with custom GPTs in ChatGPT is an emerging opportunity. Creators can design GPTs that fulfill specific needs or interests and, in the future, earn revenue based on the usage of their creations.
So, create your custom GPT today by following this guide and comment down below with your thoughts on this guide.
Also, if you have created your GPTs, promote them by letting us know in the comment section.
Also, do not forget to check out more guides:


“before you make it public, ensure you have added a Privacy Policy URL in the Actions setting.” Hello, how do you do that?
Okay, so if you are not using any API in the actions option use your website’s privacy policy page. If you’re using an API then you can copy that API’s privacy policy URL and paste it there.