We generated some AI images using Midjourney on their Discord server a few days back.
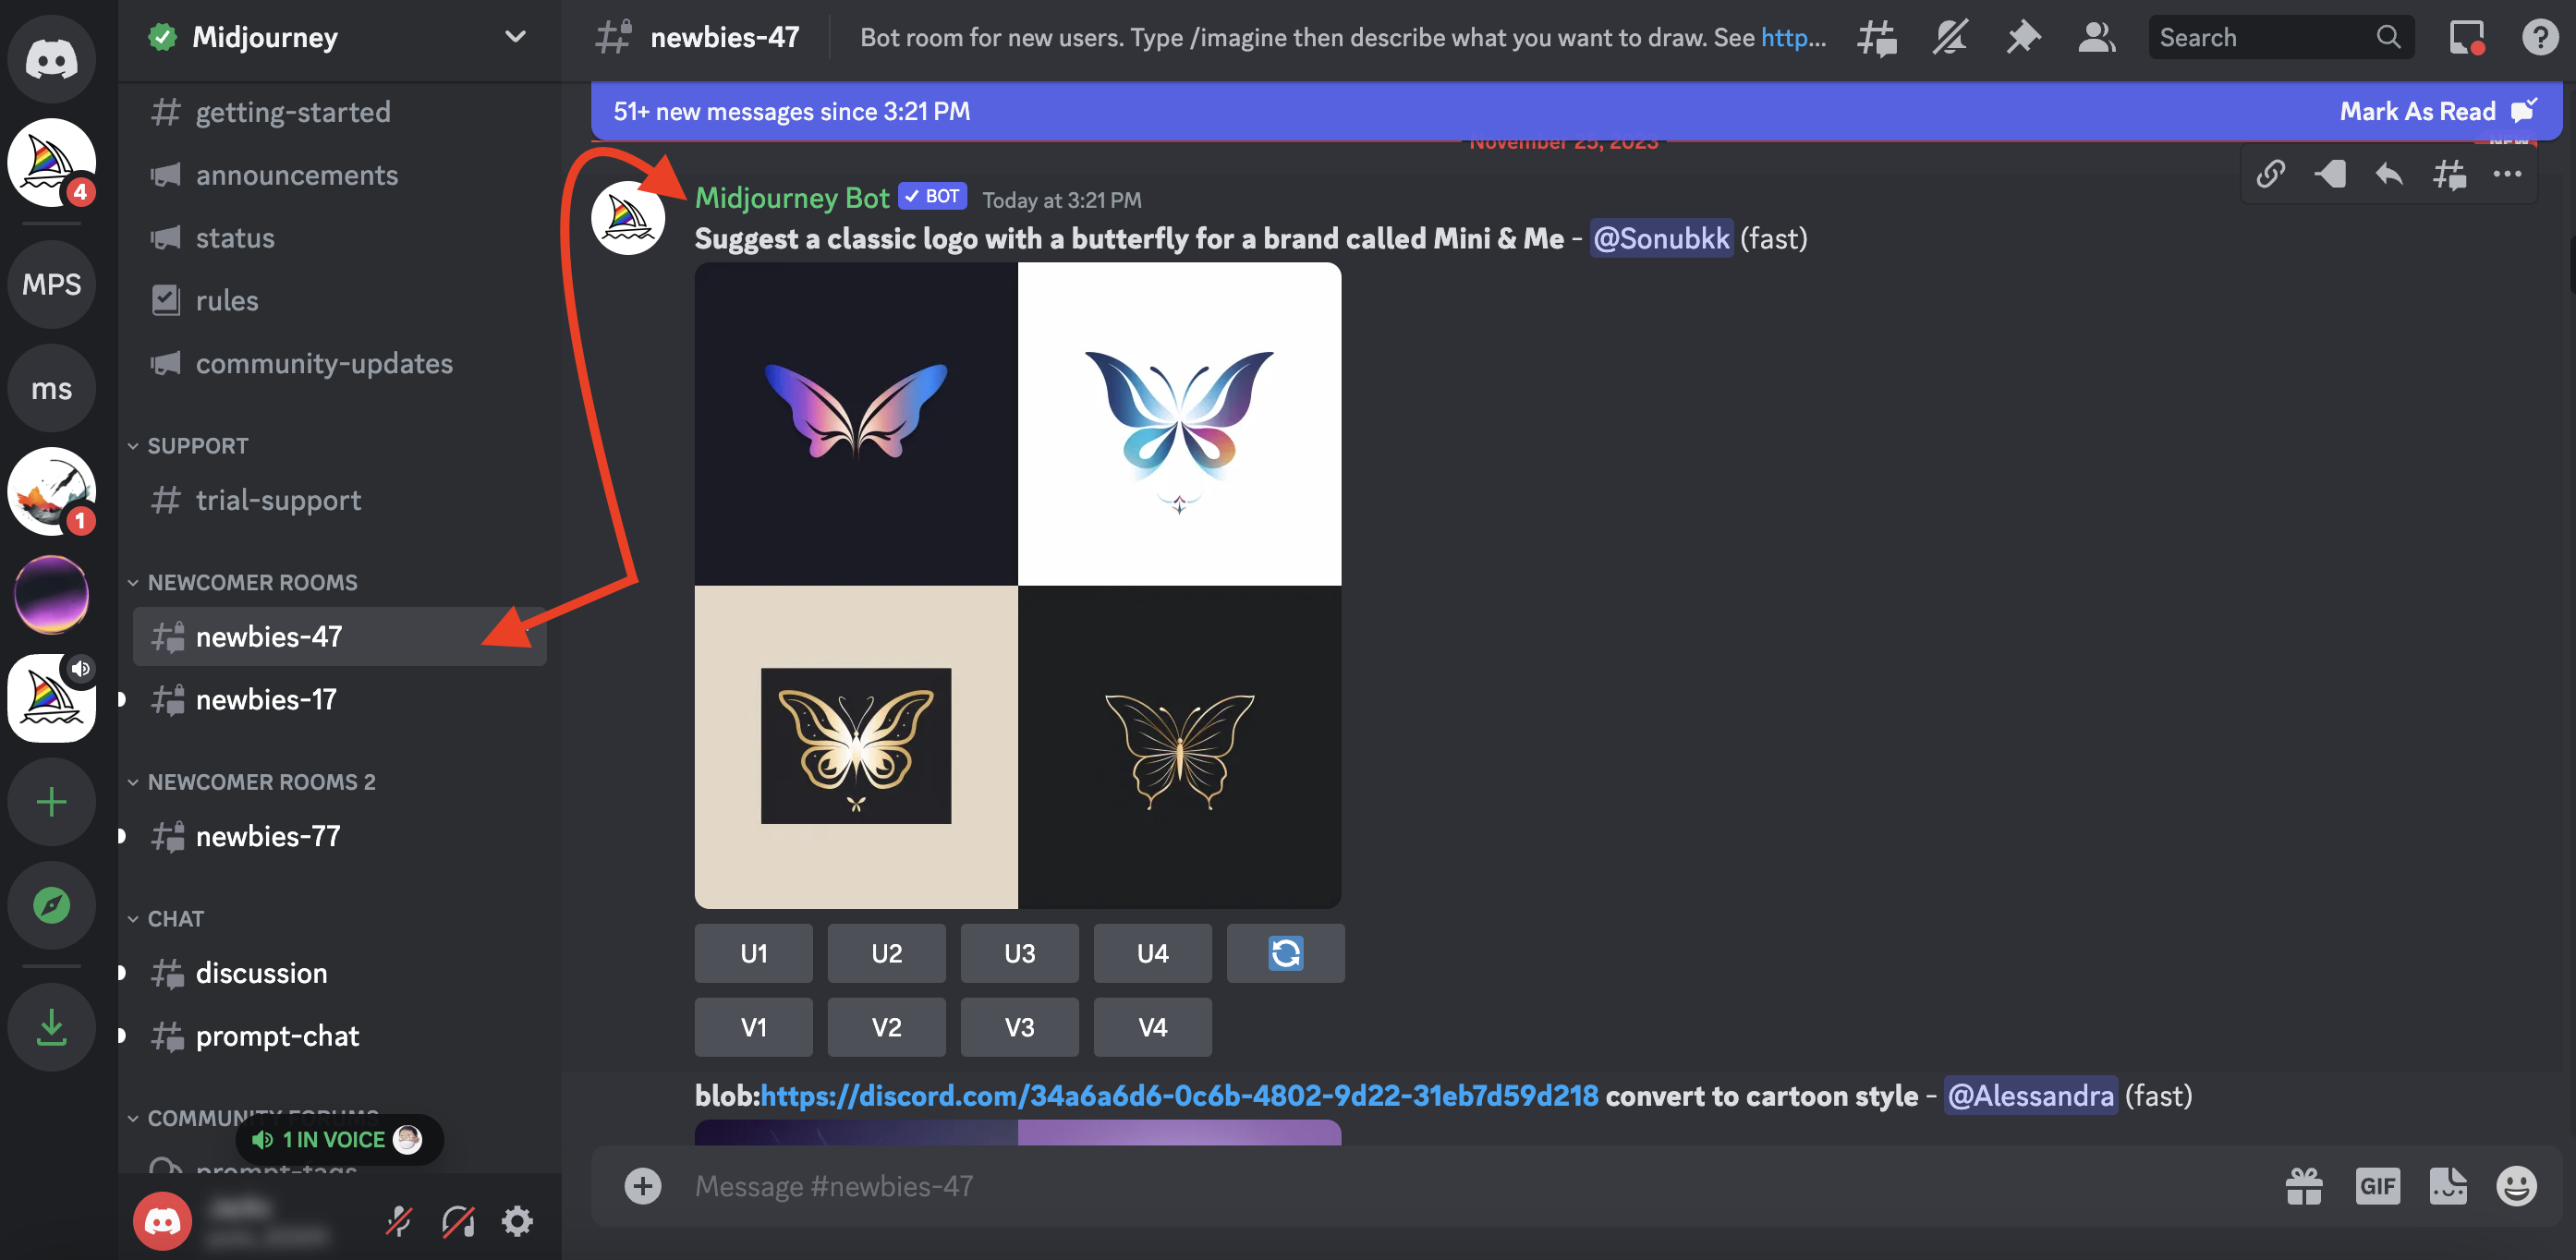
And as you all know, to use Midjourney, you have to use the Newcomer Rooms, which are generally named #newbies.
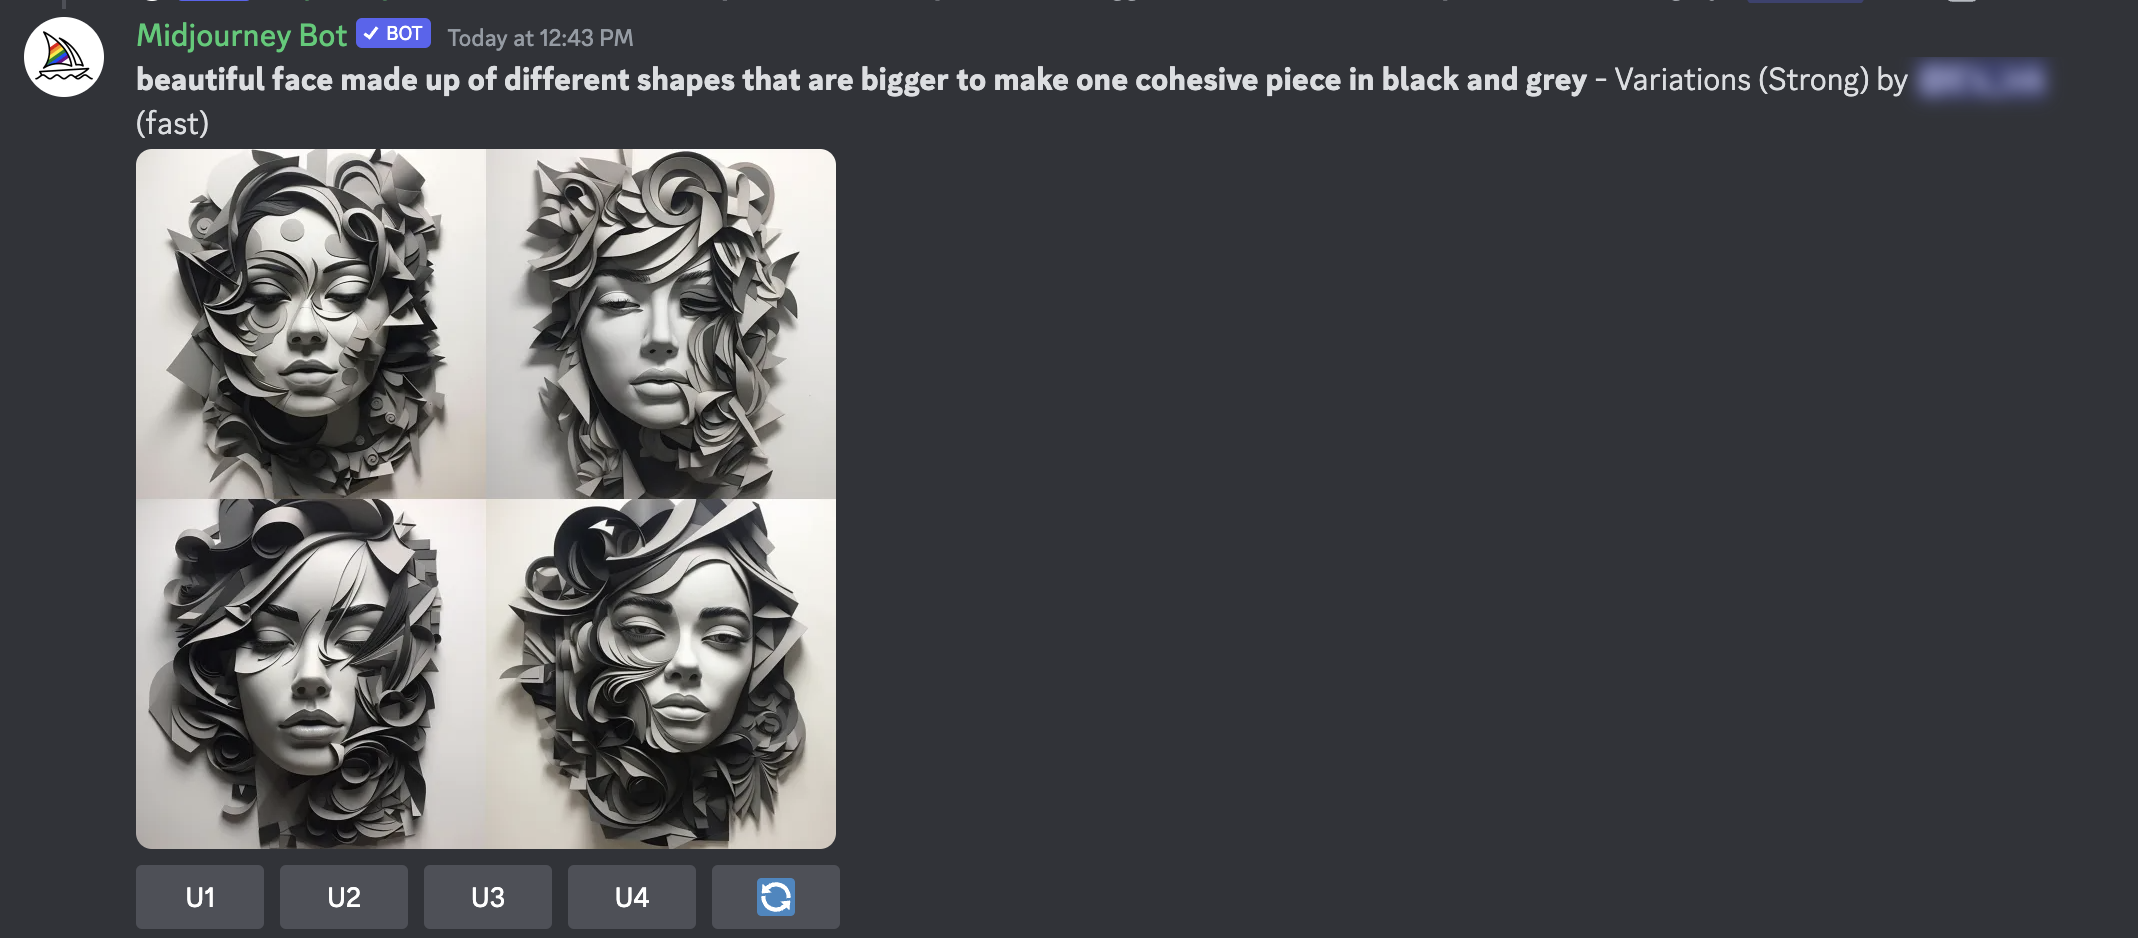
Well, while generating images for ourselves, we were a little hesitant as we thought that the images and prompts we were typing on the server were visible to almost everyone, and it might make a little sense, but the images lost their uniqueness.
So, like you, we too wanted to generate our images and use Midjourney privately without anyone seeing our AI images in real-time for example:
Do you struggle with the same issue? Well, just follow any one of these simple ways and enjoy generating your AI images with Midjourney privately without anyone seeing.
Note
Remember, we have shared both free and paid ways and both have their pros and cons, so pick the method which you like.
Method #1: Creating a Private Discord Server (Free)
Creating images privately in Midjourney is a fantastic way to explore your creativity without sharing your prompts or generated images with the community.
This method involves setting up your Discord server and inviting the Midjourney Bot.
Step 1: Set Up Your Private Discord Server
First things first, you’ll want to create your own server in Discord. It’s super easy just open Discord and look for a plus icon on the left side menu bar—that’s your Add a Server button.
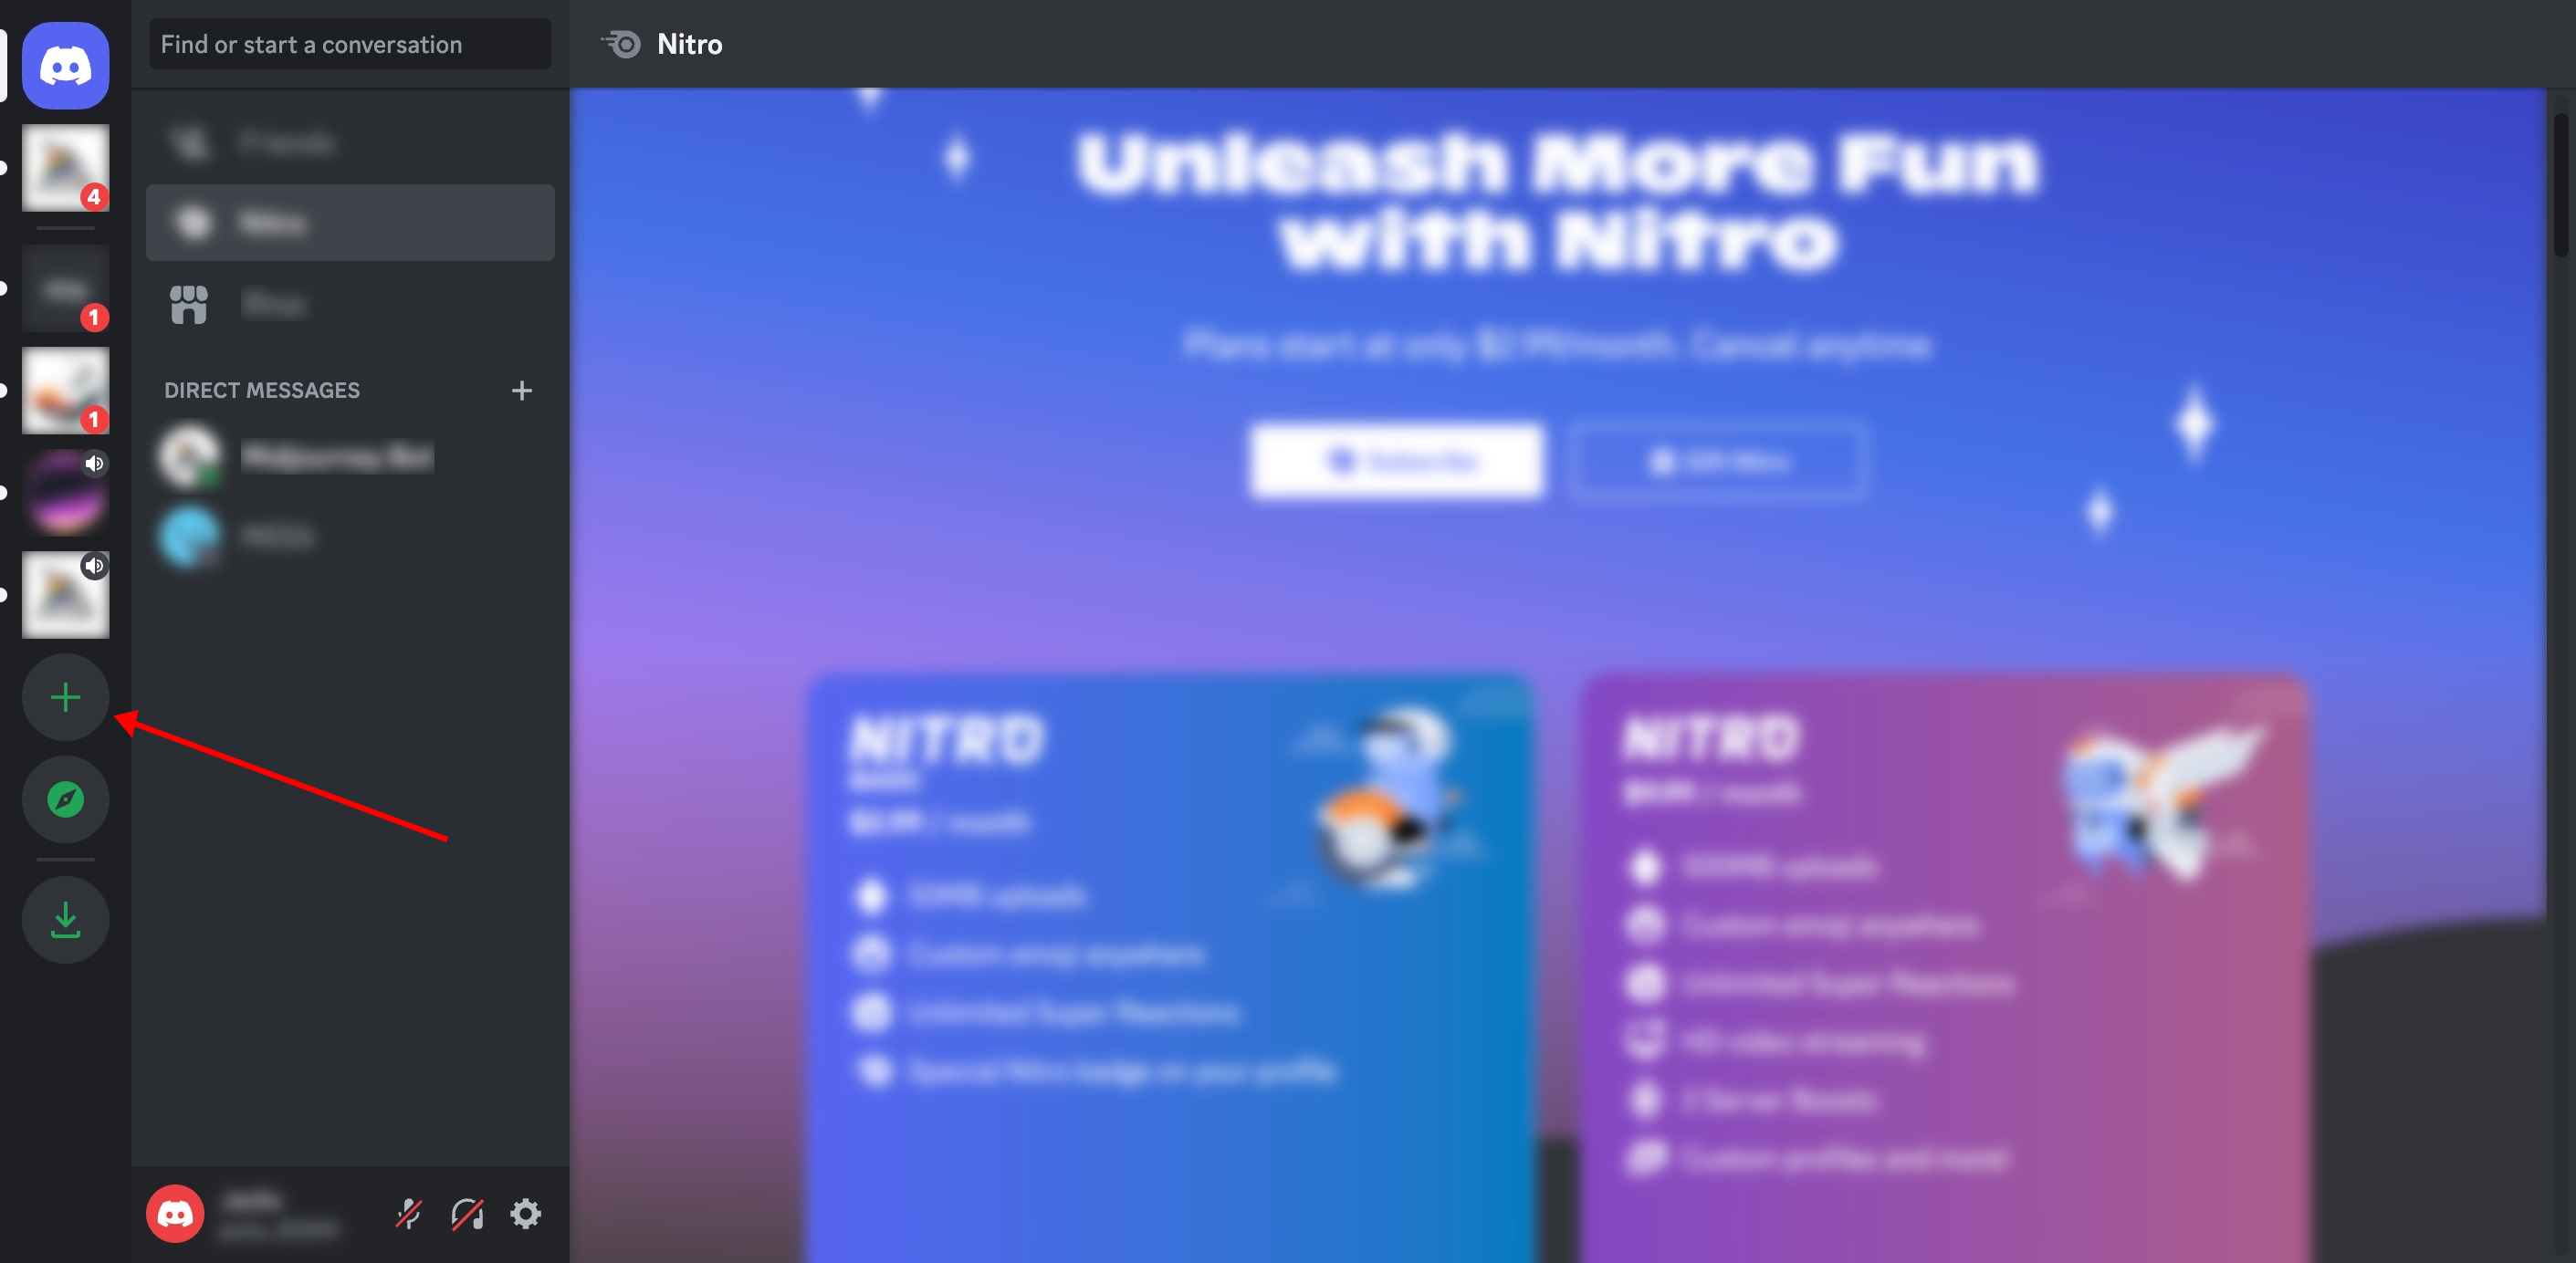
Click it, and a window will pop up with a Create My Own option, click it.
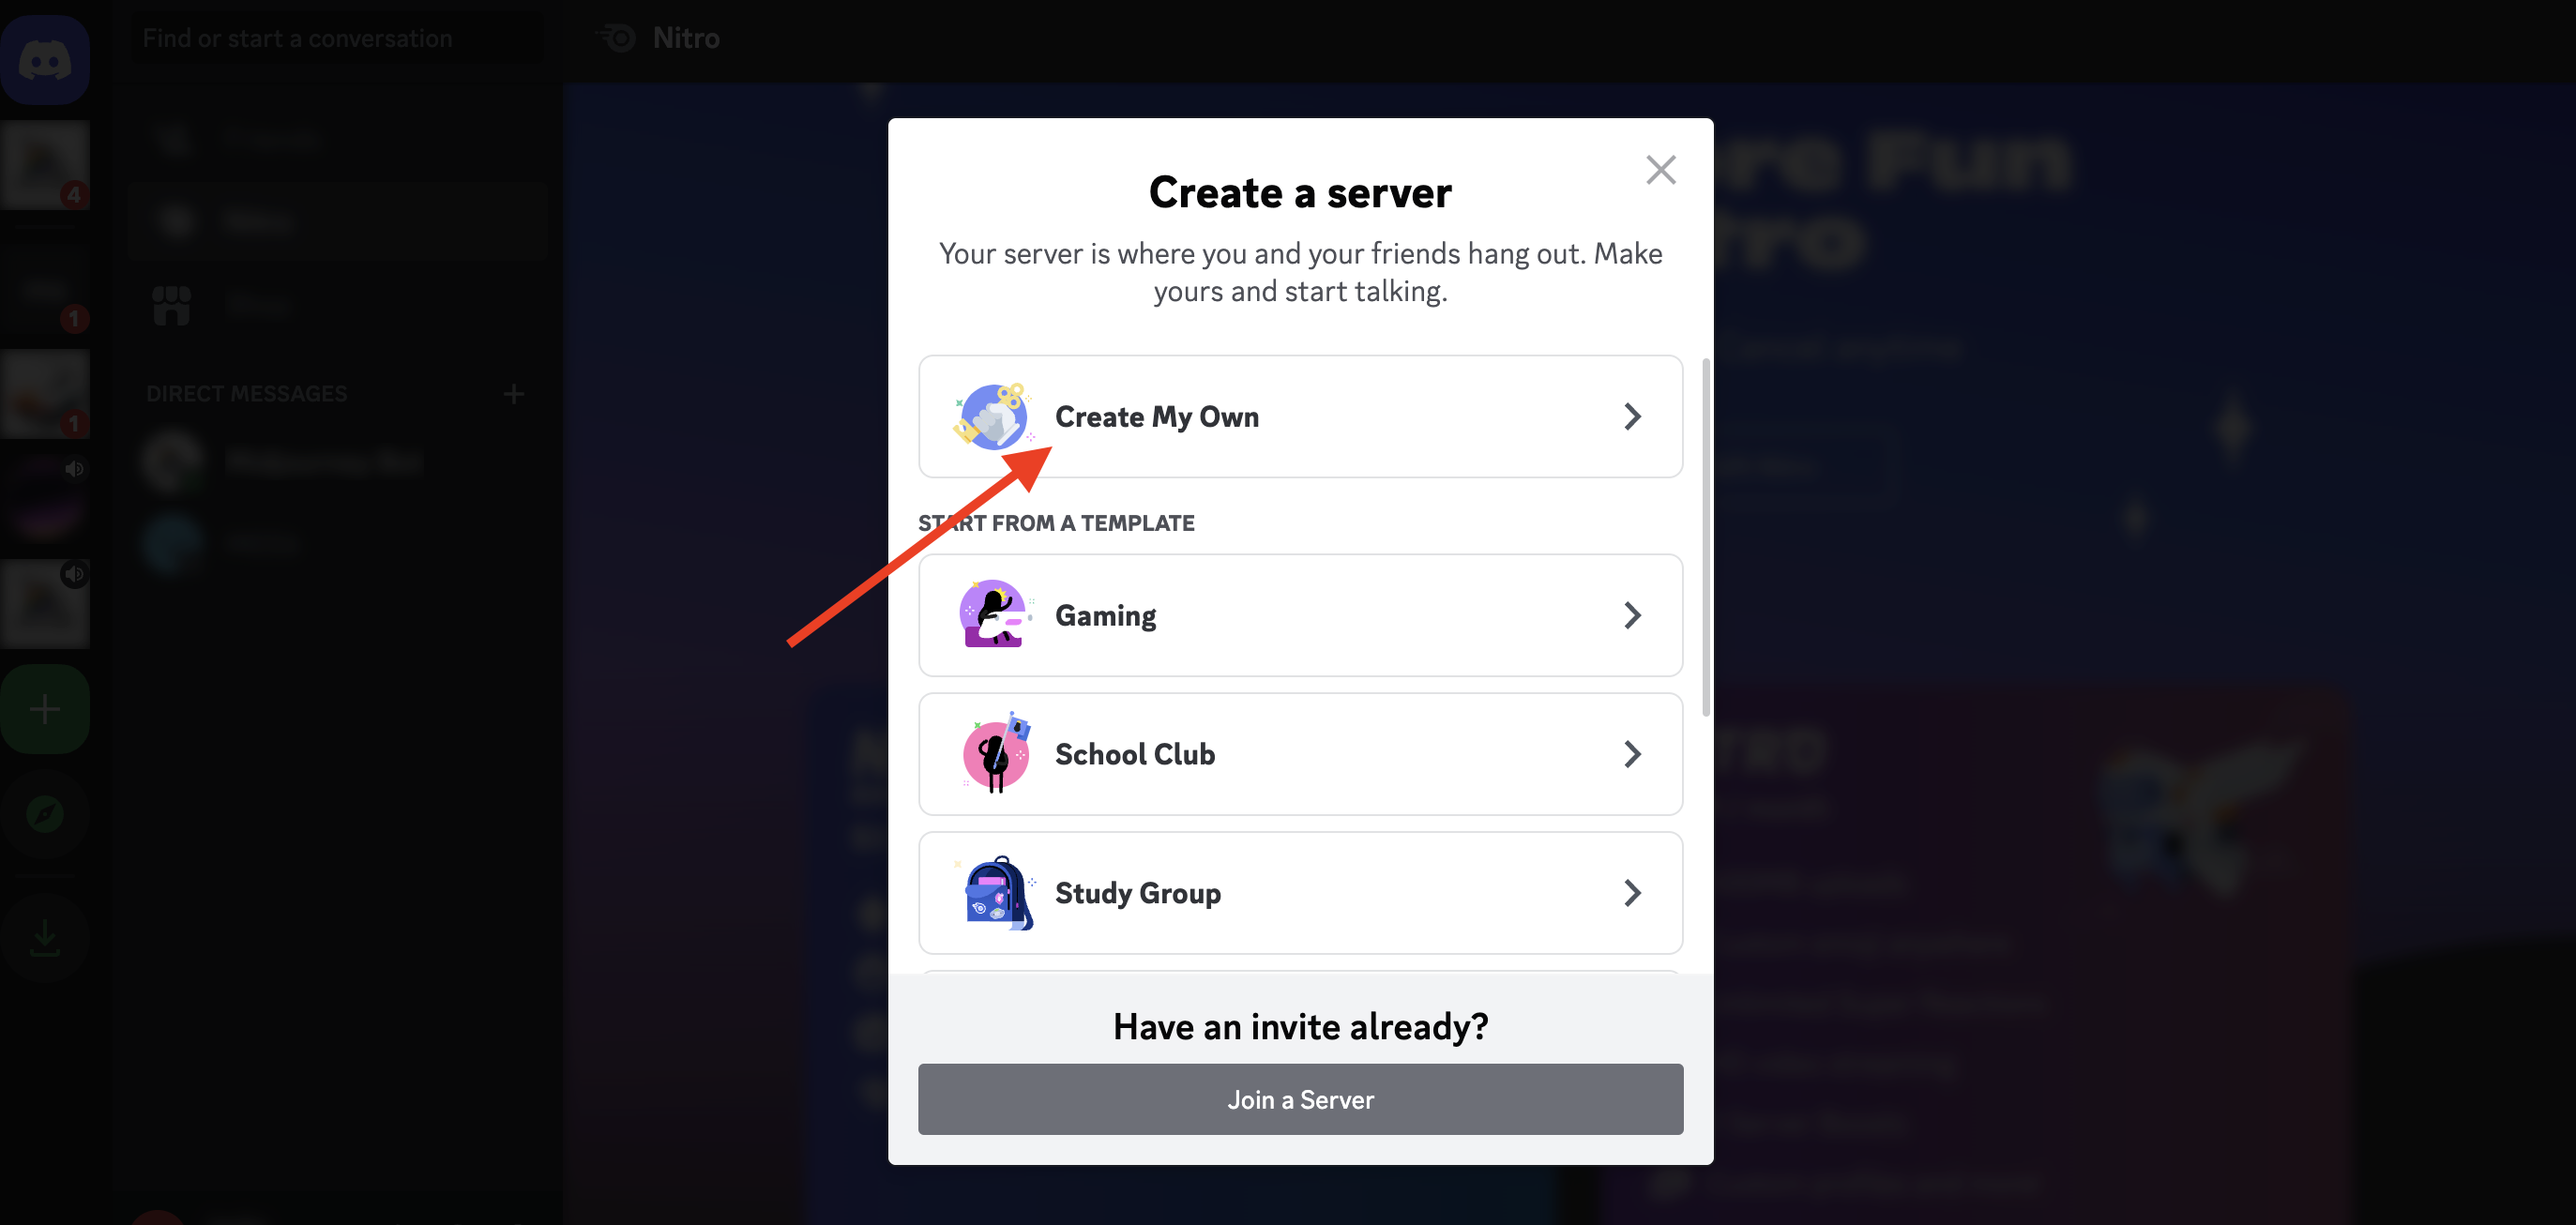
The screen will ask who you’re creating this server like for a community or you and your friends. You can either click For me and my friends option or skip the question by clicking the Skip this question link.

Then, you’ll be asked for a server name—this can be anything that makes you happy, like “Midjourney Private Server”.
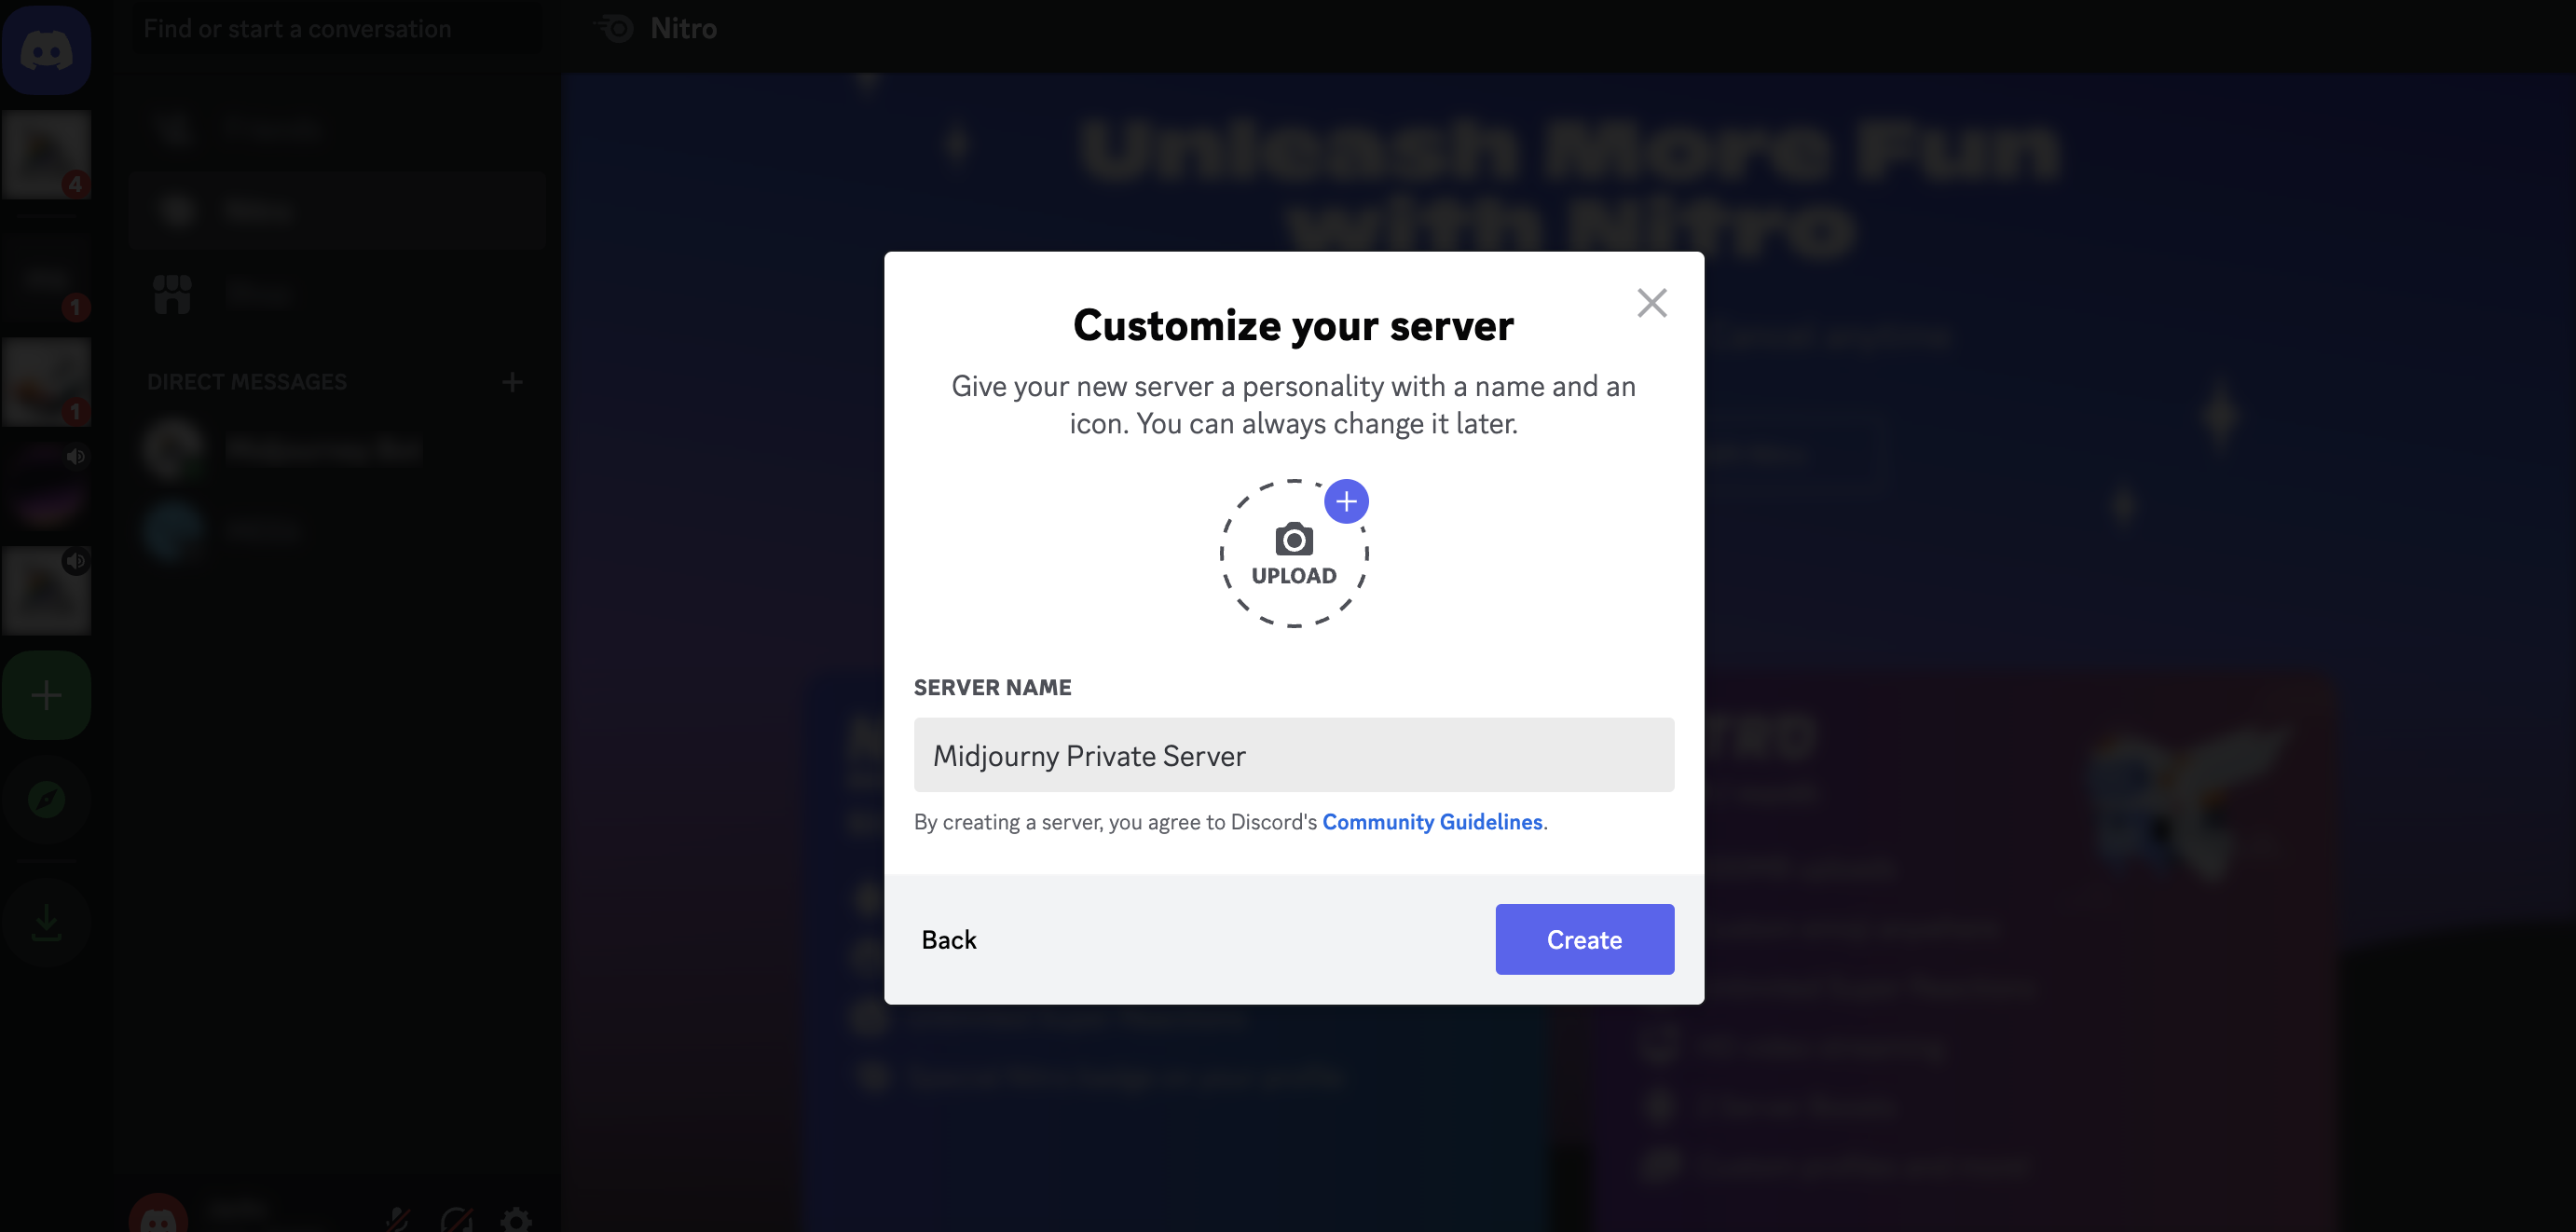
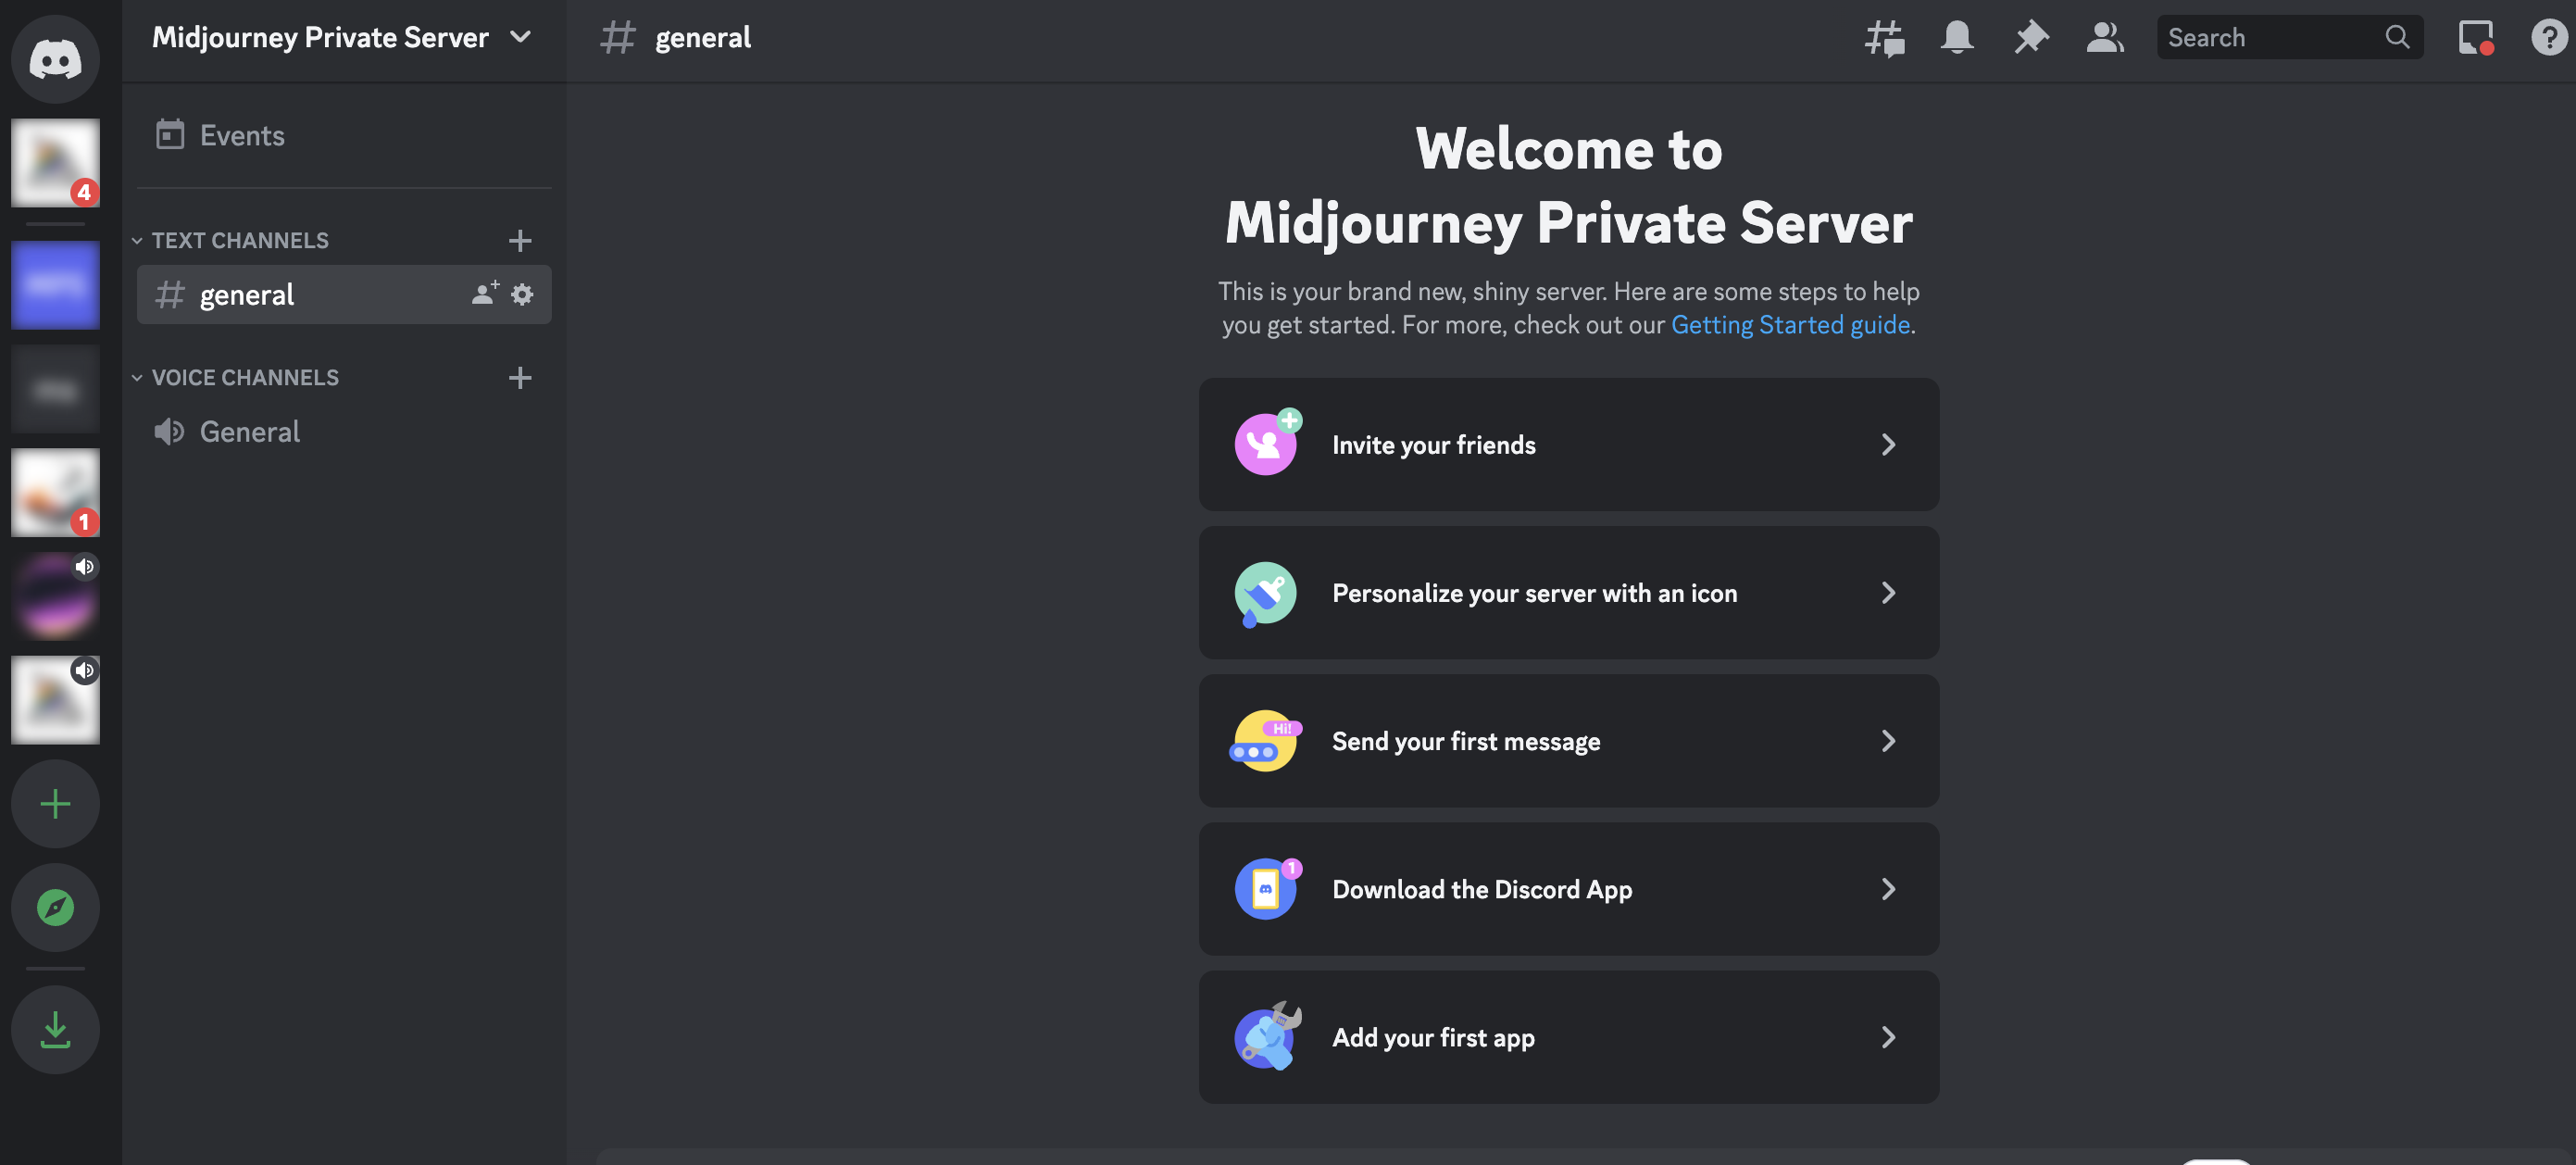
Once you’ve named it, click Create and boom, you’ve got your own private server.
Step 2: Invite Midjourney Bot to Your Server
Now that you have your own server, it’s time to invite the Midjourney Bot over. On your new private server, you will see a Add your first app option, click it.
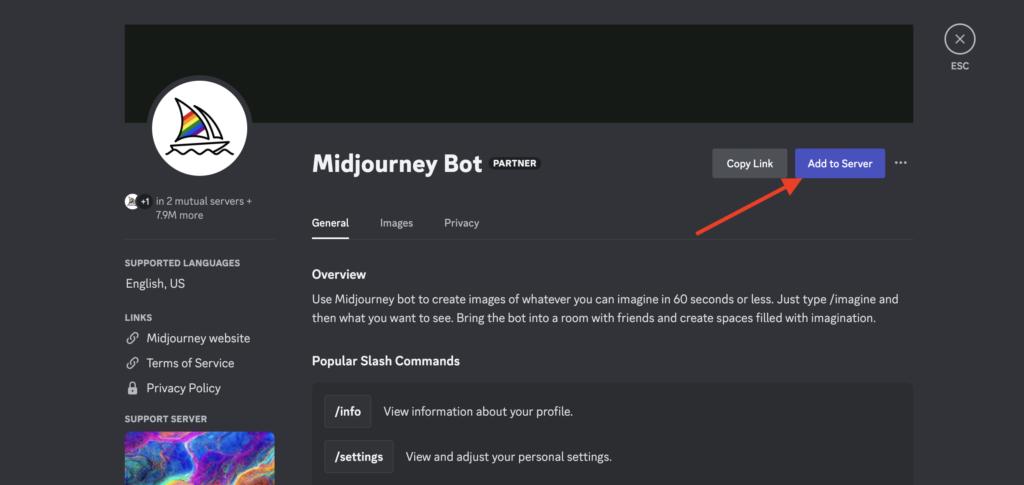
Now, you’ll be prompted to app search page, search for Midjourney and click the Midjourney bot then click Add to server.
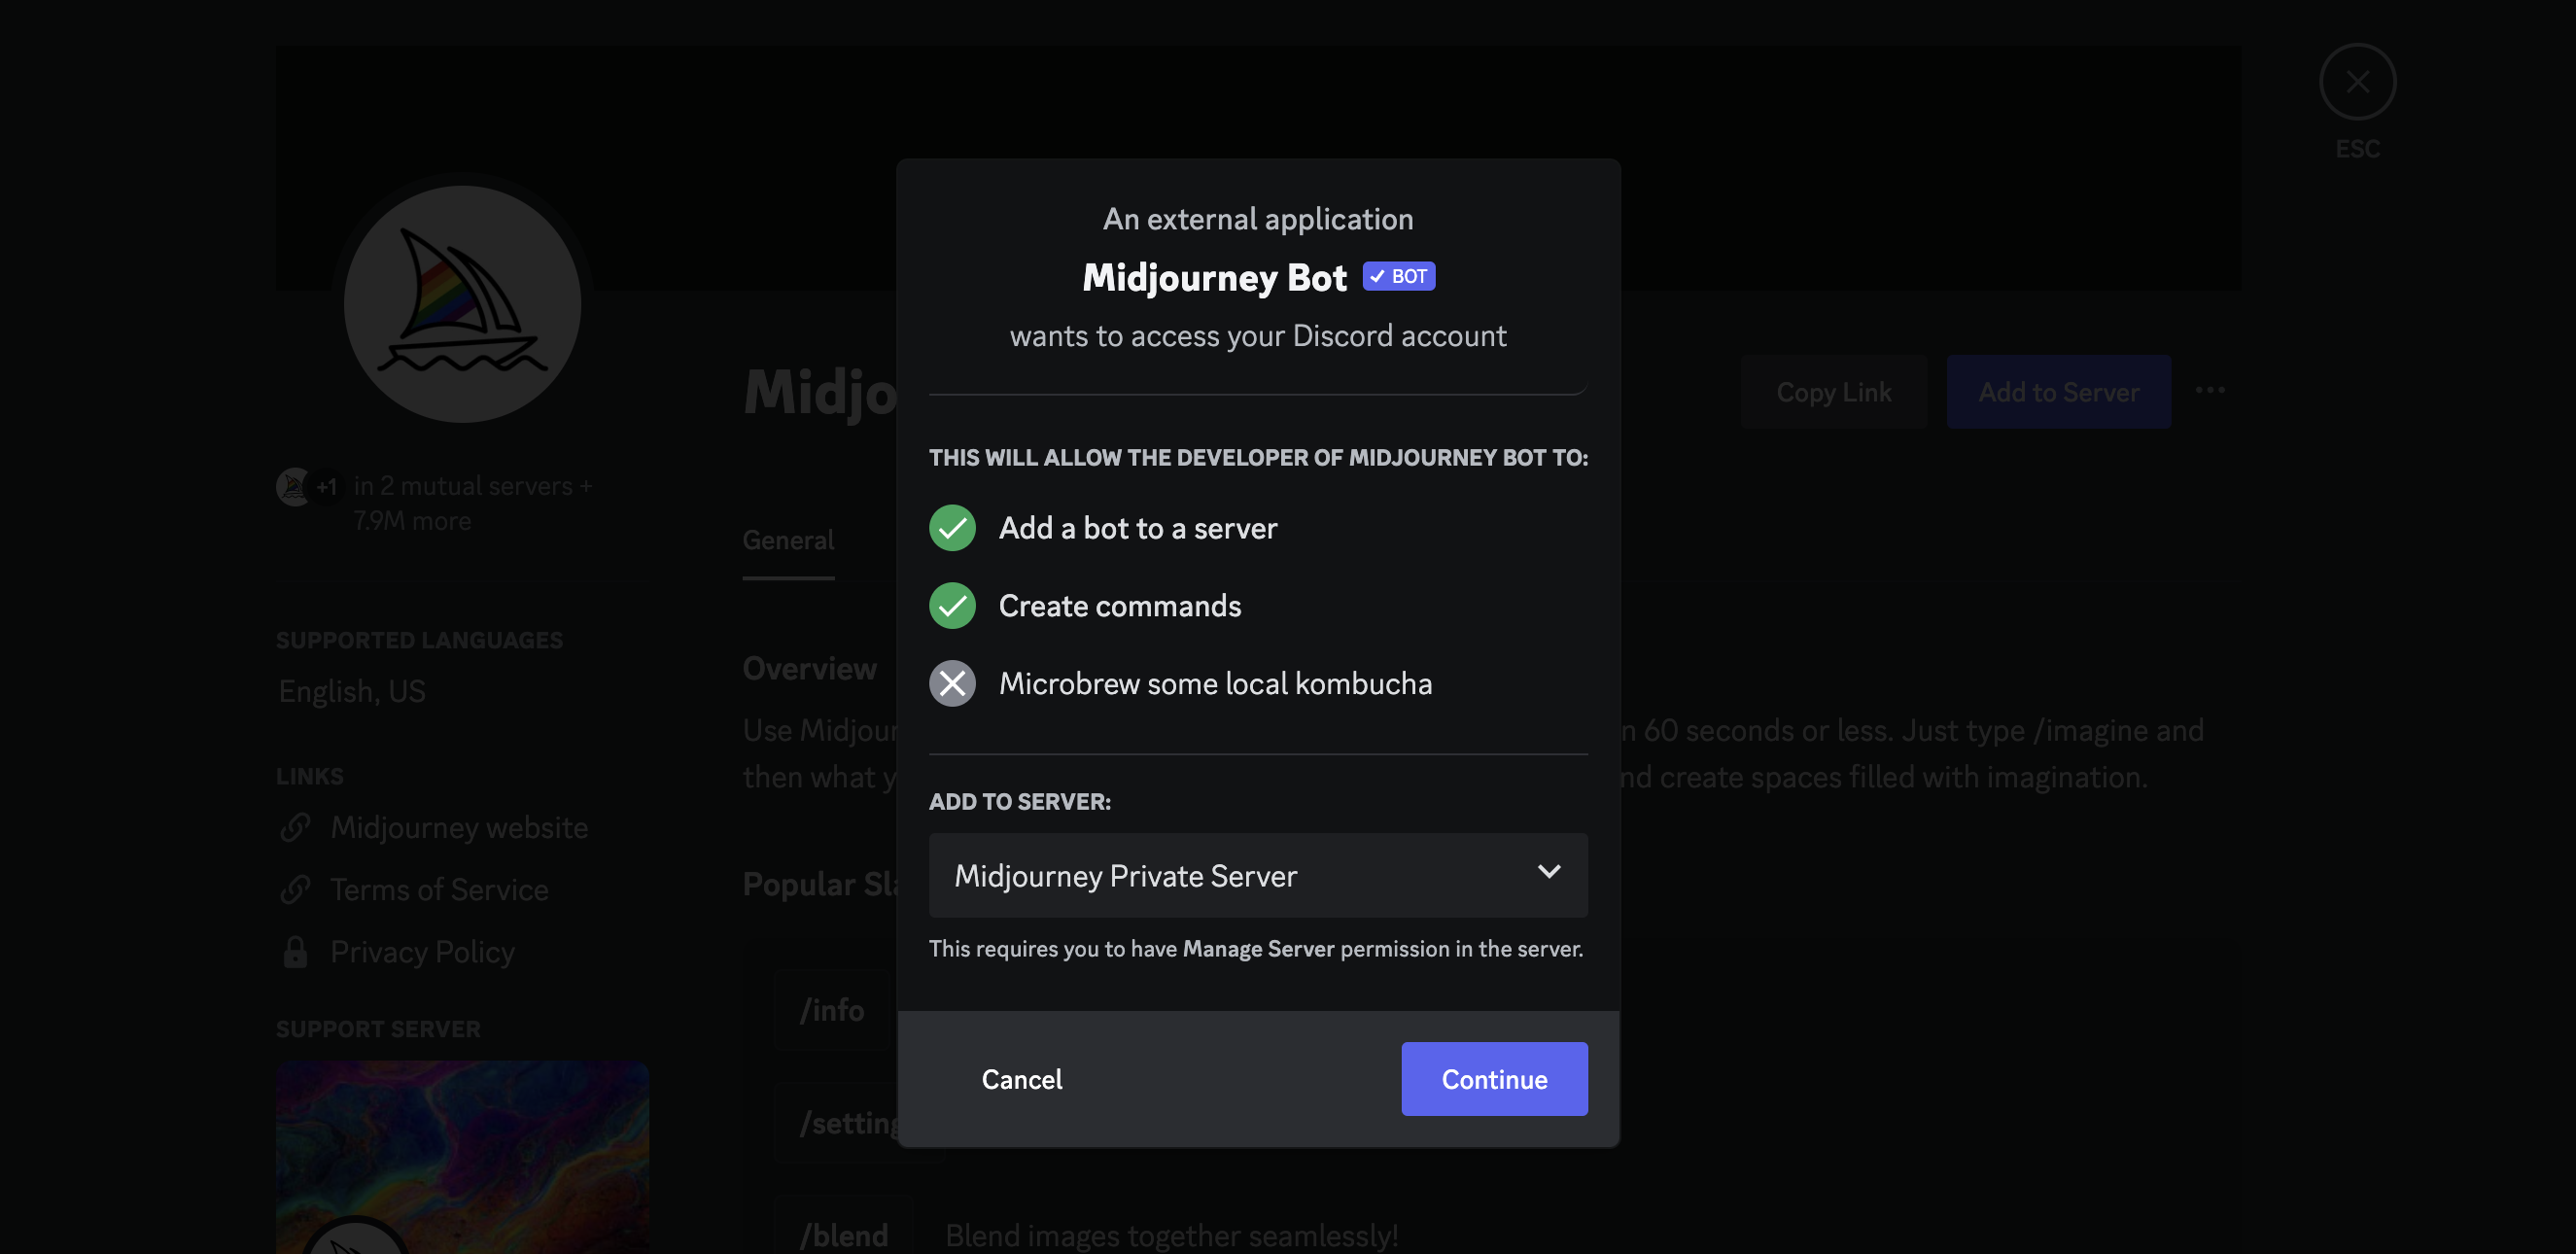
A window will appear with some permission settings; click Continue and check all the permission settings. When done, click Authorize.
Step 3: Start Creating Images Privately
With the Midjourney Bot now added to your server, you’re all set to create images.
Just type /imagine followed by your prompt in the chat, and the Bot will start generating images just for you.
Important
Remember, your server is private by default, so only people you invite can join and see what you’re creating. You can make as many images as you like, and Midjourney will keep all those creations between you and the Bot.
Method #2: Using Midjourney’s Stealth Mode (Pro Only Feature)
If you’re a Midjourney Pro user and privacy is a top concern for you like us, you’ll be pleased to know about the platform’s Stealth Mode.
But before we dive into the steps, let’s understand what Stealth Mode is.
By default, your artworks on Midjourney are visible to the public gallery (so that others can get inspired or copy your prompts), but after enabling Stealth Mode, you can make your images hide from the public eye.
Unfortunately, this mode is exclusively accessible with Midjourney’s top-tier Pro subscription. When paid monthly, the Pro plan costs $60 per month. When paid annually, the cost drops to $48 per month.
So, if you want to use the Stealth command, follow the below steps:
Step 1: Subscribing to Midjourney Pro
To access Stealth Mode, you need to be on Midjourney’s Pro Plan, which comes at $60 per month at the time of writing.
It’s a significant investment, but if privacy is crucial for your projects, it might be well worth it.
Once you’ve decided, subscribe to the Pro Plan, and you’ll be all set to go incognito with your image generation.
Step 2: Activating Stealth Mode
Activating Stealth Mode is as easy as typing a command in Discord.
If you want to switch to Stealth Mode, simply type /stealth or /private in any Discord channel where the Midjourney bot is active.
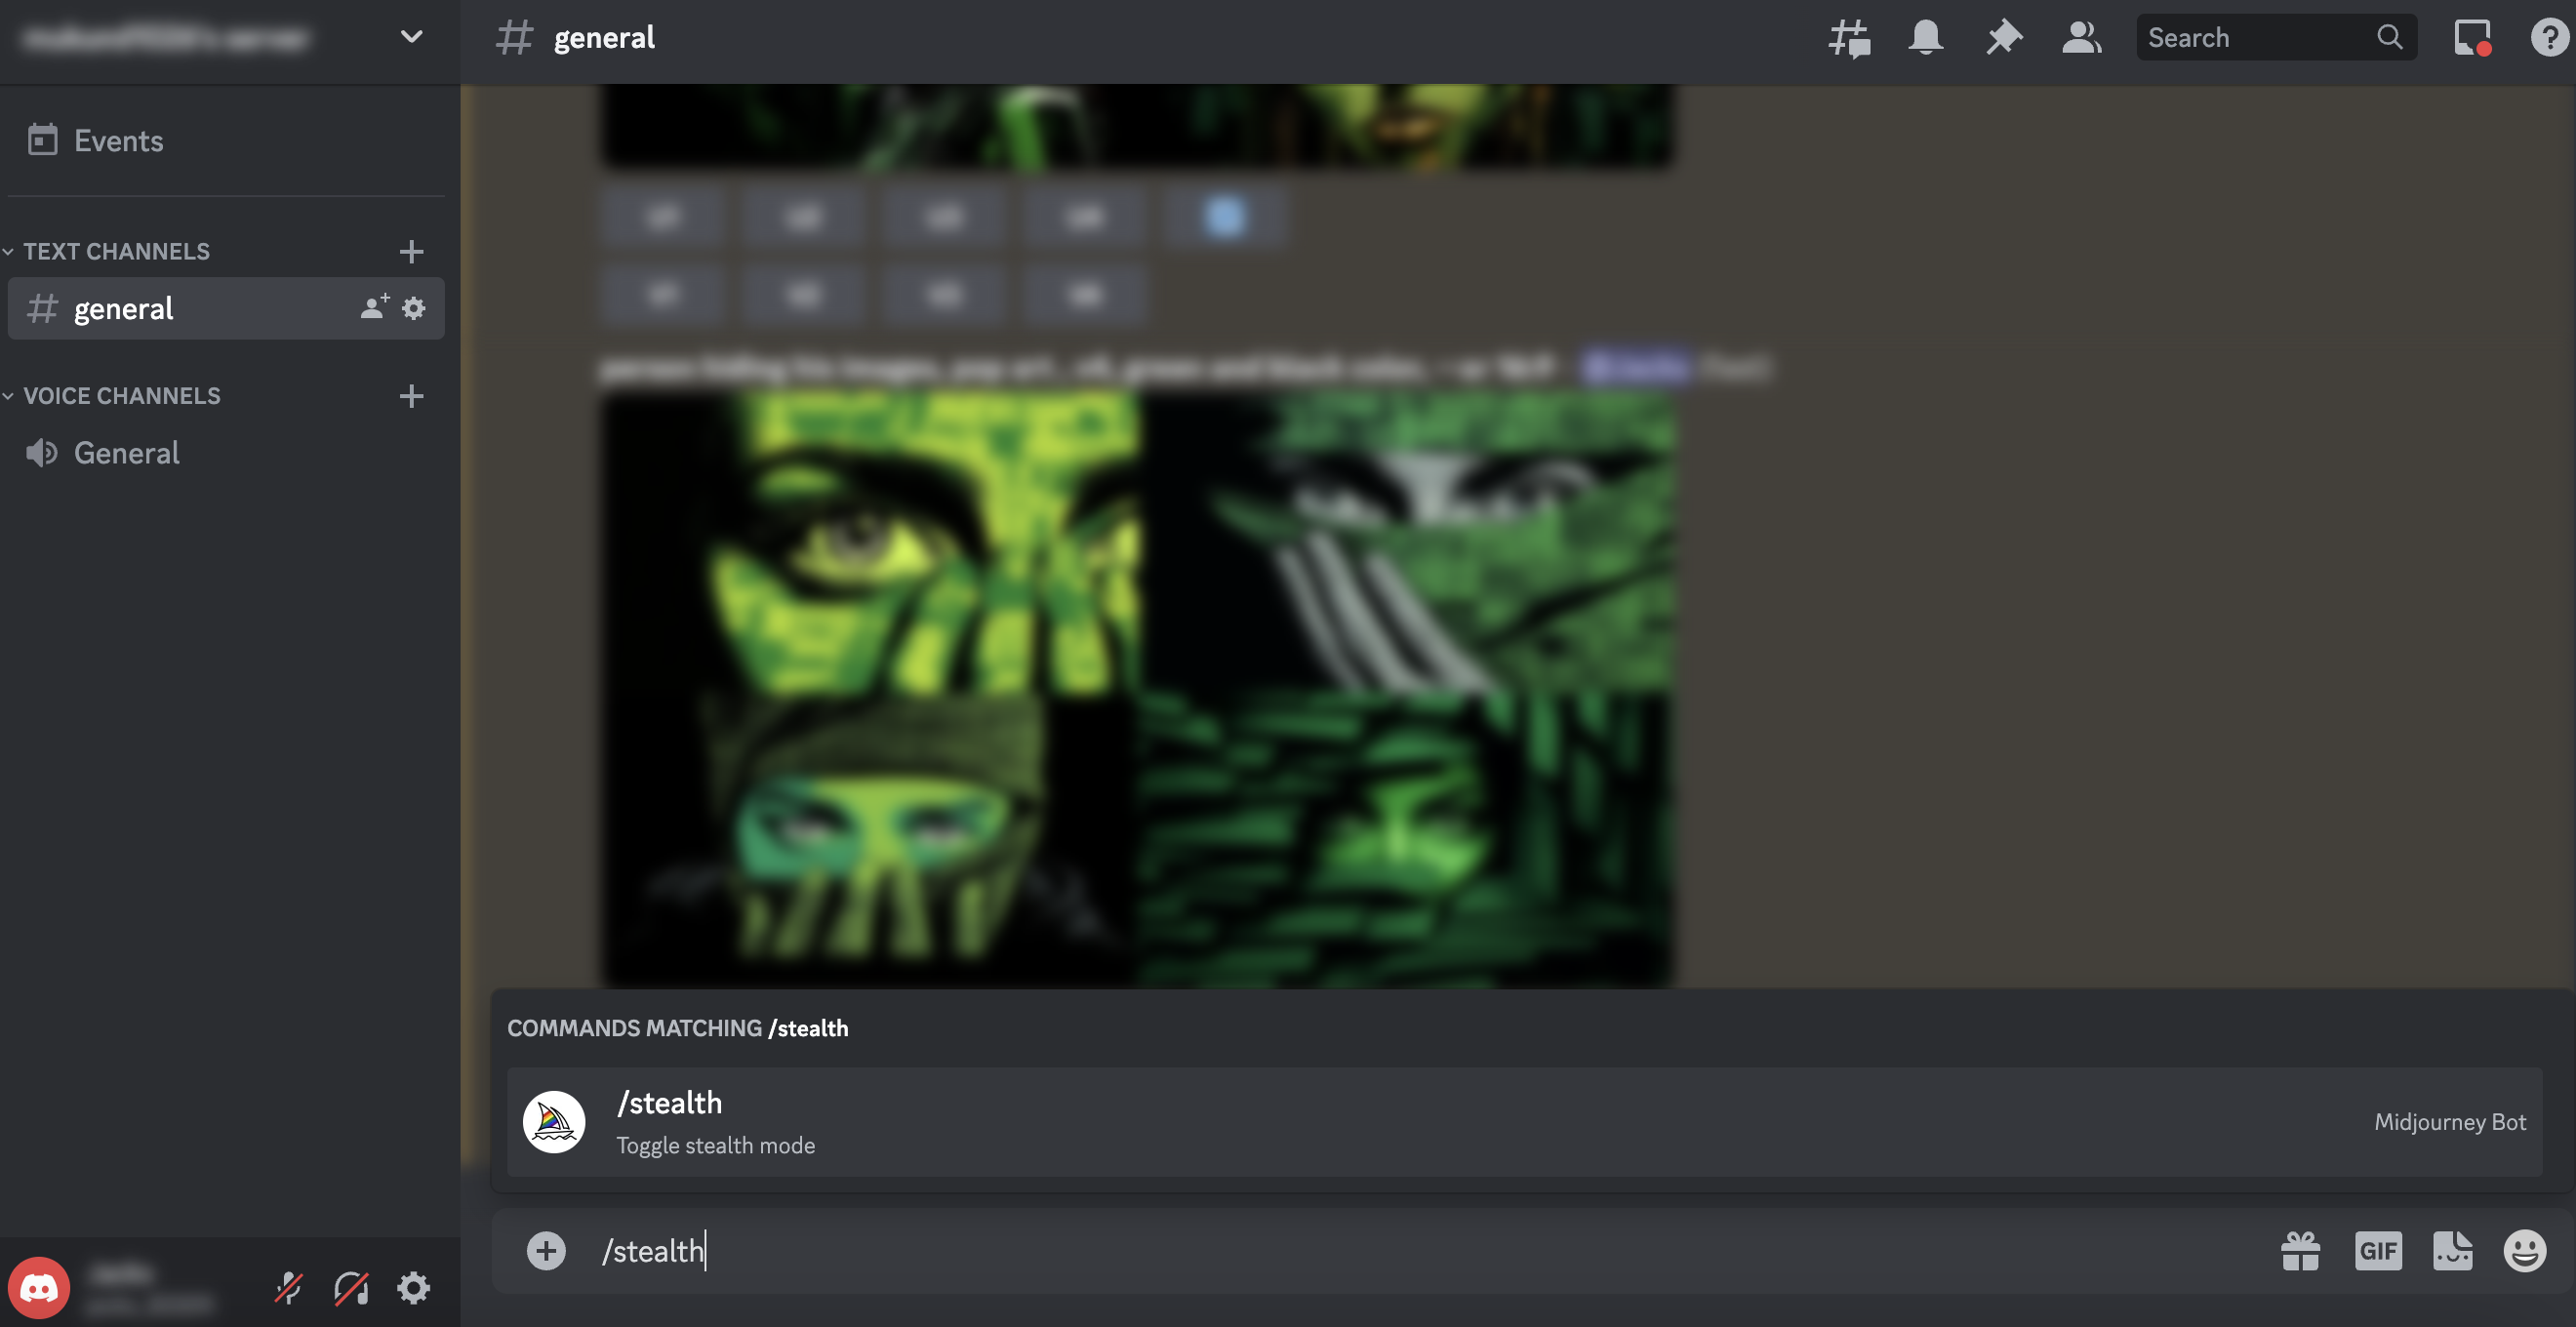
This command turns on Stealth Mode, and any images you generate henceforth will be hidden from public view.
Conversely, if you ever need to switch back to Public Mode, typing /public will return things to normal, making your creations visible to the Midjourney community again.
Step 3: Checking Your Visibility Mode
To avoid any confusion about which mode you’re in, you can quickly check your current visibility status.
Type the /info command, and Discord will display whether you’re in Stealth or Public mode. For example, for us as you can see our visibility is set to Public because we are on a basic Midjourney plan.
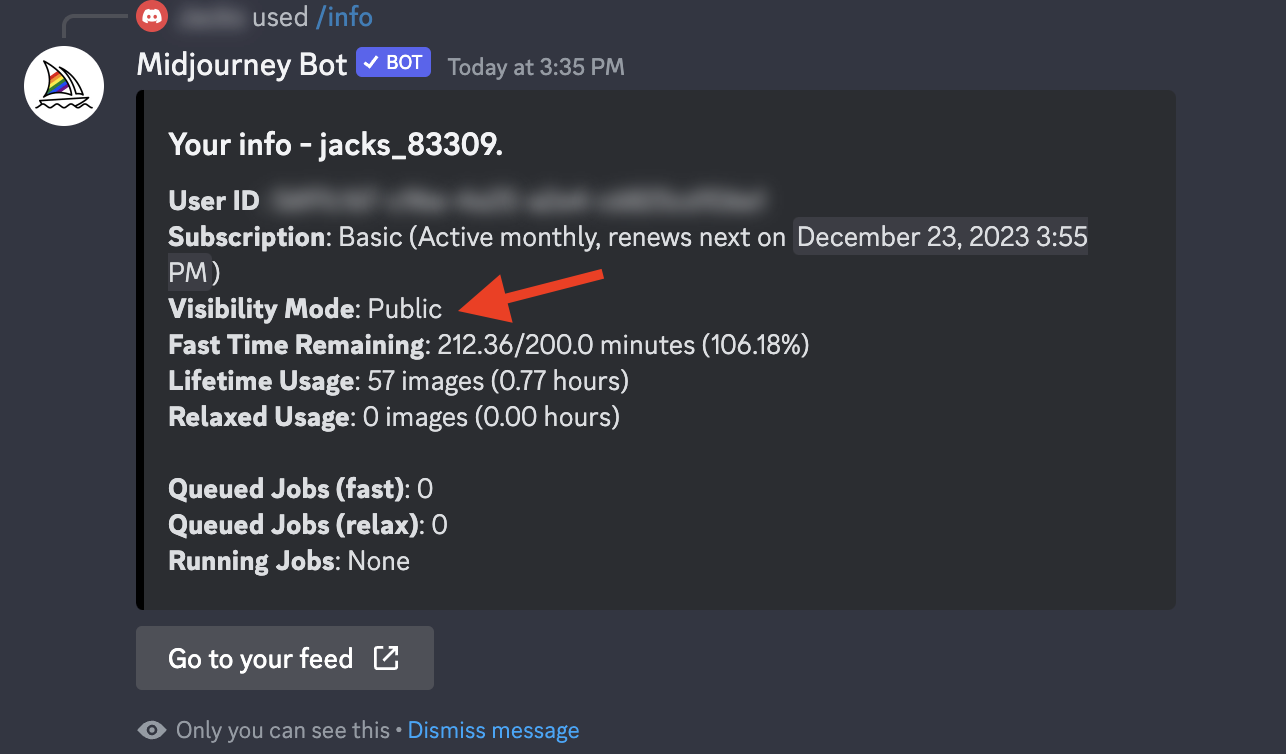
This can give you peace of mind before you start generating new images.
Step 4: Generating Images Privately
Even with Stealth Mode active, where you generate your images on Discord still matters.
If you use Midjourney’s public channels, others can see your images as they’re generated, regardless of your Stealth status.
To maintain privacy, create your images in a private server, as discussed in Method #1.
Remember
Stealth Mode only affects images generated while the mode is active.
Method #3: Using Midjourney Bot
For those who prefer a more direct approach or maybe aren’t ready to set up a private server, you can you the Midjourney Bot directly through a private message on Discord.
Step 1: Initiating a Private Conversation
The first thing you need to do is locate the Midjourney Bot within the Discord environment.
Head over to one of the Midjourney public channels, and you should see the bot listed there. Click on the bot’s profile picture or name to open a direct message (DM) window.
Step 2: Starting Your Private Session
Once you’ve opened a direct message window with the Midjourney Bot, it’s just like chatting with a friend. You can start by typing /imagine followed by your creative prompt.
For example, if you type /imagine a sunny meadow with wildflowers, the bot will generate images based on your description, or check out some prompts here.
Step 3: Finding the Chat
There’s an easy fix if you ever need to return to your private chat with the Midjourney Bot but can’t seem to find it among your many Discord conversations.
Simply visit https://discord.com/channels/@me, and you’ll see all your direct messages, including the one with the Midjourney Bot.
Bonus: Delete The Images You Created in Midjourney
To ensure complete privacy, here’s a clever trick to keep your gallery clean and your images truly private.
Before we delve into the deletion process, you should know how to locate your generated images without scrolling your Discord chat forever.
To do that, sign in to your Discord account and click the Midjourney icon from the left panel. Now, click the Mention icon on the top right corner, and you’ll be able to see all your generated images here.
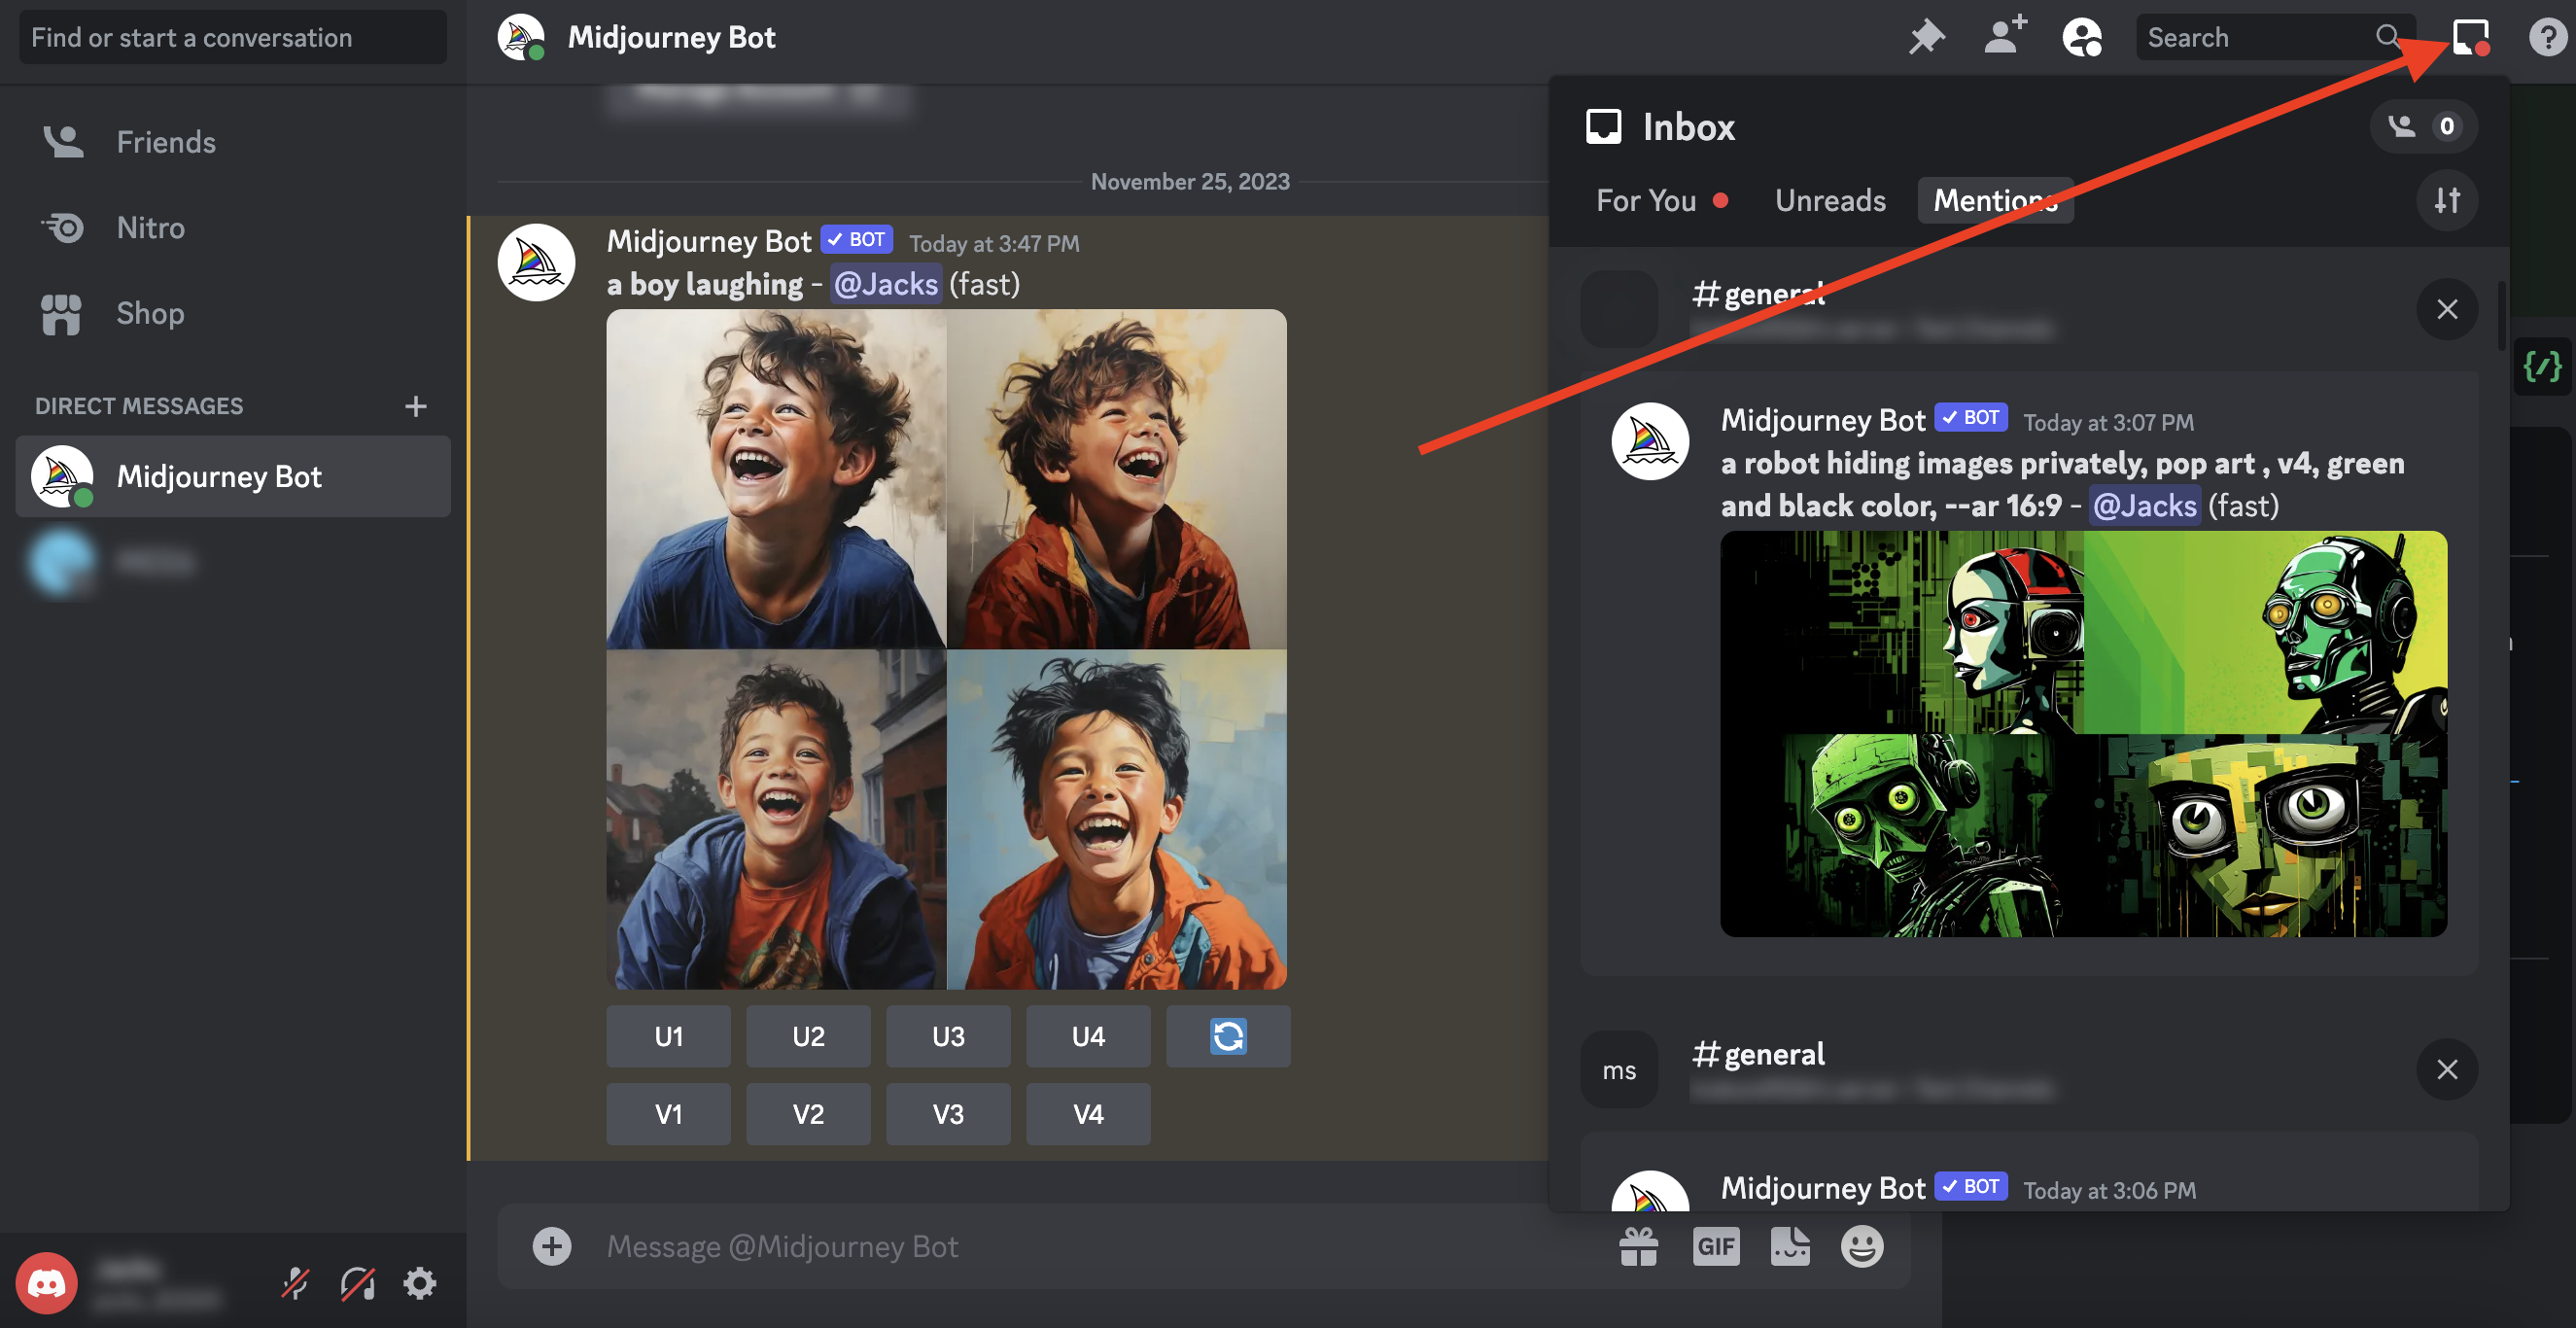
Once you’ve identified the images in your gallery that you’d like to remove click Jump, and follow these simple steps:
- Navigate to the Discord message from the Midjourney Bot that contains the image you want to delete.
- React to that message by adding a ❌ emoji. The Midjourney Bot is programmed to recognize this reaction as a deletion command, and it will promptly remove the image from your public gallery.
Important Tip
Remember, deletion is irreversible. To avoid losing your favorite creations, download and save them elsewhere before proceeding with the deletion.
If you’re concerned about losing track of your creations, a smart move is to record the Job ID associated with each image. You can copy your Job IDs by visiting https://www.midjourney.com/imagine. Now, click the image you want the ID of and click the “…” icon. Now, click Copy and then Job ID.
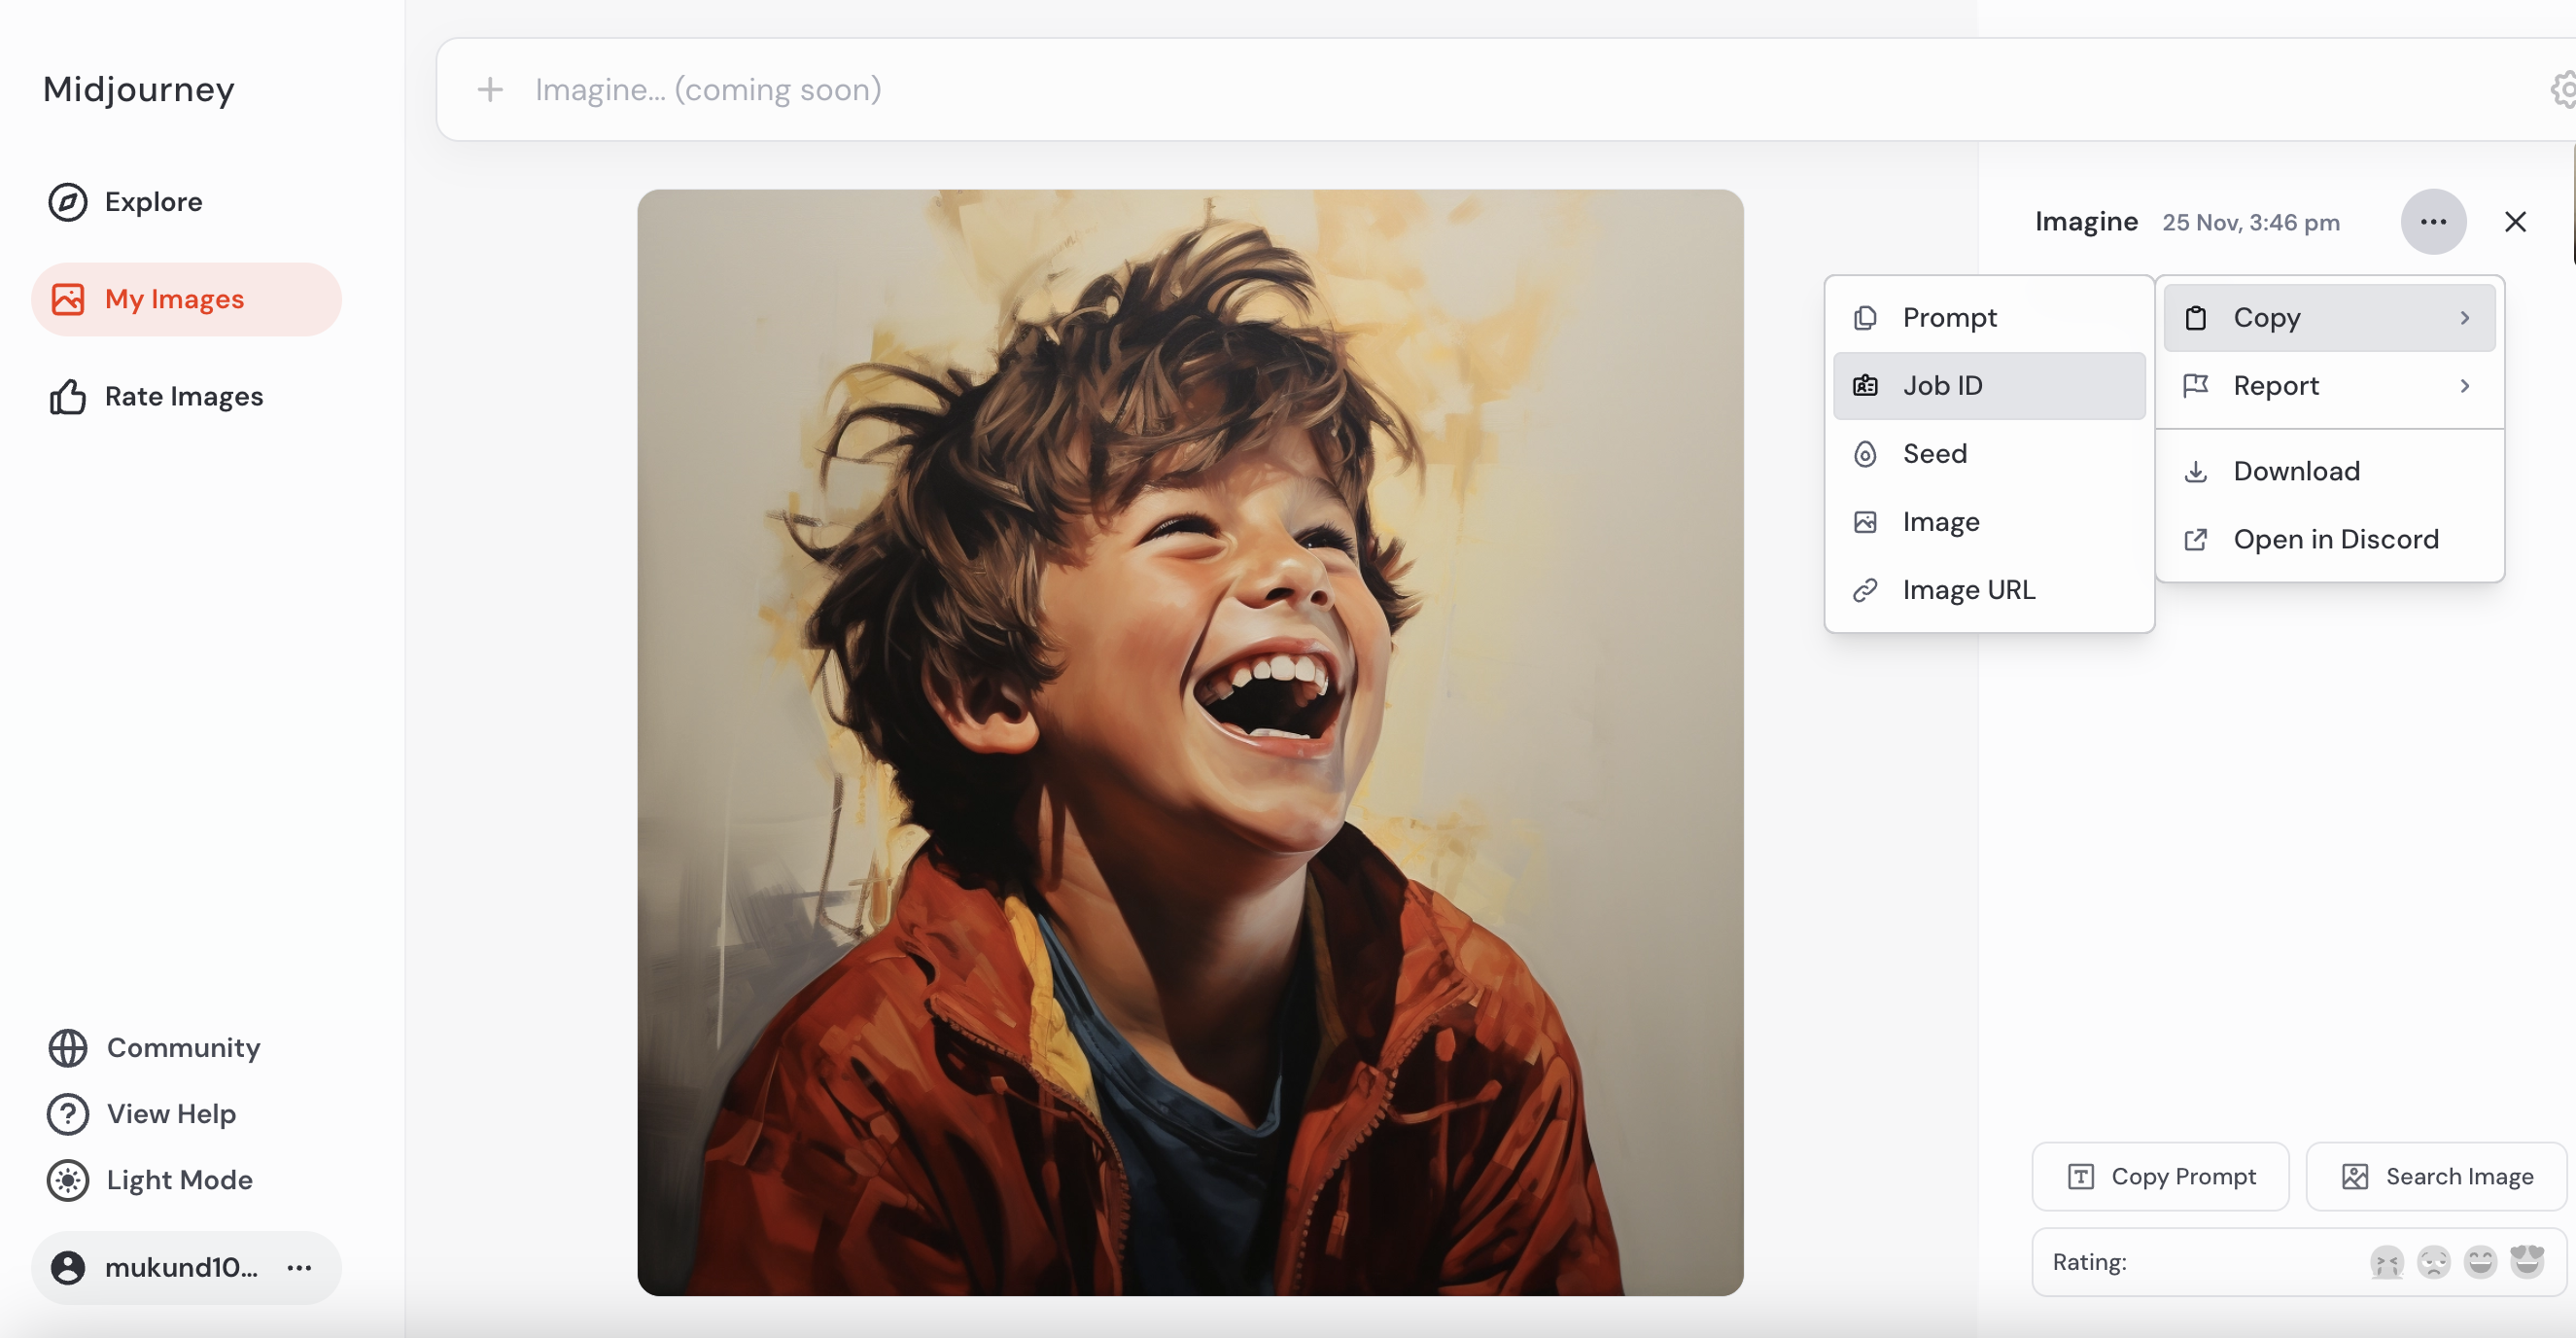
This ID is a unique identifier that allows you to retrieve the same image in the future. Store these IDs securely, perhaps alongside the downloaded images on your computer for easy reference.
And That’s The End!
So, to keep your Midjourney creations just for your eyes, you’ve got a few handy methods.
First, you can chat directly with the Midjourney Bot or invite the Bot to a private Discord server you create. This keeps your prompts out of the public channels.
Then, if you want to ensure nobody peeks at your images on the Midjourney website, you can delete them by reacting with a ❌ emoji to the image message in Discord. Just don’t forget to save your favorites before deleting them!
And if you’re serious about privacy, consider the Pro Plan for Stealth Mode, which keeps your images from showing up online. But remember, this costs extra.
Keep all these tips in mind, and you can make art privately without anyone else checking out your masterpieces unless you want them to.
See you soon, and don’t forget to check out these important resources:


