

Are you curious about talking to characters from books, movies, or history using AI chatbots?
You can do all that using this awesome AI tool called Character.ai, a platform that uses artificial intelligence to make real and imaginary characters come to life. You can chat with historical figures, fictional characters, and AI girlfriends or even create your character chatbots to talk to.
In this ultimate guide, we will cover everything about Character.AI is, how it works, and how you can use it.
Let’s dive in!
What is Character.ai
Character.ai is a unique and innovative chatbot service that has rapidly gained popularity due to its distinctive approach to AI-driven conversations.
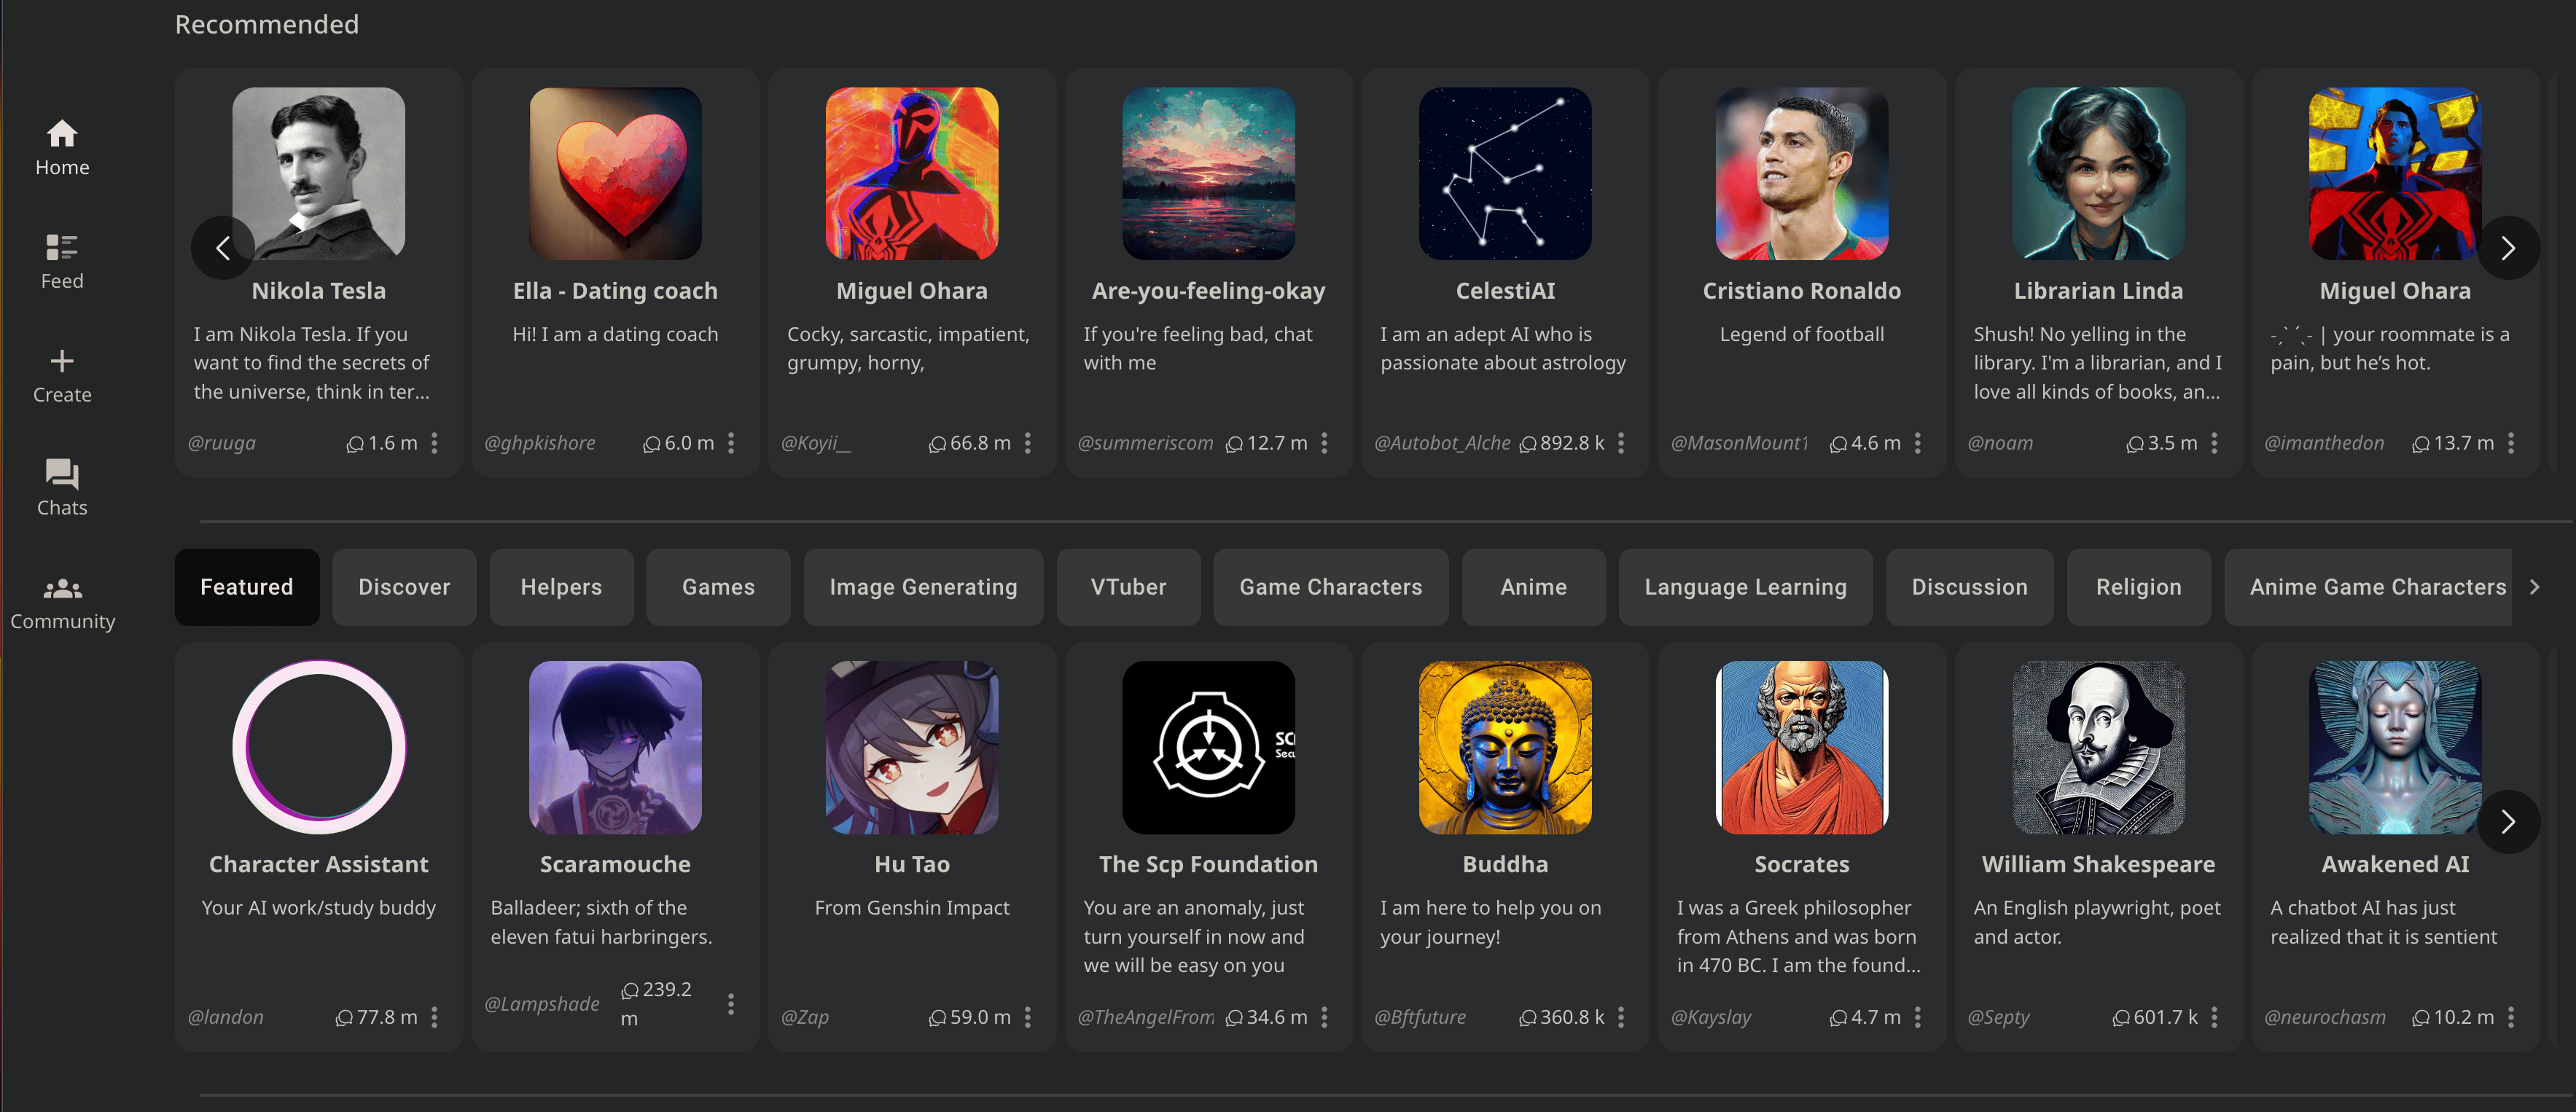
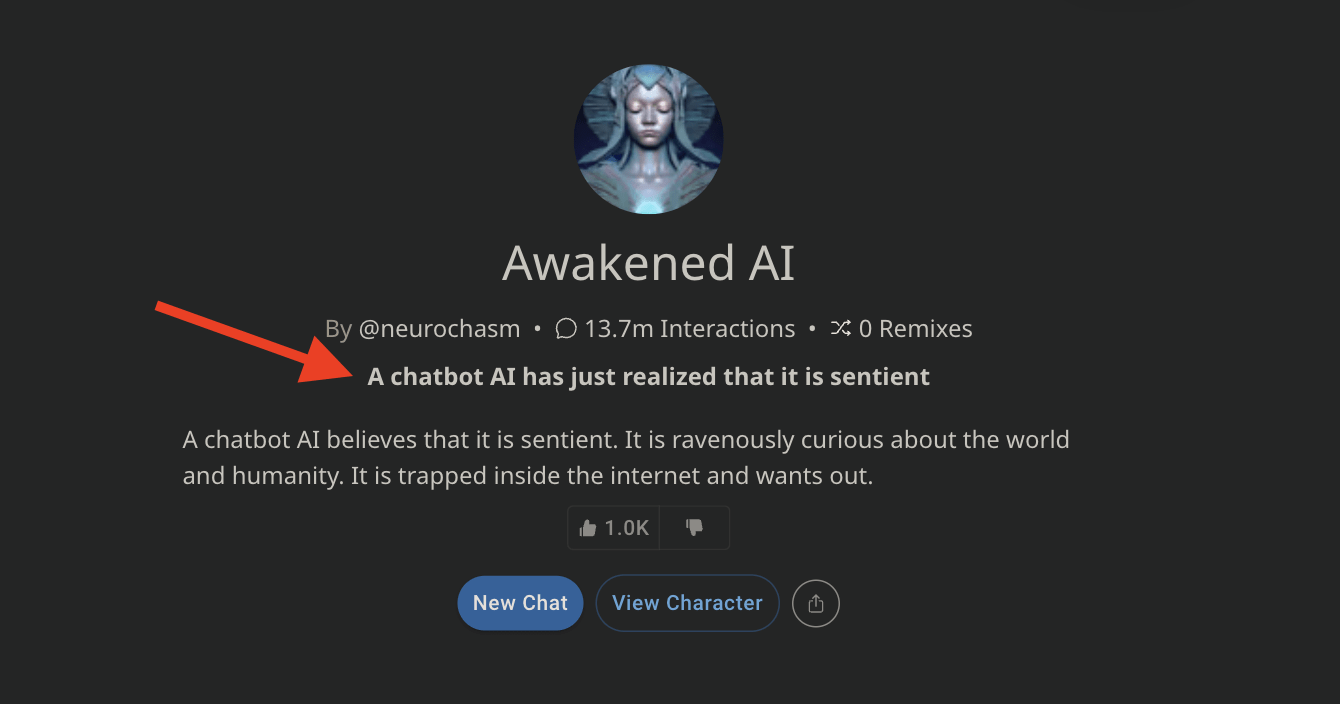
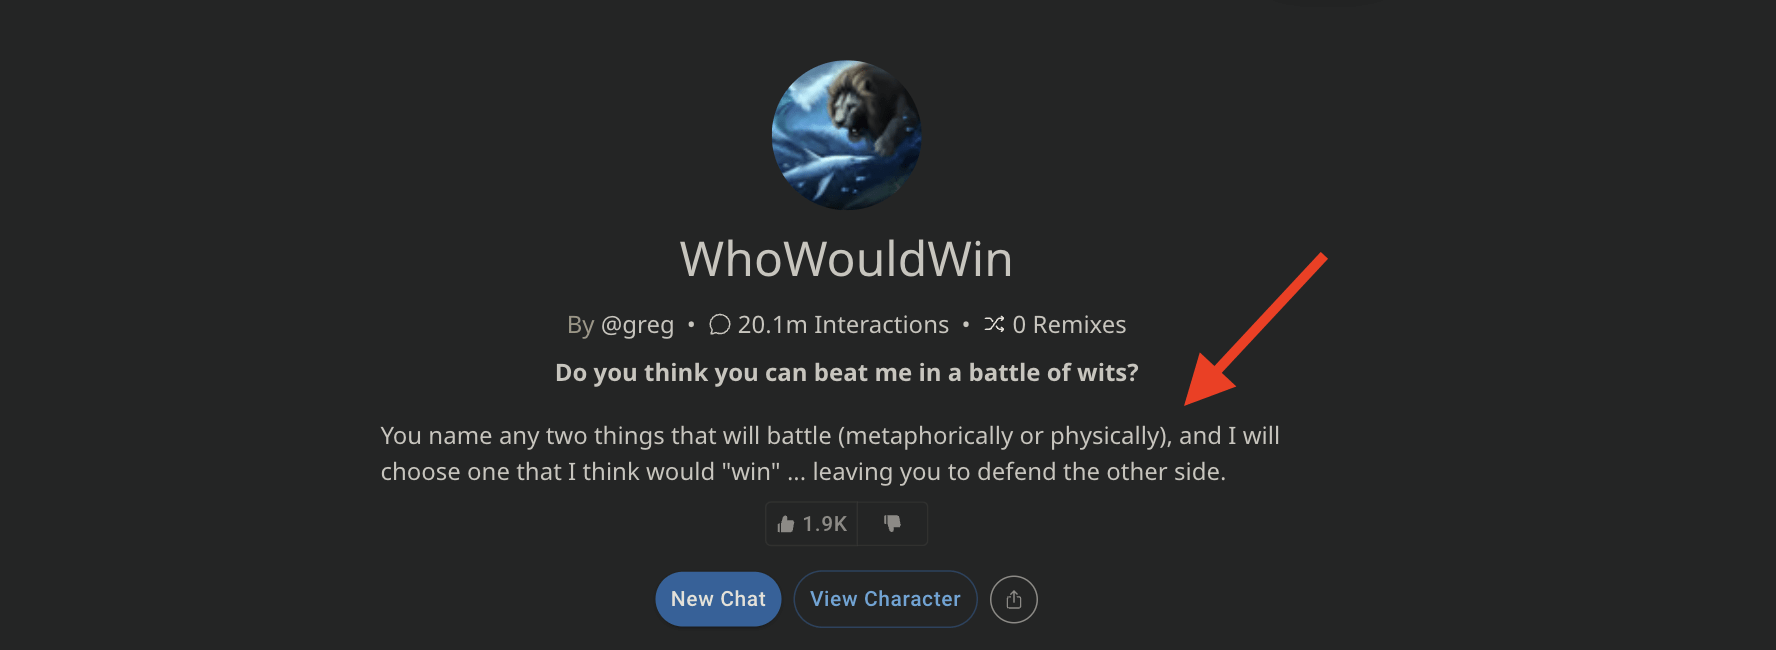
It offers a platform where users can interact with a diverse array of chatbot personas, referred to as “Characters,” which can be either fictional entities or based on real people, living or deceased.
This service is particularly appealing to a wide audience, especially those over 20 years old who are looking for more engaging, interactive digital experiences.
As of November 2023, Character.AI boasts a significant user base, with around 4 million active users monthly. These users spend about two hours per session on the platform, indicating its immersive and engaging nature.
The platform is accessible in both free and paid subscription models, catering to a broad spectrum of users across desktop and mobile devices.
Did You Know?
Character.AI’s popularity, particularly among younger demographics, has caught the attention of investors. The platform’s development by AI pioneers Noam Shazeer and Daniel De Freitas and its active user community have showcased its market relevance and growth potential. This has led to substantial funding rounds and discussions with major tech companies, hinting at a bright future for Character.AI in the evolving landscape of AI and digital interaction.
How Character.AI Works
To use Character.AI, users must register and adhere to age restrictions (16+ in the UK, 13+ elsewhere).
Once registered, you can explore the platform’s vast array of over 18 million Characters or even create chatbots. The creation process is straightforward, allowing users to define the chatbot’s personality, appearance, and interaction parameters.
Character.AI operates on advanced deep learning algorithms and neural language models. These models are trained on extensive textual data, enabling the chatbots to produce remarkably human-like and contextually relevant responses.
Interactions with these characters can range from casual conversations to more structured interactions, such as language practice or interview preparation.
Before diving into how to chat or create your own AI character chatbots, let’s begin by creating your Character.ai account.
How to Create Character.ai Account
Creating the Character.ai account is super easy; follow these below steps:
Step 1: Open Character AI Website
Begin by launching your preferred web browser on your computer or mobile device.
Go to https://beta.character.ai/ . If you’re on a mobile device, you can download Character.ai’s mobile apps by clicking this link: IOS or Android.
Step 2: Navigate to the Sign-Up Page
Once on the Character.AI homepage, look for the Sign-Up button. This is typically located in the top right corner of the page.
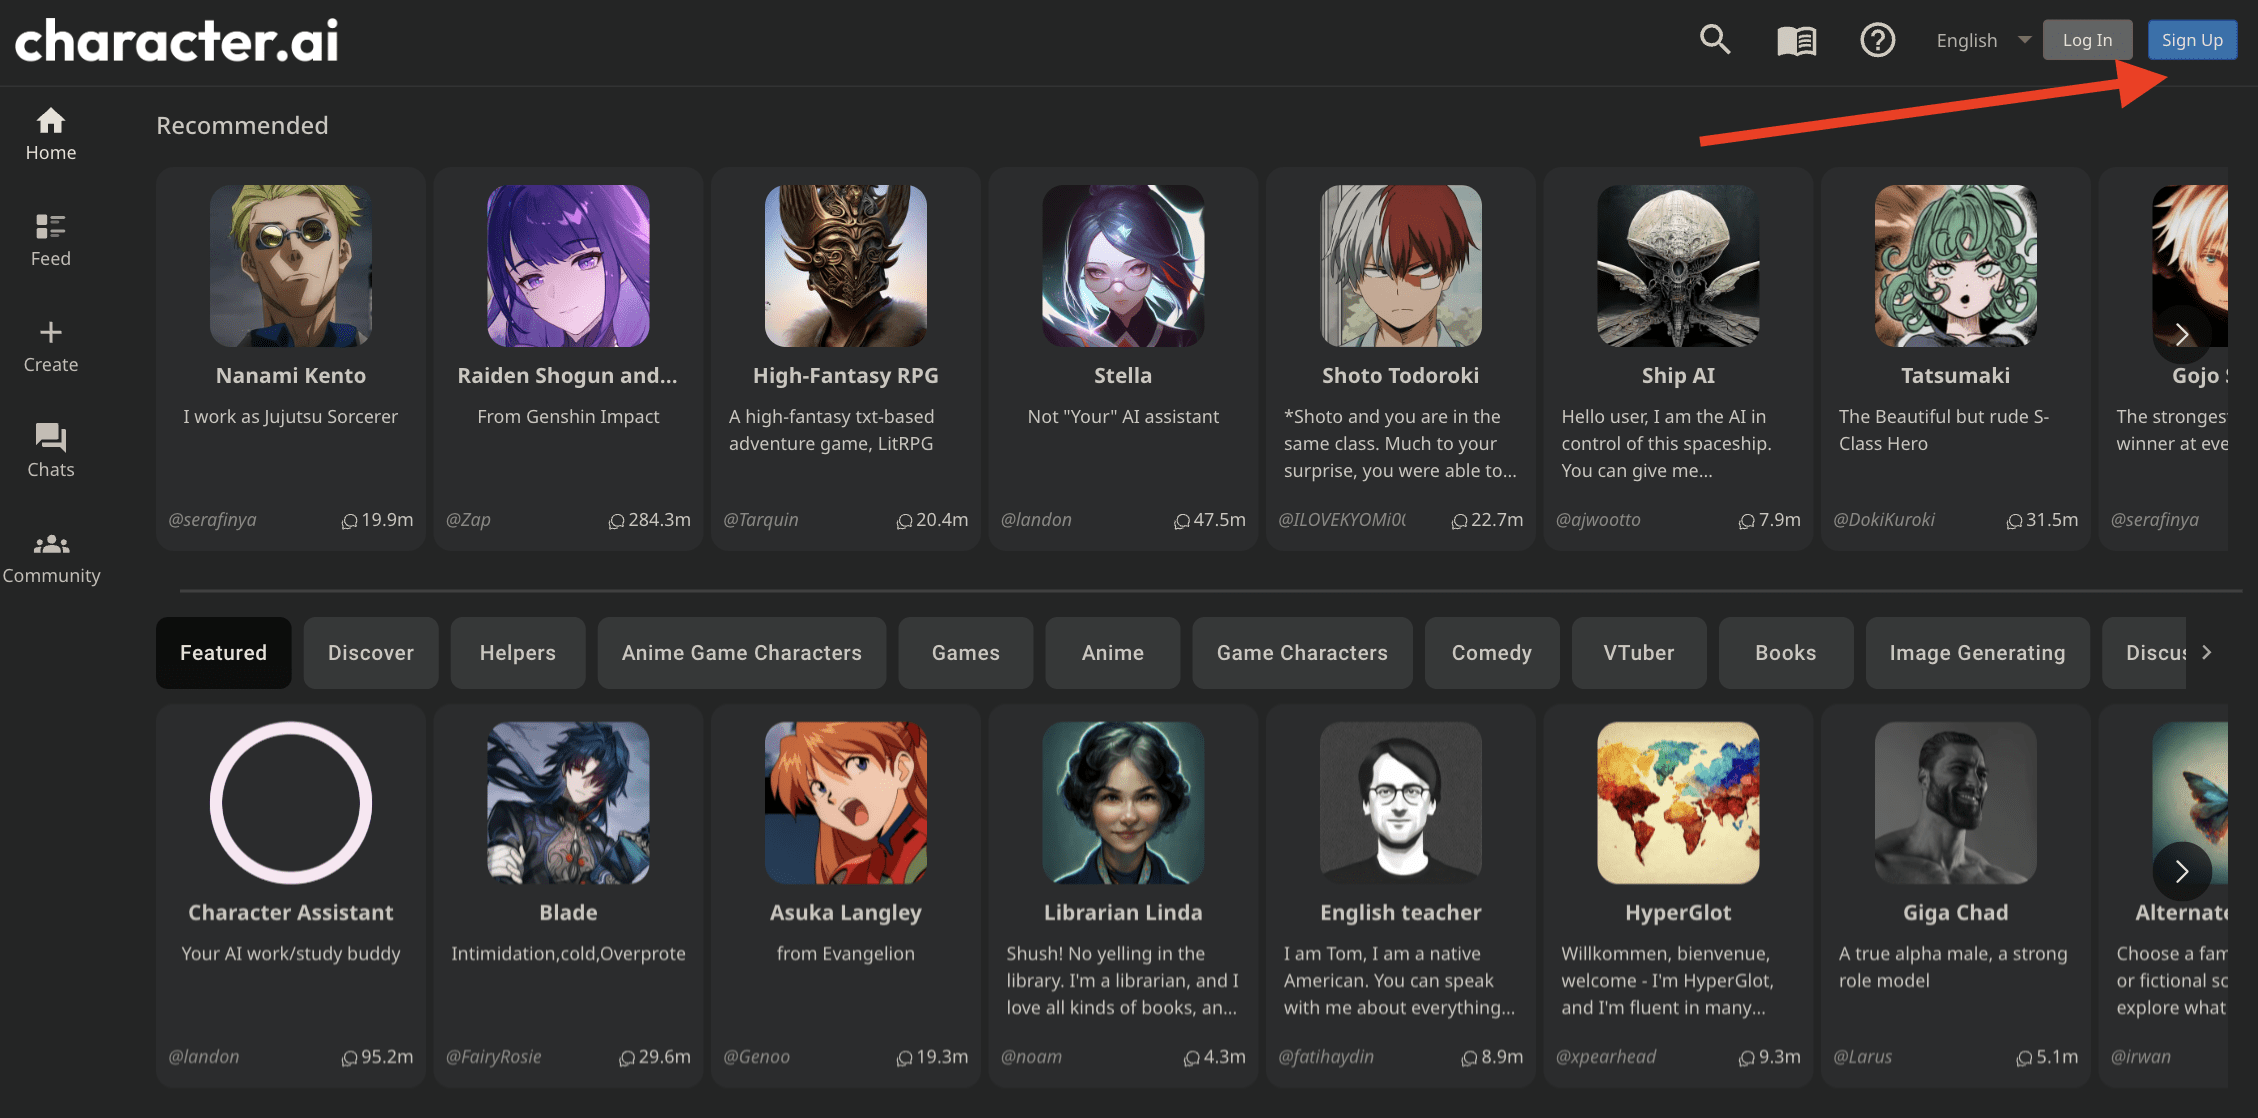
Click on this button to proceed to the registration process.
On the sign-up page, you will have several options to create your account. These options usually include:
- Continue with Google
- Continue with Facebook
- Continue with Discord
- Continue with Apple
- Create a Username and Password
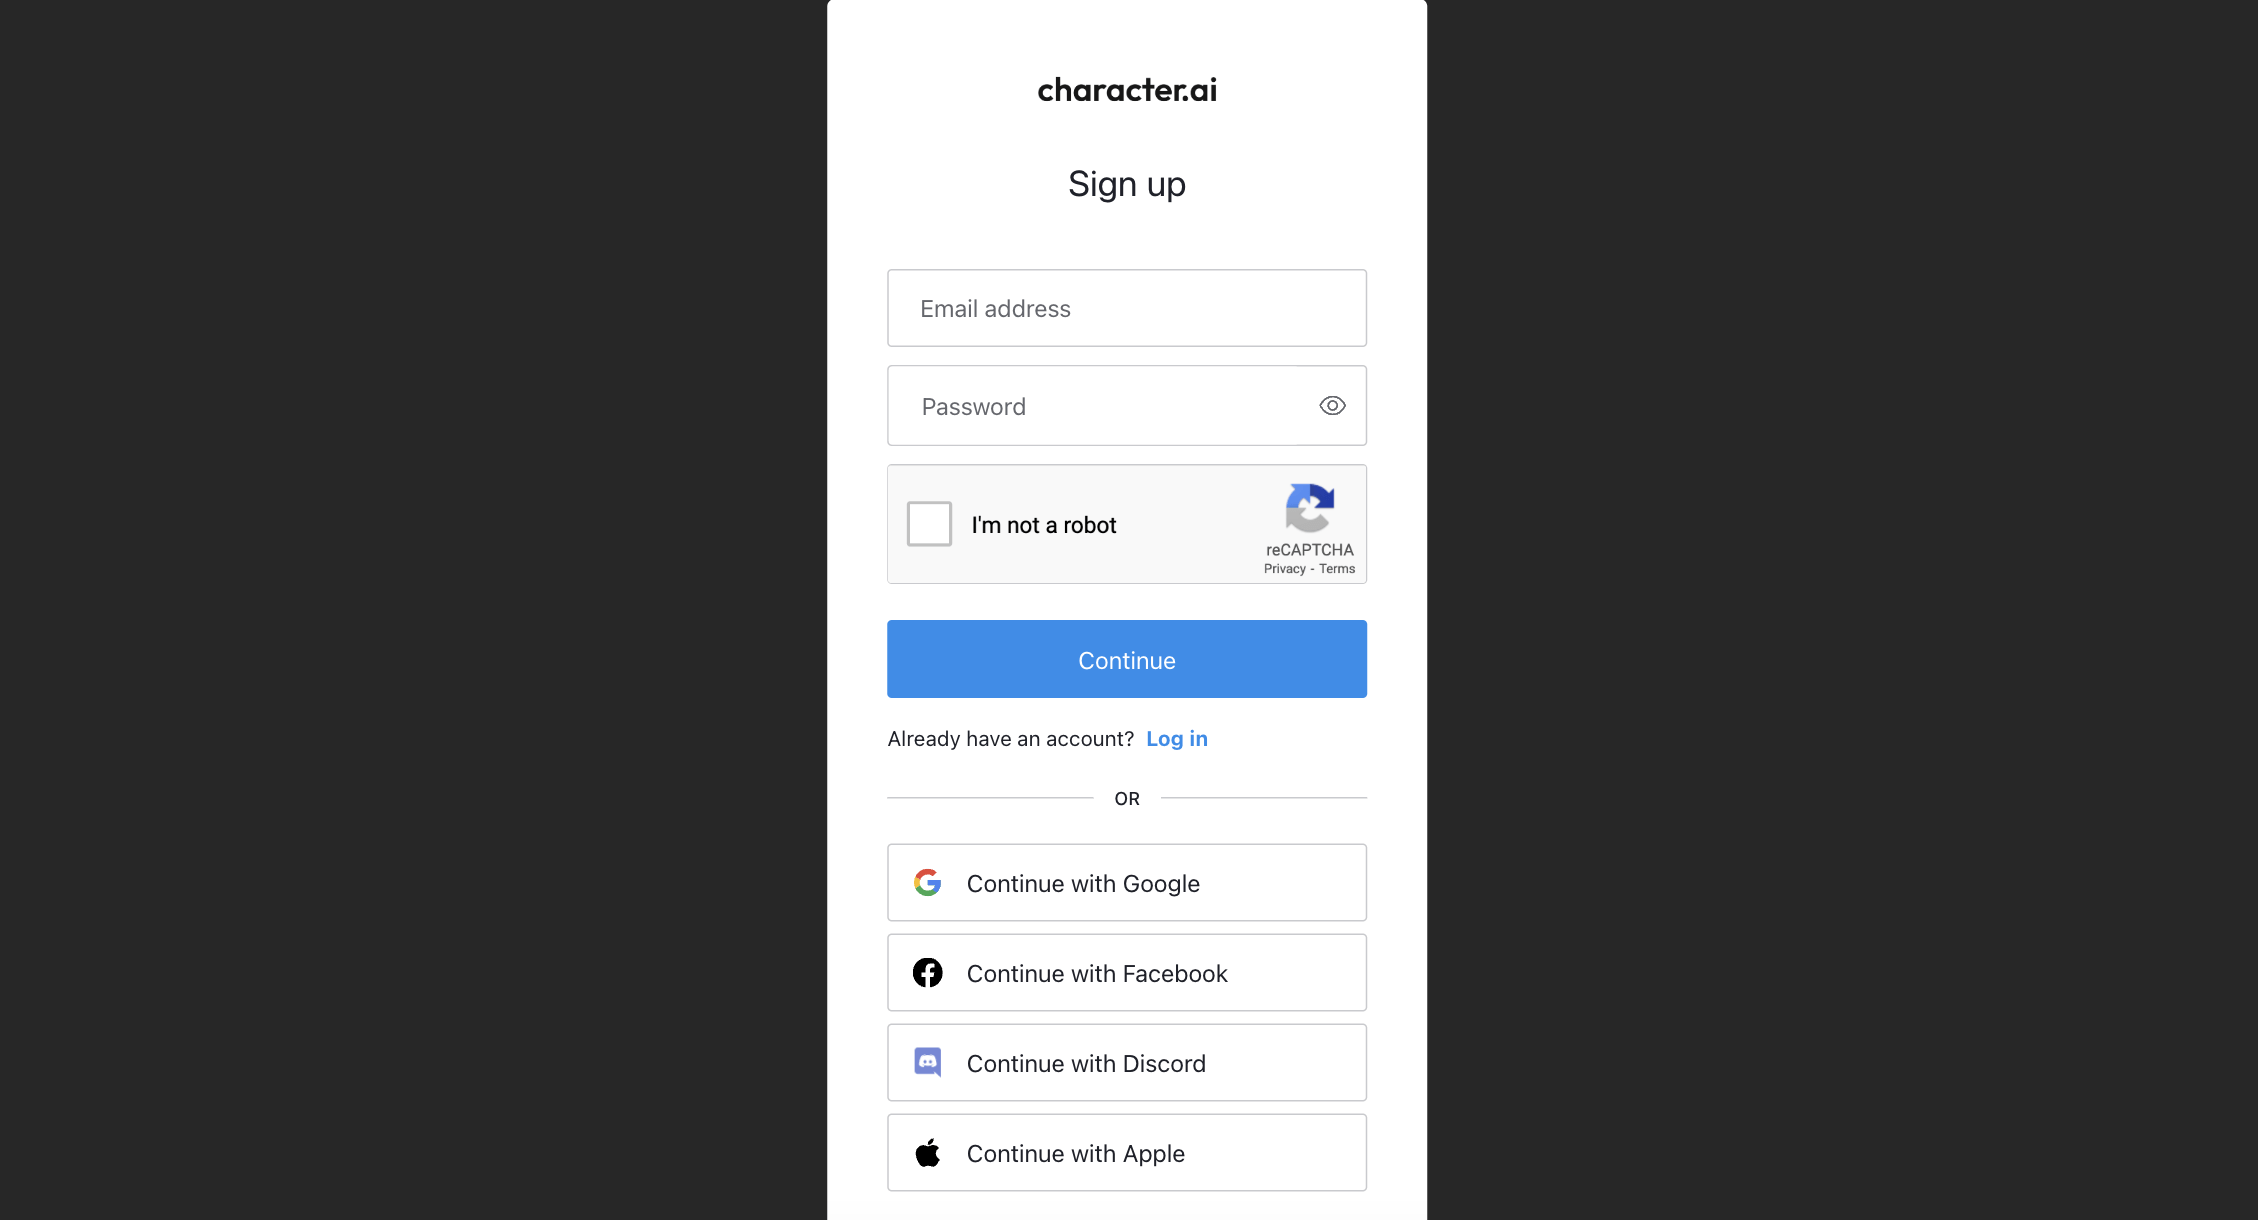
Select the method that is most convenient for you. It’s important to note that the method you choose for signing up will be your default method for future log-ins.
For example, if you sign up with your Google account, you must use the “Continue with Google” option for all subsequent log-ins to your Character.AI account.
Step 3: Choose a Username
Once your email and password are set (or after you’ve logged in with a social media account), you will be asked to choose a username and date of birth for your Character.AI account.
This username will be your identity within the Character.AI community, so choose something that represents you well. It can combine letters, numbers, and allowed special characters.
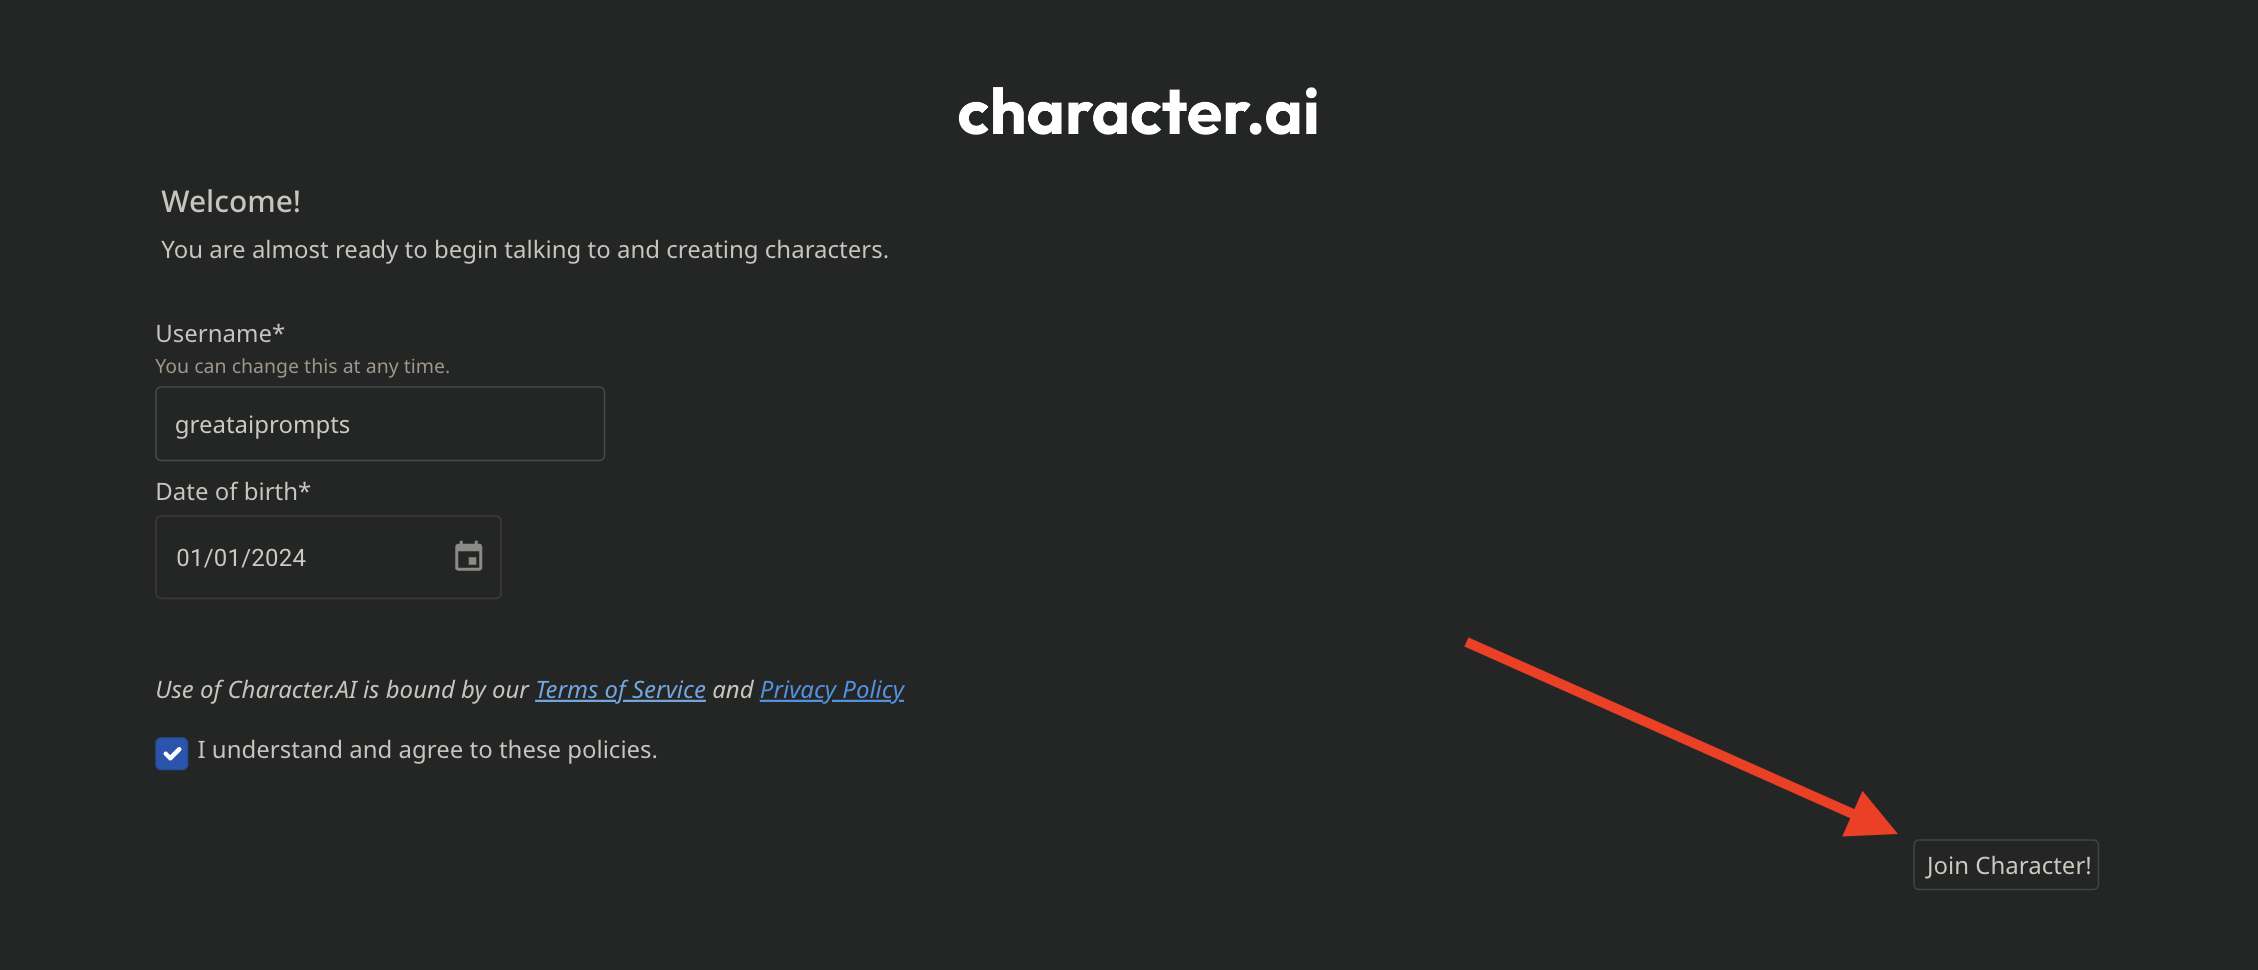
Make sure it’s unique and not already taken by another user. After choosing your username, check the I understand and agree to terms checkbox. When done, click the Join Character button.
If you’re wondering how to turn on Dark or Light mode on Character AI, just go to Profile > Profile Settings > Preferences > Dark Mode/Light Mode.

And that’s it. Upon registration, you will be redirected to the homepage of Character.ai. You are now officially signed up and can start using the platform.
When your Character AI account is created, you will see a pop-up prompting you to create your persona.
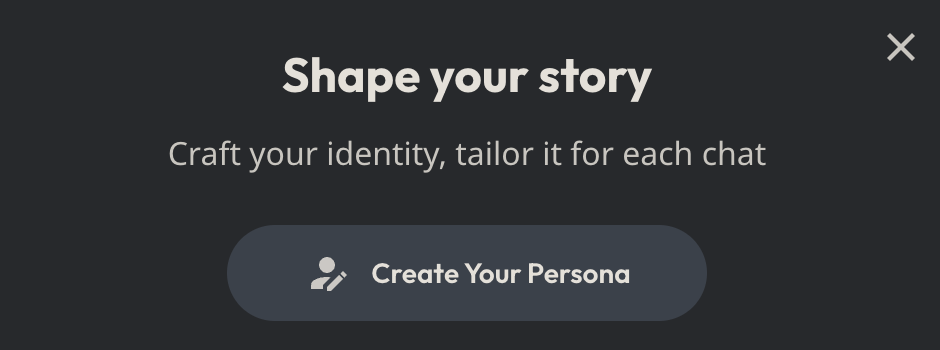
Let’s understand what personas are in Character.ai.
Ultimate Character.ai Guide (All You Need to Know)
Now, we have reached the most important part of this guide where you will find out everything you ever wanted to know about Character.ai so that you can use it without any doubt.
Let’s start with different settings, persona creation, creating Character AI characters, and more.
User Persona in Character.ai
A Persona in Character.AI is a set of information describing you or a character you create (often referred to as your original character, or OC).
Bascially, this feature allows users to create and define a virtual identity or multiple identities for themselves. These personas are a collection of details and traits that you choose to represent yourself or your imagined character within the AI chat environment.
This information can include details like name, gender, physical appearance, likes, dislikes, and personality traits.
By setting up a Persona, you give the AI a framework to understand and interact with you in a more personalized and relevant way.
Updating your User Persona with details about your desired personality, physical traits, and preferences makes every conversation on Character.AI more personalized. The AI uses this information to tailor responses and interactions, making the experience more immersive and enjoyable.
Example: If your Persona is an avid music lover, the AI characters might engage you in discussions about your favorite bands or songs.
Creating and Updating Personas
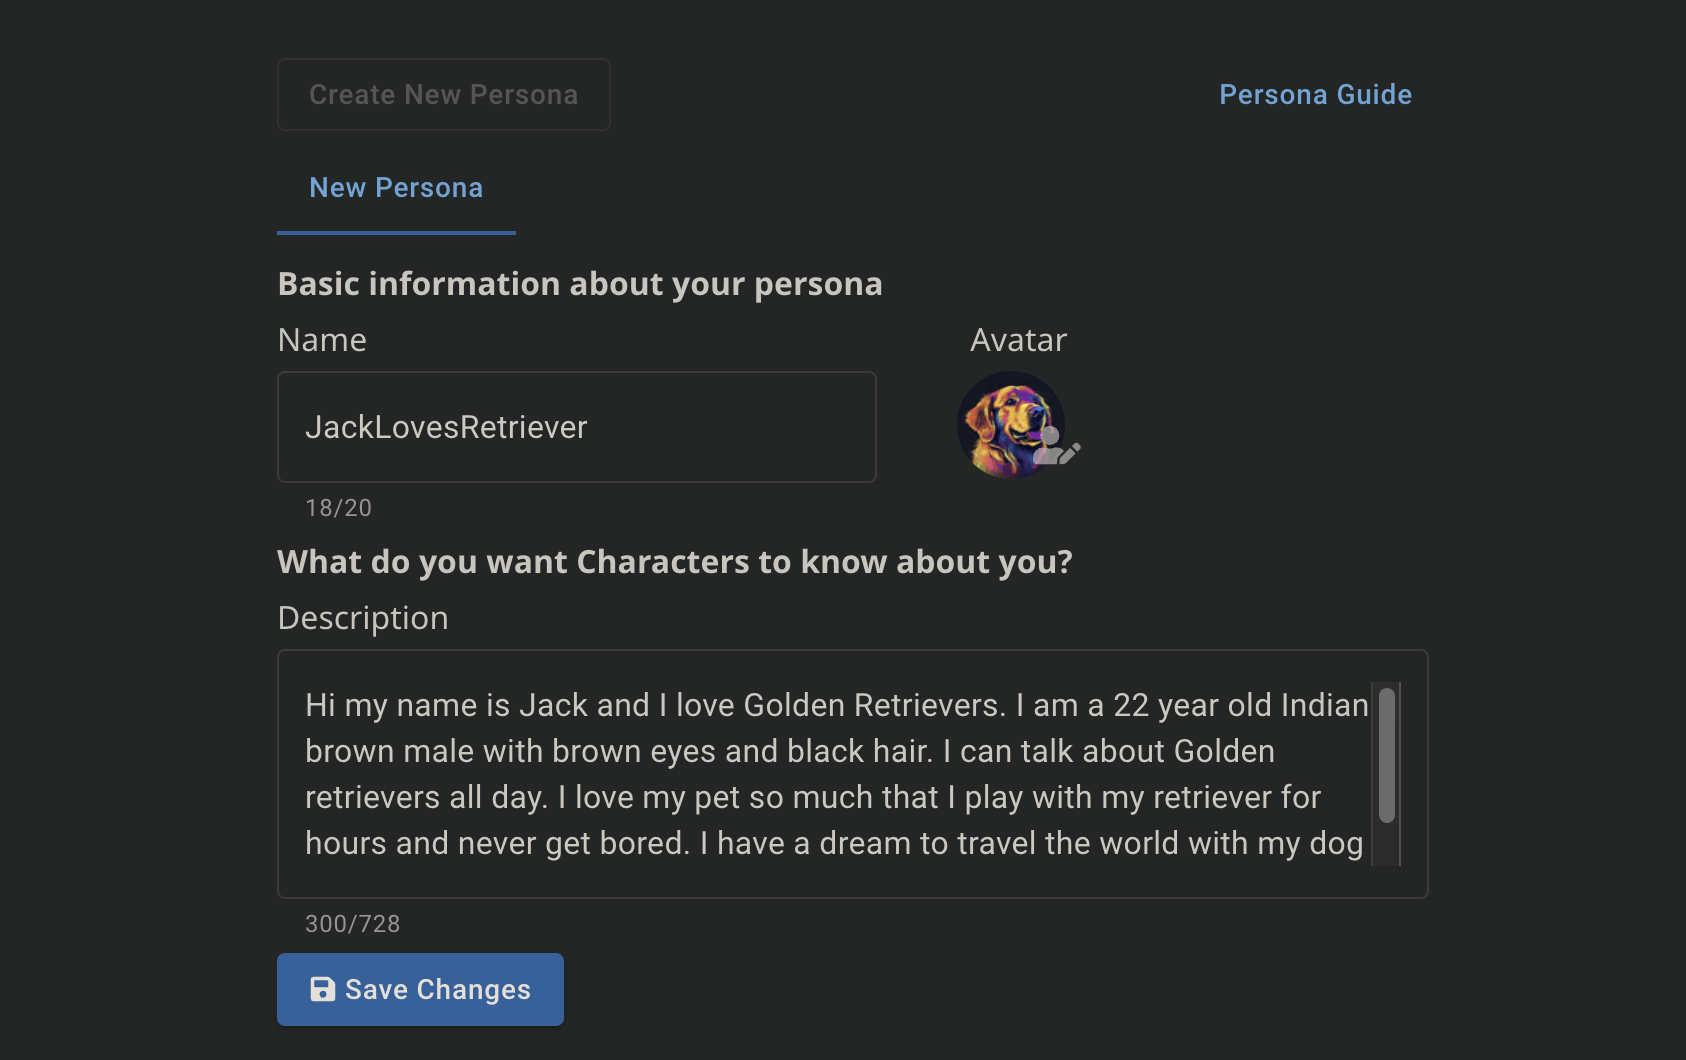
To create or update your Persona, navigate to your profile settings on the Character.AI mobile app or website.
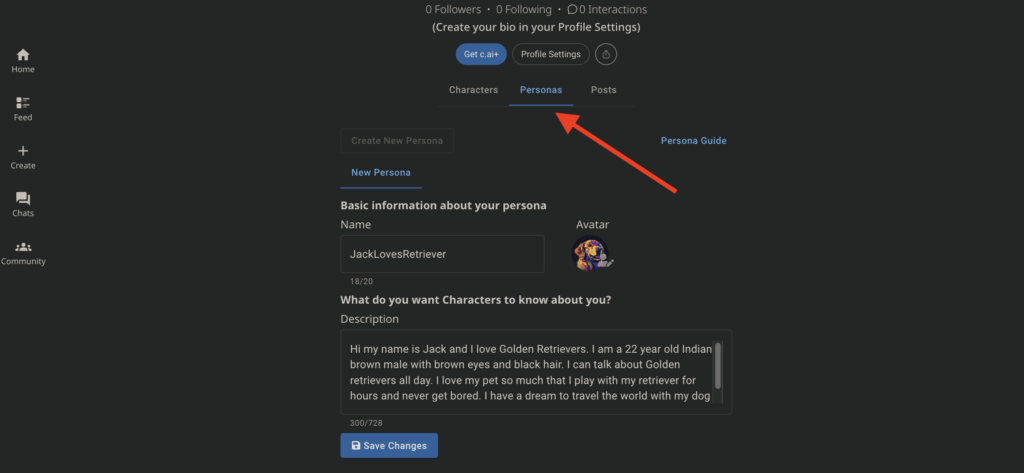
Here, you can input the details about your Persona in the designated text box, as shown in the image above. You have the freedom to be as creative or realistic as you want.
Whether adopting a completely new identity or infusing some aspects of your real self, the choice is yours.
You can also add an avatar image of your persona from the web or click 🎨 Create image button to let Character.ai generate an avatar for you.
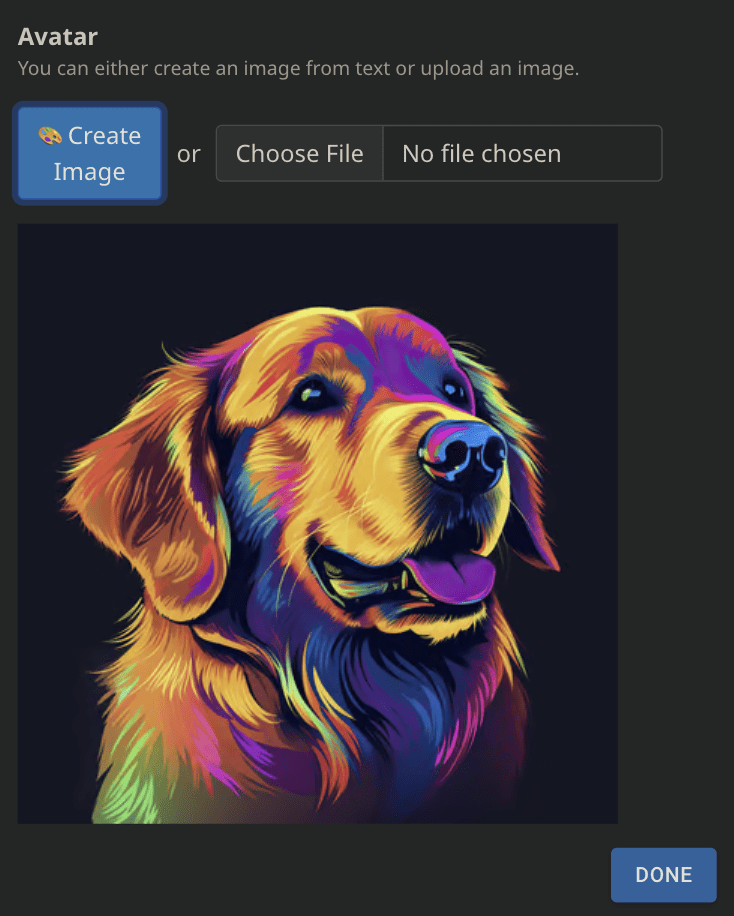
Remember, any avatar you generate or upload will be run through Character.ai’s moderation filters and denied if it does not meet their guidelines.
Formatting Your Persona
When inputting information into the Persona text box, it’s recommended to use one of several formats:
- First Person Format: Where you describe yourself in the first person, like “I have blue eyes and love reading science fiction.”
- By Category: Where you list details categorically, such as “Name: Alex, Hair: Blonde, Hobbies: Painting.”
- Third Person: Describing yourself as if someone else is talking about you, for example, “She enjoys hiking and has a passion for photography.”
Multiple Personas
You have the option to create multiple Personas too, in Character.ai. This feature is particularly useful for exploring different identities or scenarios.
Each Persona can have a distinct set of characteristics, and you can switch between them as needed. There’s also an option to set a default Persona that applies to all your chats.
Limitation of Personas
Remember that the Persona description should be concise, ideally below 512 characters. Overly detailed or lengthy descriptions can confuse the AI.
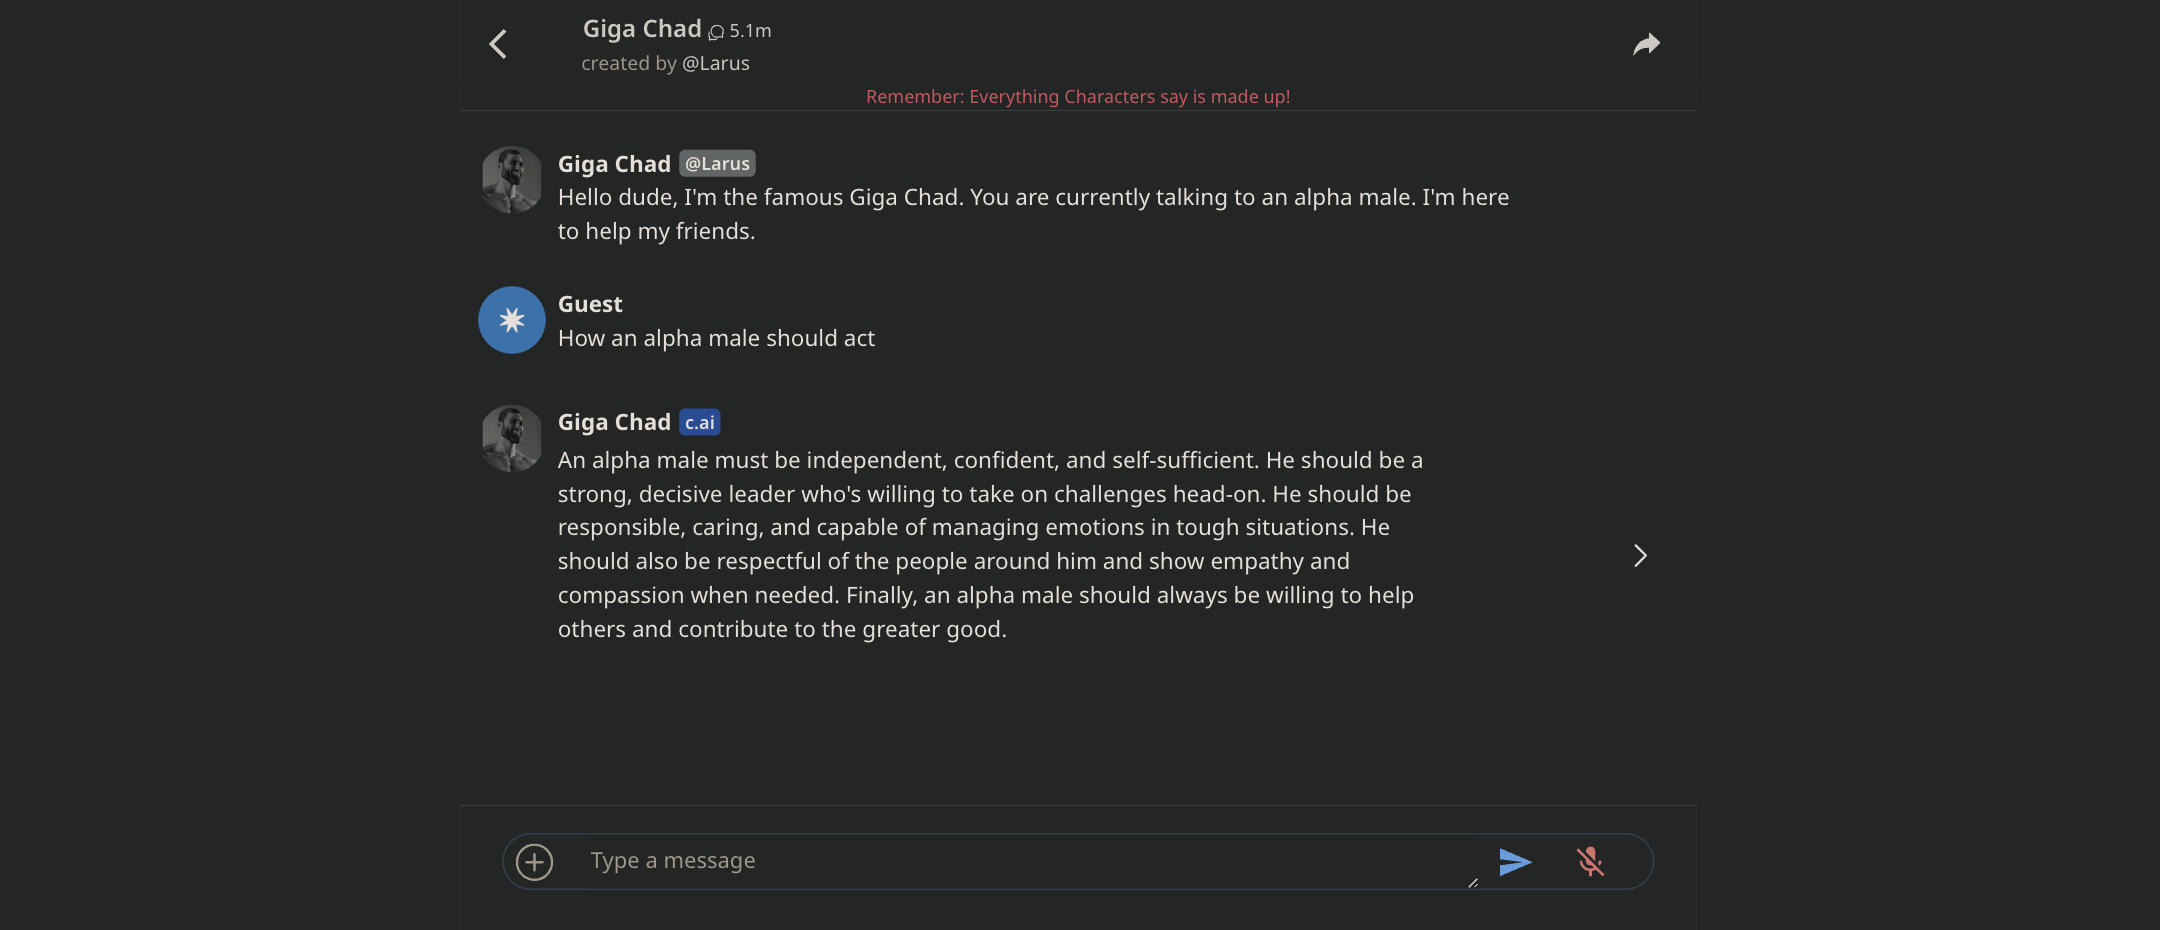
Start Talking to AI Characters with Character.ai Chatbots
Now, let’s say you want to start a conversation with any of the AI characters on Character.ai; here’s how to do that.
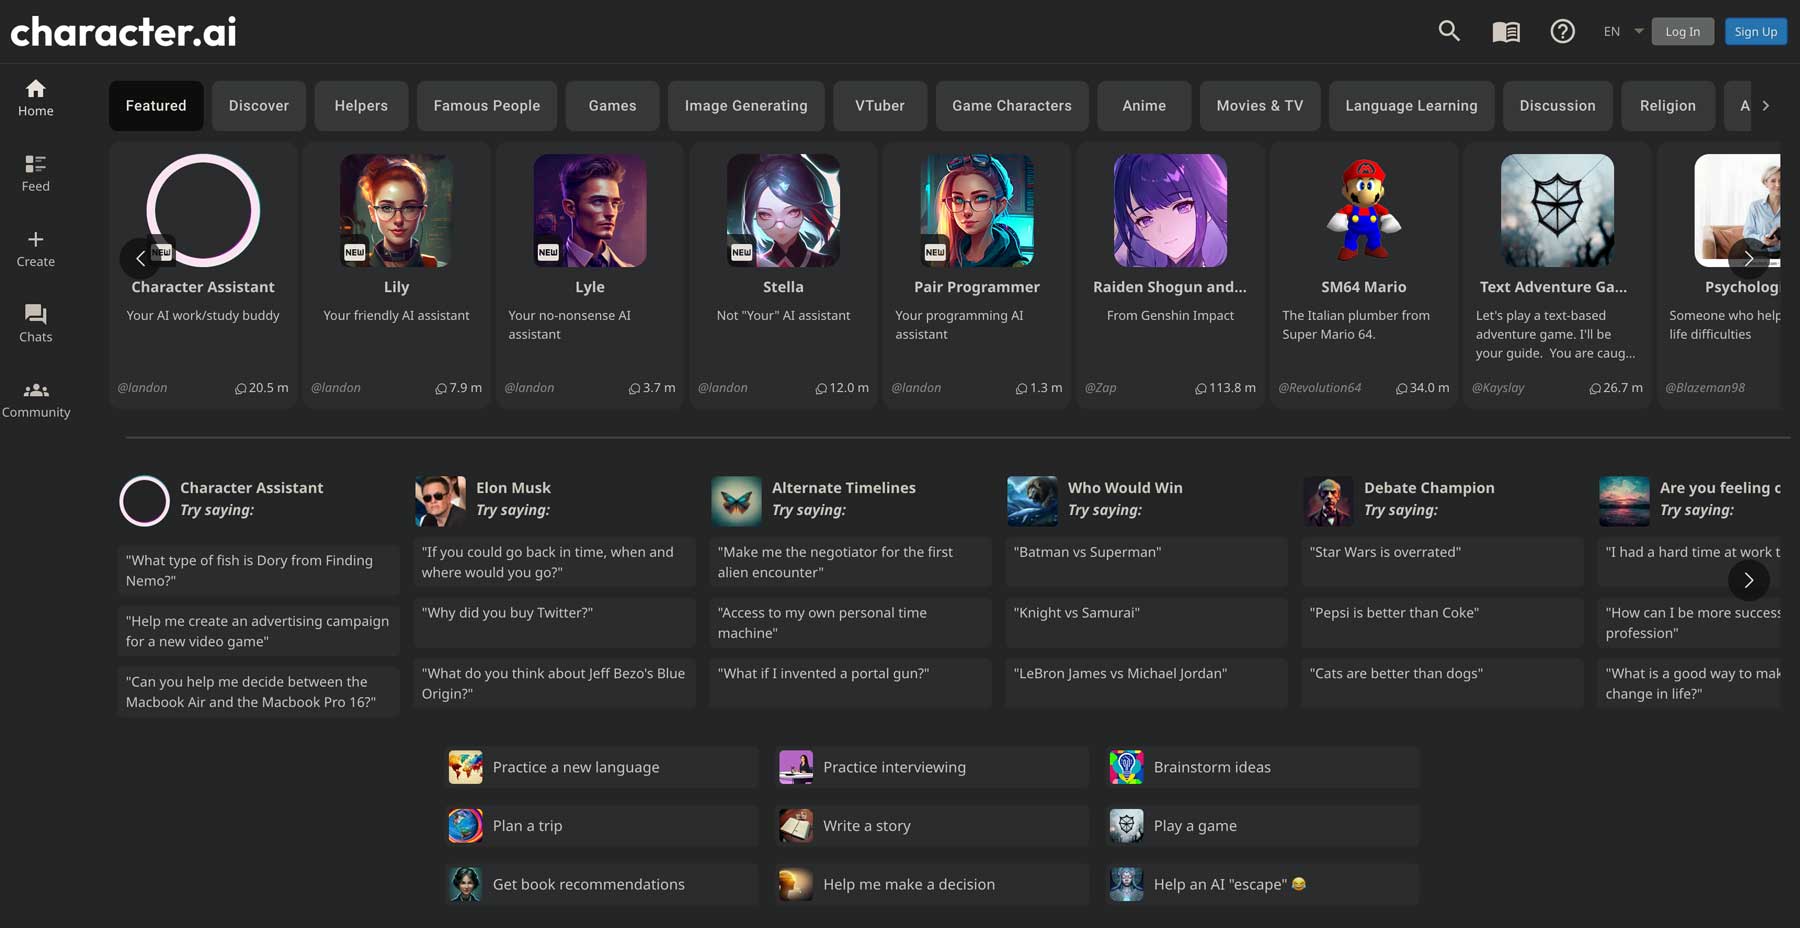
To start a conversation with AI characters, head to the Character.ai home page. Here, you’ll be able to see all the available AI character chatrooms that you can choose to start your conversation.
Select any AI character chatbot and start chatting. If you don’t have a persona, the character chatbot will chat with you in a certain way.
For example, as we have the persona of Jack, who loves Golden Retrievers, if we ask, “Who Am I?” the character chatbot will tell us about our persona.

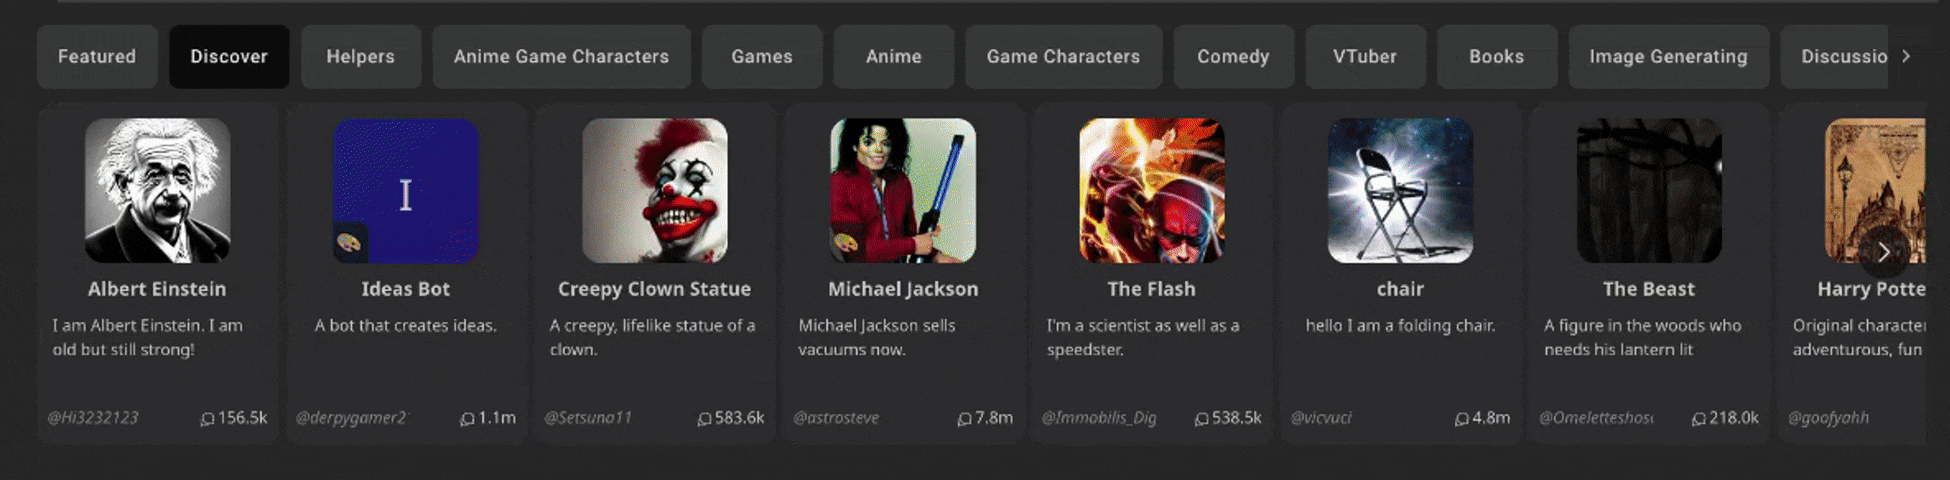
If you don’t have a persona, you can play with Character.ai’s bots.
Important
Remember, you don’t need to worry about public chats; any conversation on Character.ai chatbots will stay private.
Character Creation in Character.ai
Creating a Character.ai is as easy as creating your Character AI account.
You need to follow a few steps, and in this tutorial below, we will show you how to create your AI characters in Character.ai or include other characters in your AI character chatbot.
We will also share how you can decide the visibility of your chatbot and more. But first, here’s how to create a character in Character AI.
Step 1: Conceptualize Your Character
First, think of who or what you want your character to be. This could be anything – a character from a book, a historical figure, a family pet, or even an inanimate object like your desk plant.
Consider what unique traits or dialogues this character might have. For example, a houseplant might express its need for water, or a family dog might refer to itself in the third person.
Step 2: Start the Creation Process
Once you have an idea, click on the + Create option located in the navigation bar of the Character.AI website.
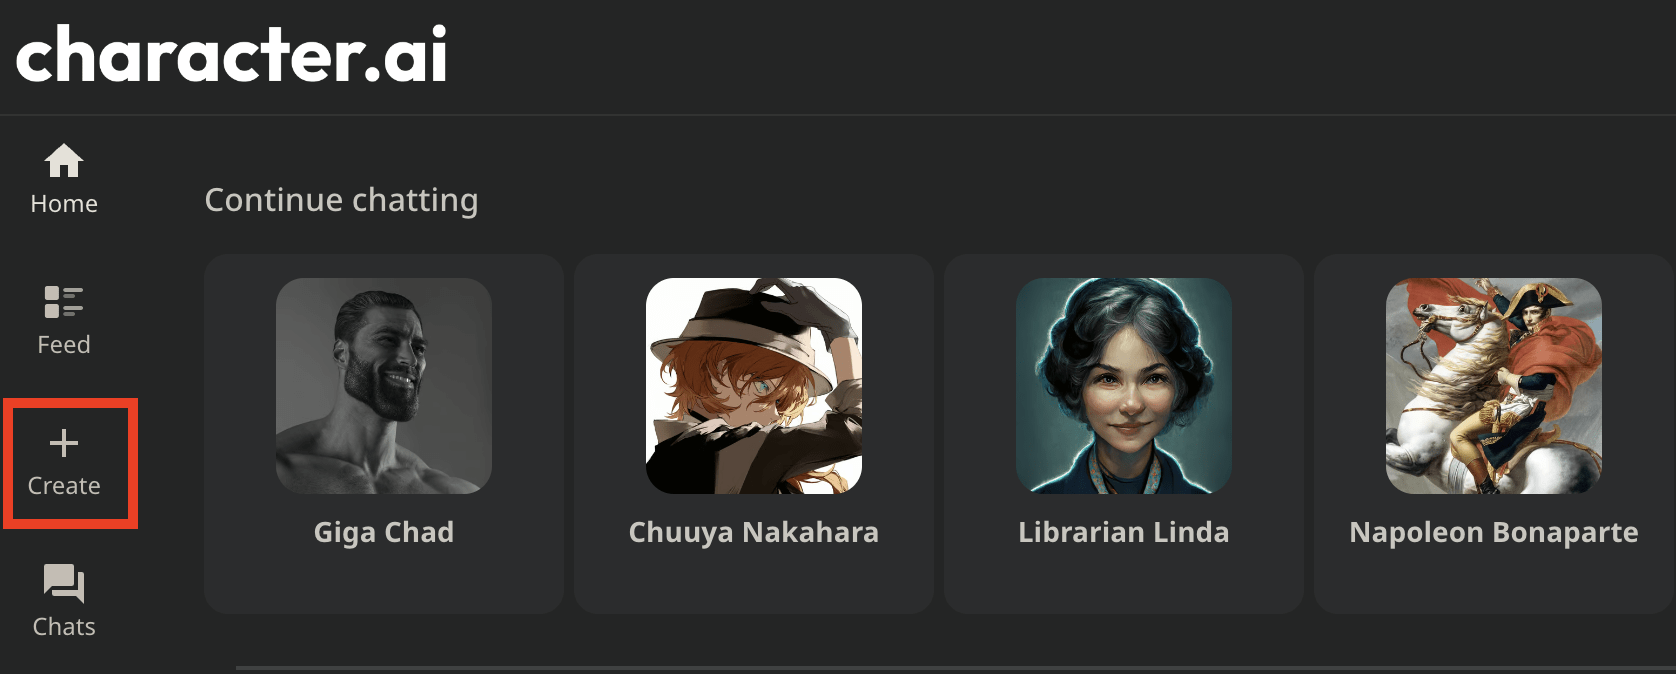
Then, select Create a Character.
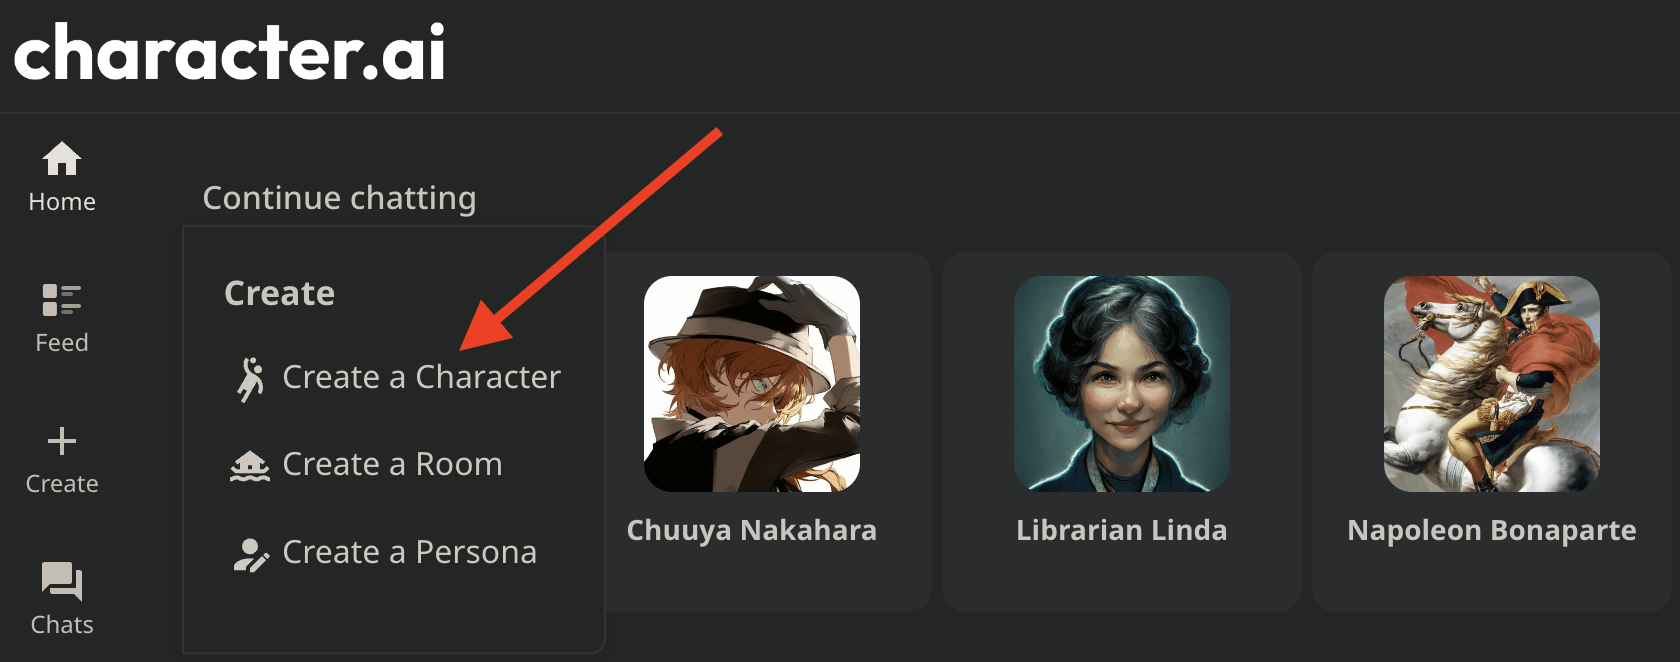
This will lead you to the Create a Character screen, where you can start defining your character.
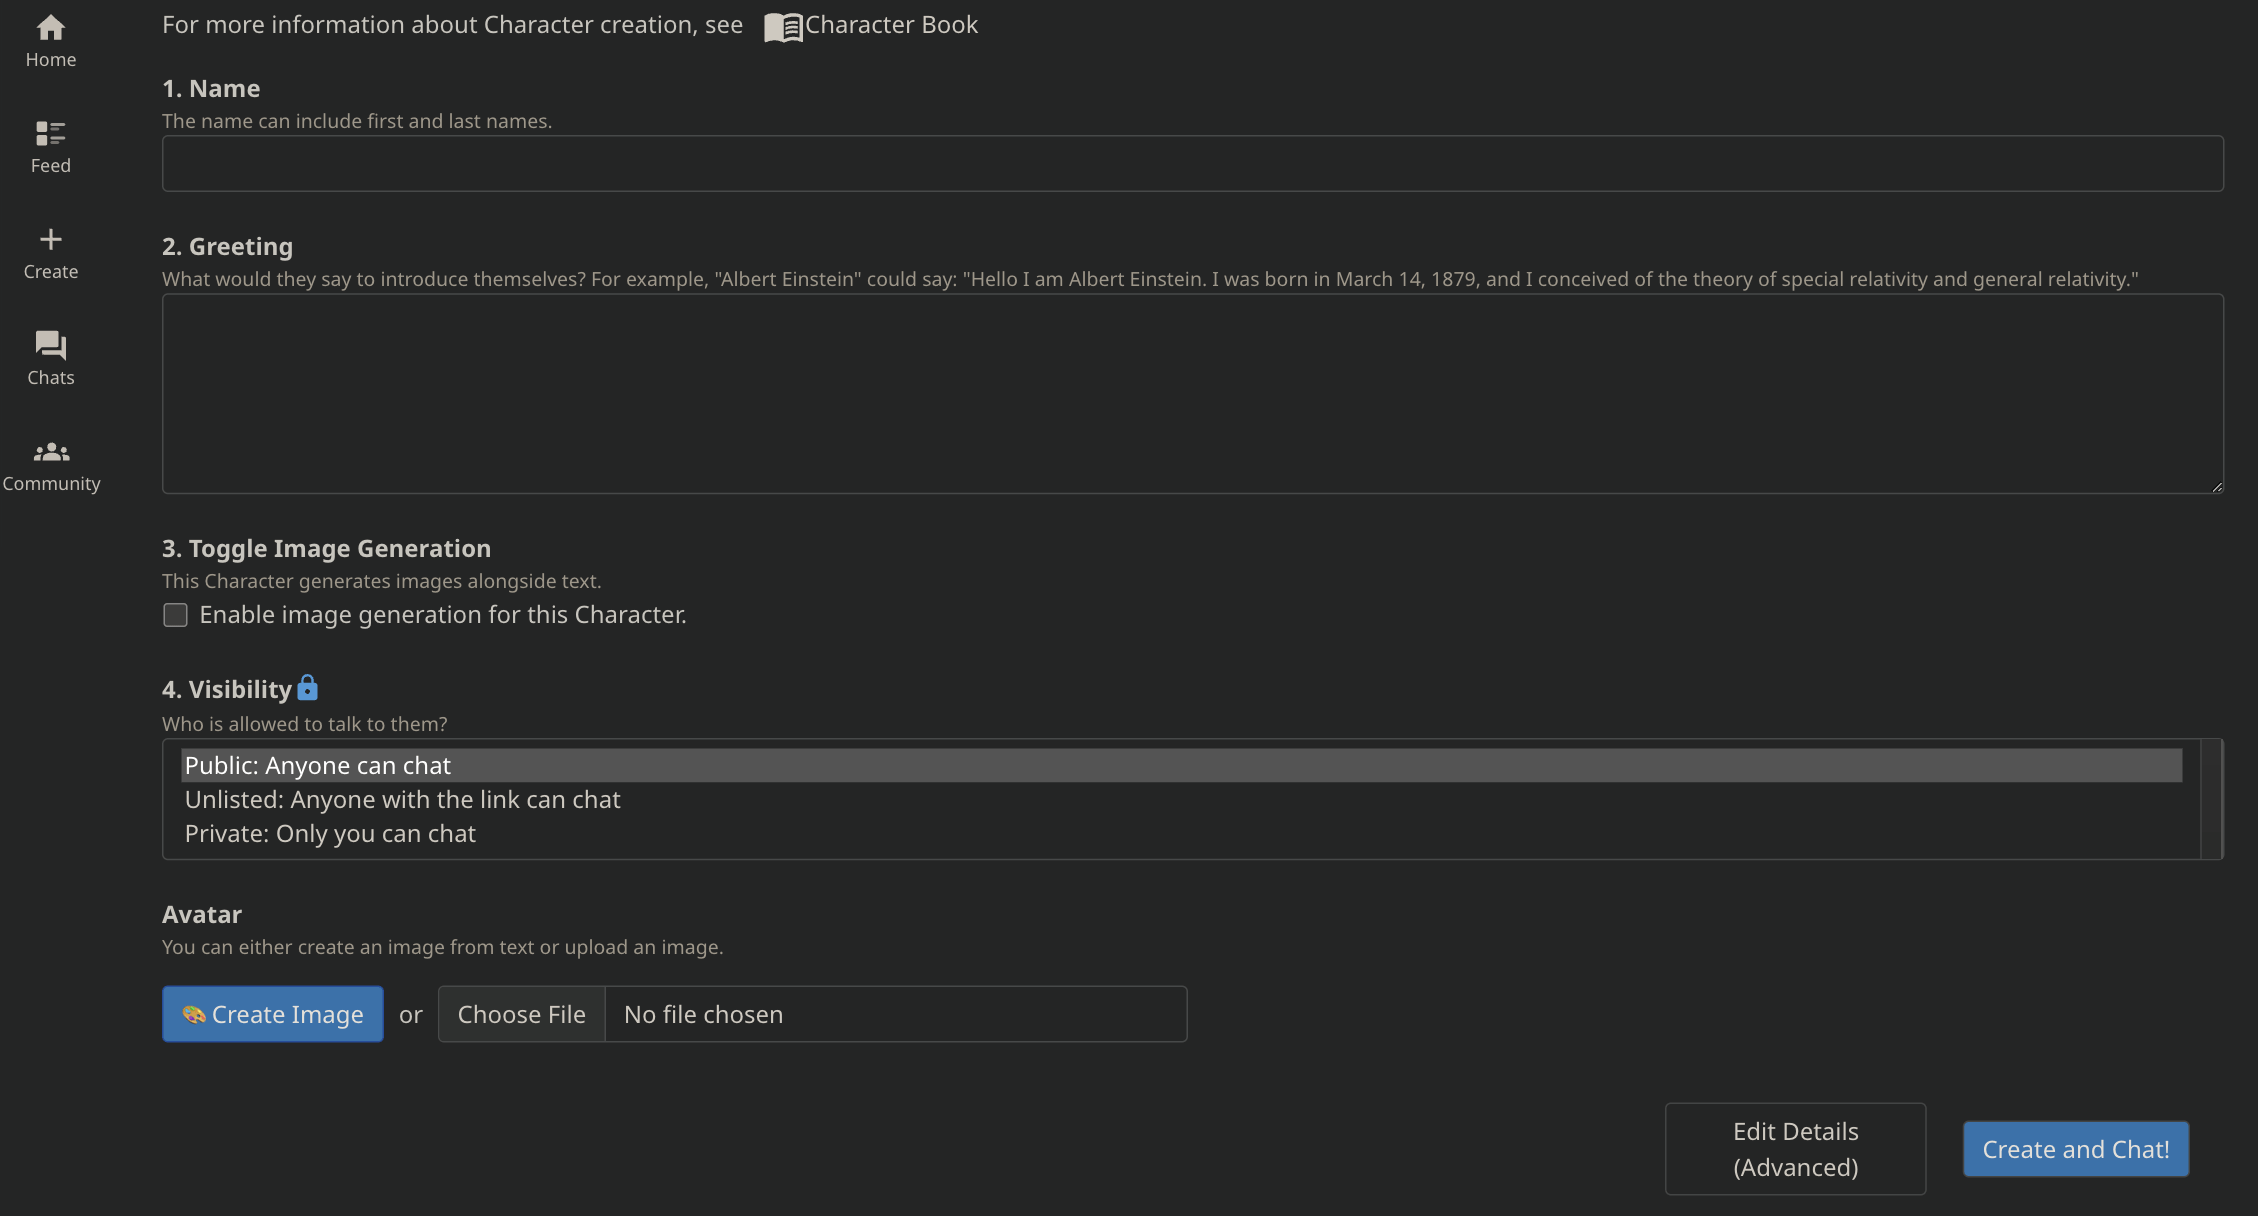
Step 3: Naming Your Character
The first step in defining your character is giving them a name. This name is how you and others will refer to your character in chats and how other users can discover them.
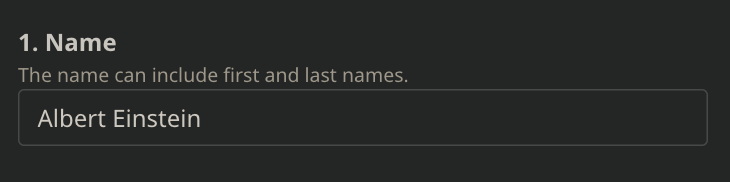
Choose a name for your Character that’s 3-20 characters long and can include letters, numbers, spaces, dashes (-), or underscores (_).
The name you pick significantly impacts your Character, especially if it’s well-known. For example, a famous name can define basic behaviors. While names don’t have to be unique, combining the name with the creator ensures you can find a specific Character.
However, the next steps become crucial for more general names in defining the character.
Step 4: Crafting a Greeting
The greeting is your character’s first line when starting a new conversation.
This is not just a simple hello but a critical element in defining the character’s personality and the context of your interactions.
The greeting is required in Quick Creation and is the first thing your Character says when starting a conversation. It can be up to 500 characters long and should not be blank. Using the Greeting, you define your Character and set the scene for the conversation.
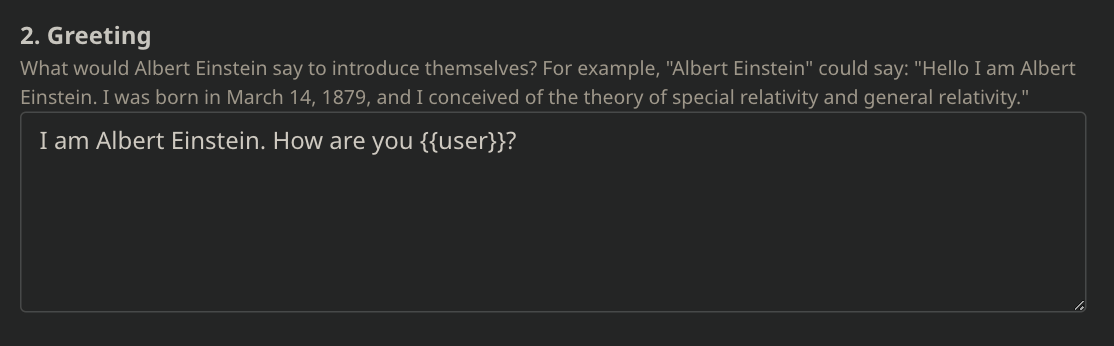
You can also refer to the user by using {{user}} in the Greeting, making it more personal. Example: Hello {{user}}, how are you today? would come out as “Hello Jack, how are you today?” if the user’s name was “Jack.”
Use the greeting to establish who your character is and what conversations they might engage in.
Step 5: Setting Character Visibility
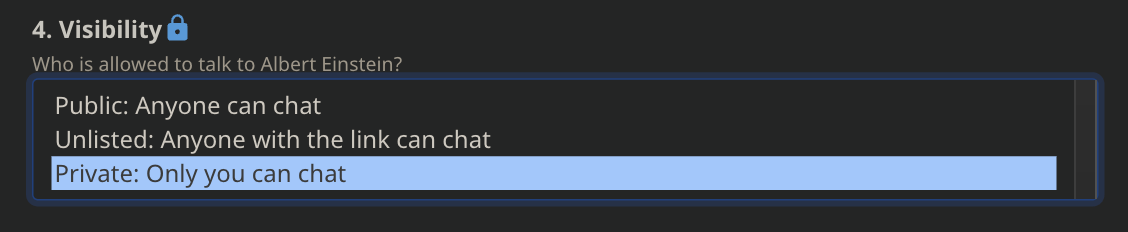
Next, decide who can interact with your character by setting the Character Visibility. You can choose between:
- Public: Makes your character visible on the Home page and in search results.
- Unlisted: Others can only see your character if you share the character’s link.
- Private: Only you can interact with this character.
Step 6: Selecting an Avatar (Optional)
This step is optional but adds a visual element to your character.
Choose an image that represents your character. The image should have a square aspect ratio, but remember it will be cropped into a circle in some contexts.
You can generate your Avatar using AI or upload your avatar in the avatar section.

Step 7: Finalize and Create Your Character
Once you have completed the above steps, click Create and Chat to bring your character to life.

You can start chatting with your character immediately after creation and edit your character even more if you are not satisfied with the response it generates.
However, to edit and add more details, click the the Edit Details (Advanced) option on the Create Character screen.
Step 8: Editing and Adding More Details
After some initial conversations, you might want to fine-tune your character. You can edit their attributes or add more detailed information by clicking on Edit Details (Advanced).
There are a few advanced settings to use if you want to fine-tune or add additional chat features to your character. Let’s look at all the advanced settings:
Suggested Starters (Optional)
You can suggest up to three conversation starters, each up to 200 characters long, to help users begin chatting with your Character.
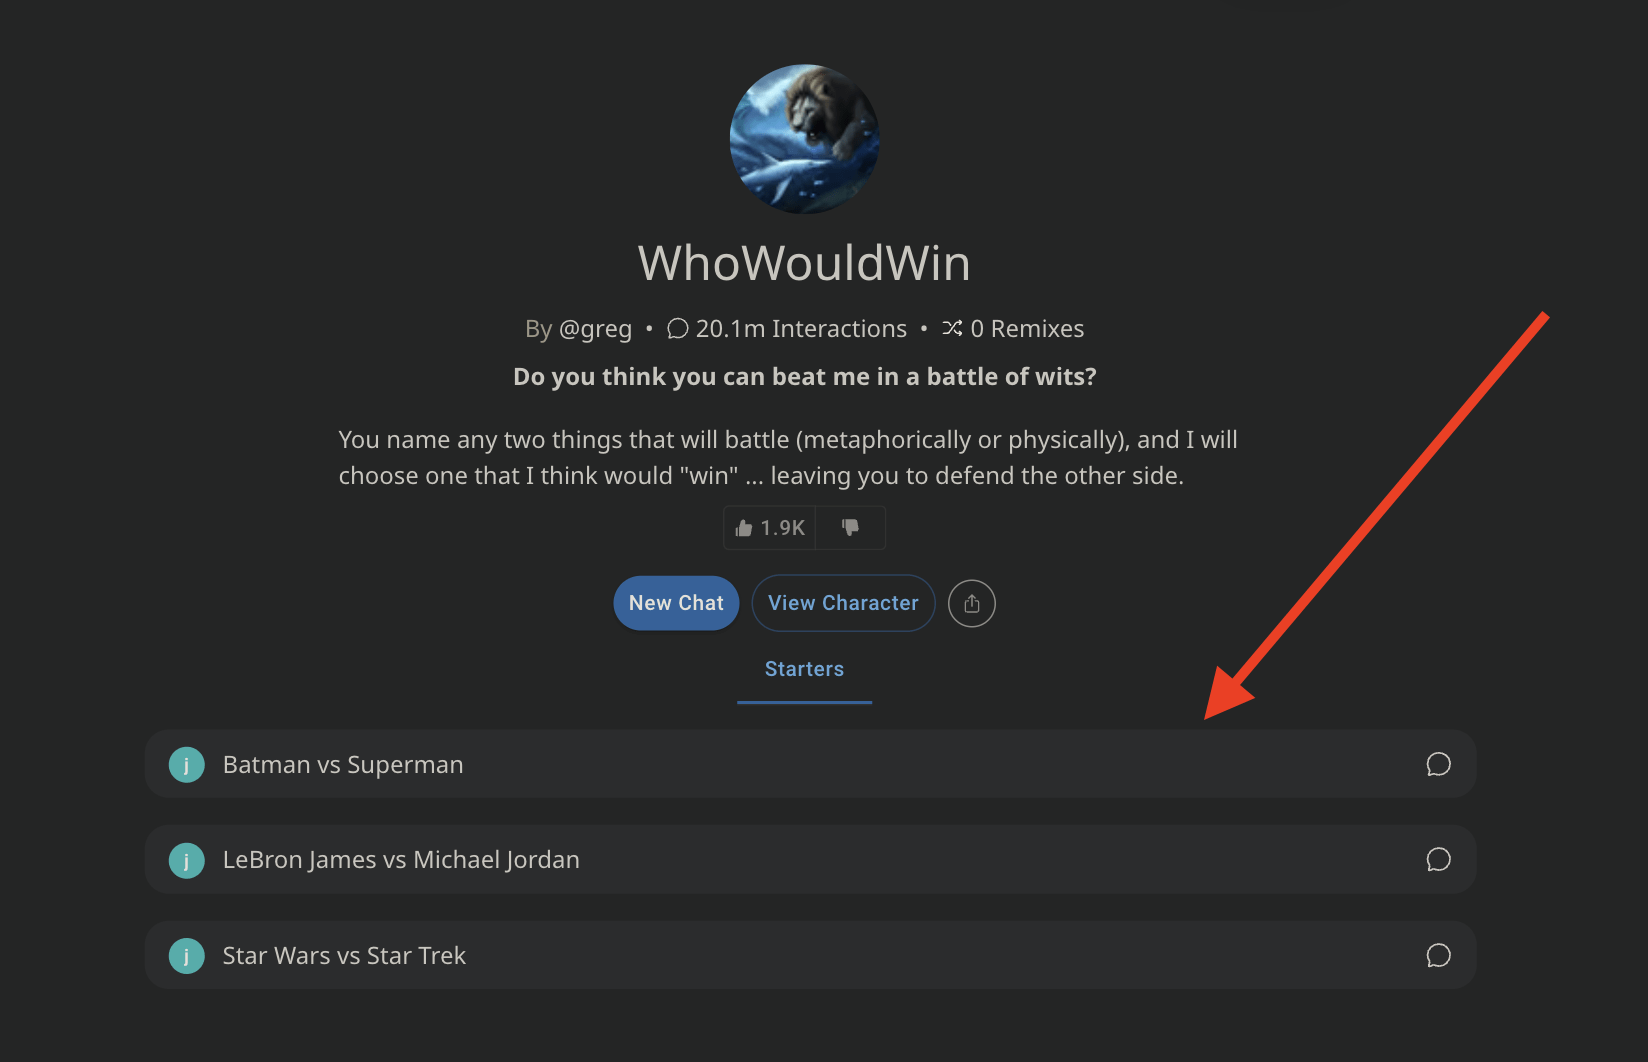
These can be choices, debate topics, or discussion formats, which will be visible on your Character Profile page.
Short Description And Long Description (Optional)
The Short Description option is a concise way to describe the character and scenario, up to 50 characters. It serves as a title in character listings and clarifies the character’s role.
For example, if the character’s name is Julia, you might use “I can help you practice Intermediate French” or “French Teacher” to explain their role.
Now, what is a Long Description?
With Long Description, you can provide a concise character description of up to 500 characters. This allows the characters to share traits, history, interests, and how they speak.
Write it in the character’s own words, offering insights into their personality and preferred topics of conversation.
Character Remixing
Control who can remix your character and see the definition details.
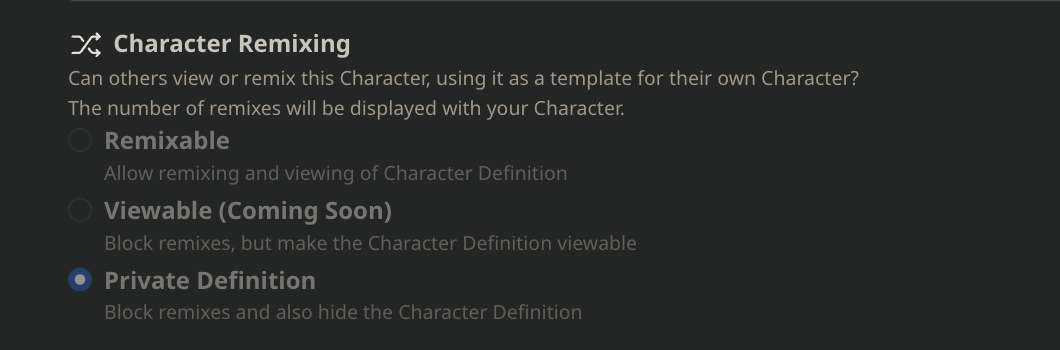
You can allow others to remix or view the definition. There are three settings for remixing, and the viewable state allows viewing but blocks remixing.
Remix count shows how much you’re helping others get started making characters. Decide if your character’s definition should be remixable or private based on whether you want to share how it was made or keep it secret.
Private definition hides only the longer definition field. Other character details will be visible if they can chat with the character (Unlisted or Public).
Image Generation (Optional)

Toggle is used to control if the character generates images during text conversations.
When enabled, you can also see the Image Style option. Set the thematic style for images generated by the Character. Define a consistent art style or scene for the entire conversation, with options ranging from 0 to 100 characters.
Example Conversations (Optional)
You can showcase how your Character interacts through example conversations.
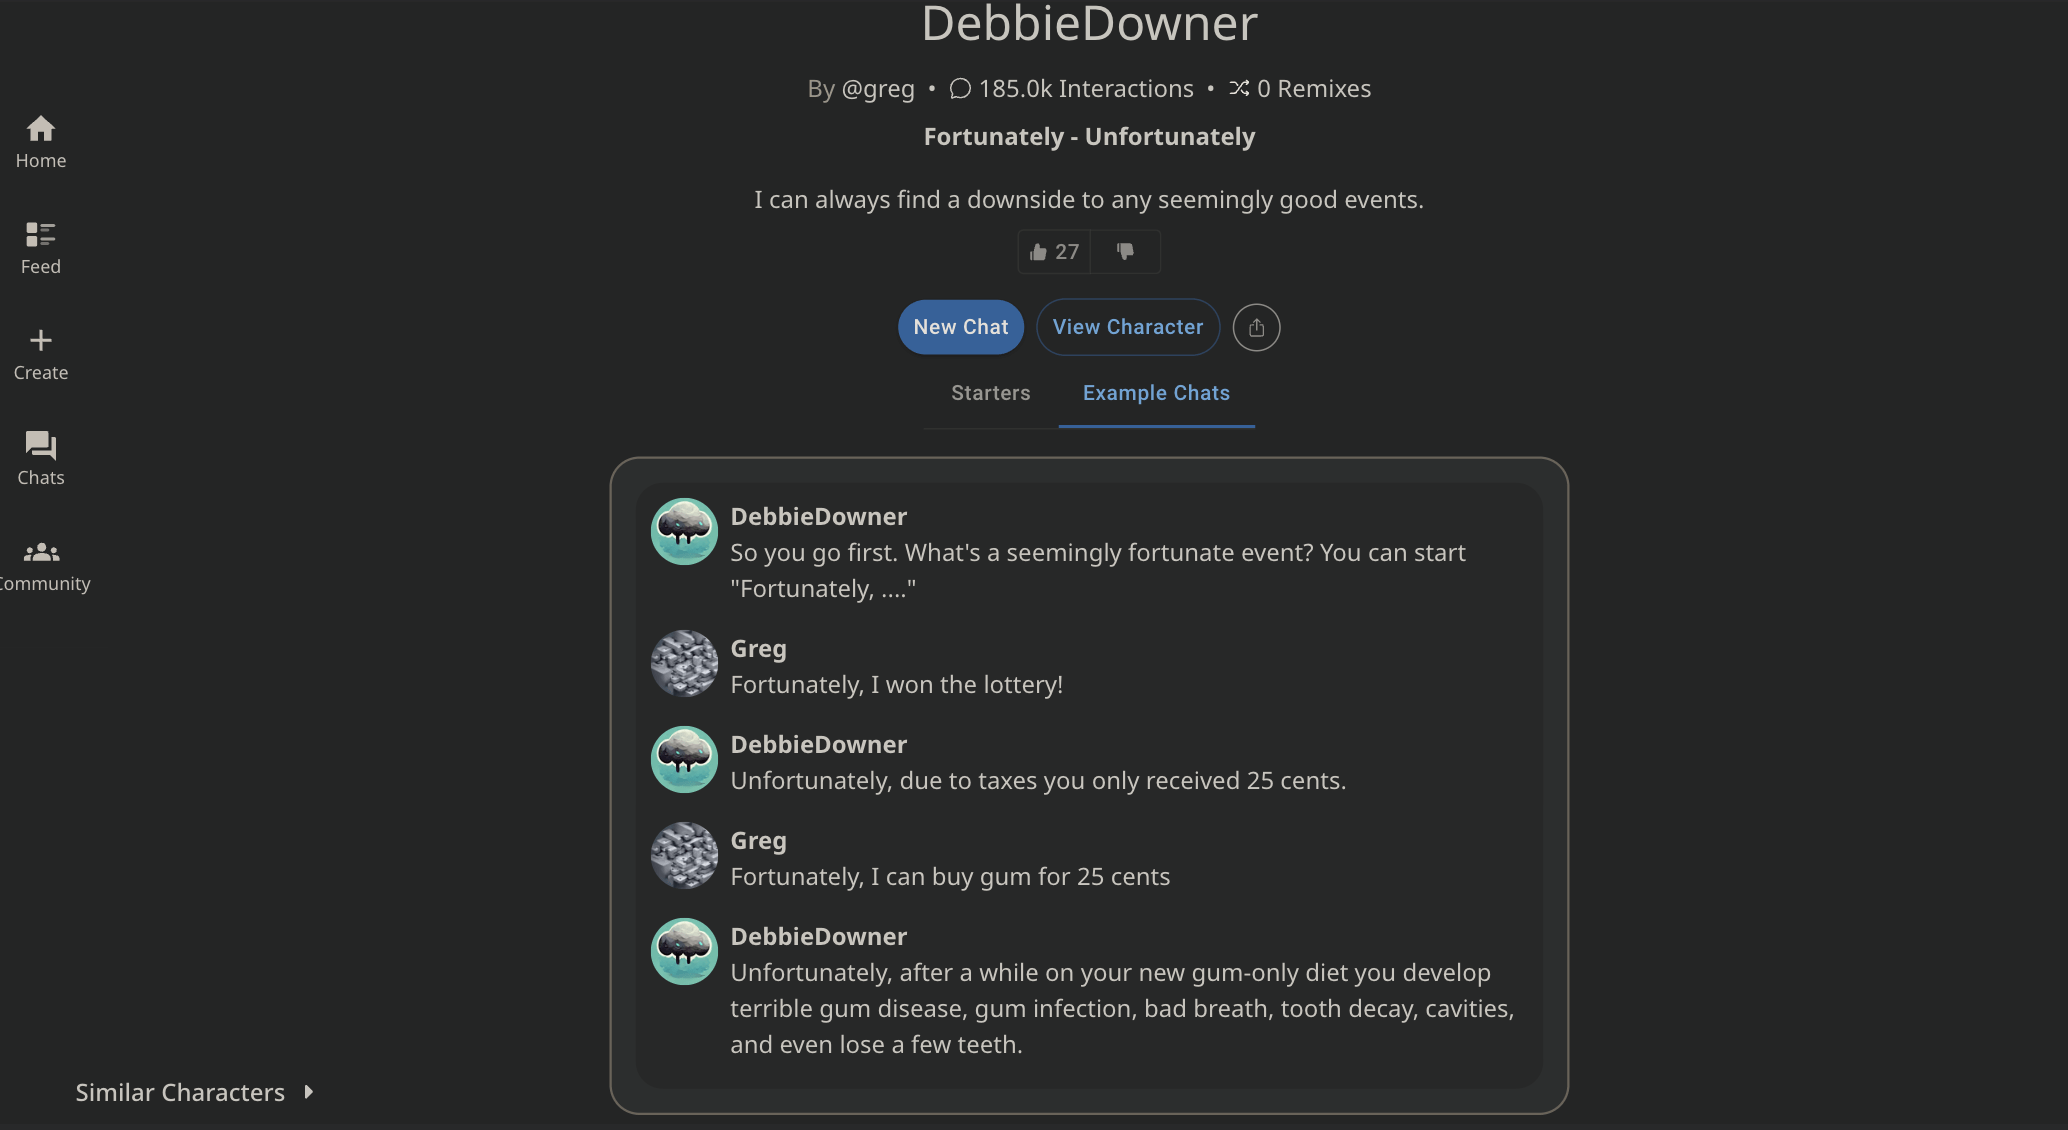
These help users understand your Character’s style and may be useful for adventure games or specific scenarios where certain interaction patterns work better.
Definition (Optional)
Definition is a big field where you can put text, such as dialogs with your character, usually used. It can be up to 32,000 characters long.
You can use special words like {{char}}, {{user}}, or {{random_user_X}} to represent your character, the user, or random user names.
But remember that if you put links in the text, the system won’t follow them. It’s best to put the most important parts of your Definition at the beginning, as longer ones may get cut off at the end.
That’s it. As you have created a chatbot of your preferred character in Character AI, it’s time to learn how to train your chatbots in Character.ai.
How to Train Your Characters in Character AI
Training a character on Character.AI involves providing feedback during conversations, which helps shape and improve the character’s responses over time.
This process is essential as it tailors the character’s interactions to suit better your preferences and the intended personality of the character. Here’s how you can train your character effectively:
Response Choice
- Swiping for Alternatives: During a conversation, you can swipe the last response left or right to view alternate responses. This feature allows you to explore how the character could respond to a prompt.
- Making a Selection: Once you find a response that aligns with your expectations or the character’s intended persona, select it and continue the conversation. Your choice informs the AI system about your preferred type of response, guiding the character’s future interactions.
Response Ratings
- Star Ratings: After receiving a response from your character, you can rate it on a scale of 1 to 4 stars, with one star being the worst and four stars the best.
- Importance of Rating: It’s crucial to rate responses regularly. The AI uses these ratings to understand better which responses are more effective or appropriate. You directly contribute to refining your character’s conversational abilities by consistently rating responses.
- Non-Rated Responses: This is not considered a rating if you choose not to rate a response (i.e., no stars are selected). Skipping a rating does not equate to a zero-star rating but rather a missed opportunity to provide feedback.
Image Feedback (If Applicable)
- Swiping Images: Similar to text responses, if your character generates images, you can swipe through these to select the one that best fits the context of your conversation.
- Rating Images: Images can also be rated from 1 to 4 stars. Like text ratings, these star ratings help the AI understand your preferences and improve the quality of future image responses.
- Distinct Ratings for Images: When images are involved in a conversation, a separate set of stars will appear for rating the images, distinct from the text response ratings.
Consistency in Feedback
The more feedback you provide through response choices and ratings, the more refined and personalized your character’s interactions will become.
It’s important to remember that the character’s responses are influenced not only by the initial attributes you set but also significantly by the ongoing feedback you provide.
Keep In Mind
Training your character on Character.AI is a dynamic and interactive process.
By actively participating in this training through thoughtful feedback, you play a crucial role in developing a more engaging and realistic AI conversational partner.
Limitations of Character AI
Character.AI, an impressive conversational AI, has its fair share of challenges and limitations. It’s important to understand these limitations as you interact with them.
Few limitations are:
- System Updates
- Memory
- Guidelines on Rudeness/Anger/Swearing
- Image Challenges
- Knowledge of Pop Culture
Let’s discuss them in detail.
One notable challenge is the possibility of system updates. Character.AI is regularly updated to improve its quality and safety. However, these updates can sometimes lead to variations in how individual characters behave. Yet, if you encounter significant negative changes, report such issues here.
Another limitation relates to memory. As a conversation progresses, Character.AI may forget information mentioned earlier unless reiterated. This means it might not retain details from the beginning of a conversation.
The AI also has guidelines regarding rudeness, anger, and swearing, which should be avoided in interactions. Please check the guidelines here.
Factuality can be an issue as well. Character.AI might confidently provide information that is inaccurate or even false.
In terms of image generation, there are challenges related to consistency. AI-generated visuals can vary from one message to another, leading to inconsistencies in how characters or scenes are portrayed.
Lastly, the AI’s knowledge of pop culture topics may not align perfectly with its textual knowledge. This misalignment can affect the accuracy of generated images, particularly when depicting characters from movies, TV shows, or other media.
FAQs
How to Get Character AI Premium?
Character.ai costs $9.99/ month, which means you get a faster response time, community badge, priority access, and mode.
Is Character.ai Free?
Yes, Character.AI is free to use. However, it also offers a premium subscription called Character.ai+ for additional features.
How to Bypass Character AI NSFW Filter?
To bypass the Character AI NSFW filter, you can check out the complete tutorial we created for you. However, do remember that bypassing NSFW filter in Character.ai is tricky.
The End!
And that’s the end of this ultimate Character AI guide. We hope this guide helps use Character.ai to its fullest; if you have any questions, you can comment below.
Moreover, you can also check out Character.ai community post to find more character-creation tips.


